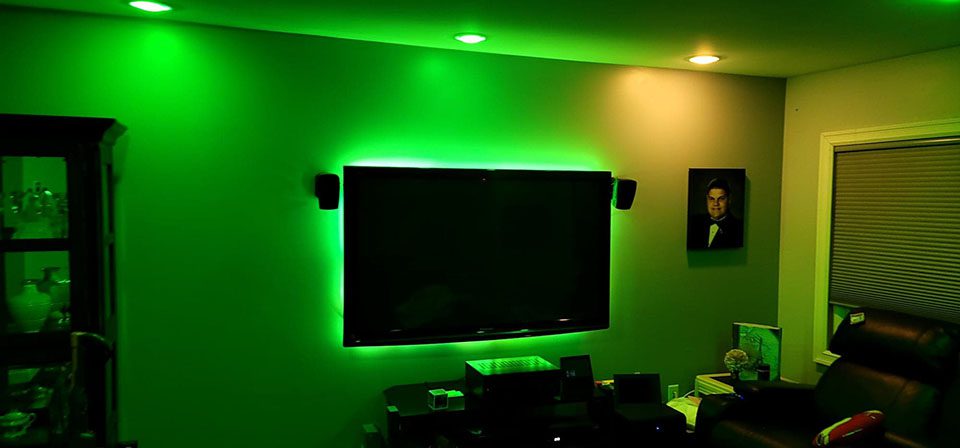
Installation of the Philips Hue LEDs to the back of your TV improves the vibe of your home theater or relaxing area. I used Scotch double sided tape to the strips since the backing tape on the LEDs didn’t stick to the TV. The adhesive on the LED strip would not adhere to the powder coating on the TV.
Video Chapters
Use these video chapters to navigate throughout the video.
0:00 Intro
0:16 Measure perimeter of TV
0:42 Determine how many LED strips you need to order
1:12 Determine size of transformer and room behind TV
3:05 clean behind TV and let dry
3:41> Use a pigtail plug if necessary
4:29 Plug in controller to transformer
4:42 Install LEDs behind TV
5:03 Use strong double-sided tape
7:05 Continue to install LEDs behind TV
9:47 Enjoy the look with Bigginz Group Therapy
The products used in this video and more are available in my U Do It™️ Philips Hue list: https://amzn.to/3N088O8
The products used in my crown molding LEDs video can be found in my U Do It™️ Crown Molding LEDs list: https://amzn.to/3N1Pi9p
No products found.
Preparation for Installation of LEDs
You want to measure the perimeter of your television or item that you want to put LEDs behind. You’ll also want to verify that you will have room for the LED controller and power supply. Both of these items are are usually bulky as seen in the video. Your perimeter measurement is what you will use to determine what length of Philips Hue LED strips you will need to purchase. You’ll also want to clean the back of the TV with the an electrostatic cloth of a slightly damp paper towel. Be sure to unplug your TV prior to cleaning it.
Based on my measurements I needed one main 80″ long Philips Hue LED set with power pack and controller. I also needed three additional extension sets, which are 40″ long each. My TV is about 60 inches wide by 40 inches tall, which is 200 inches in total. Since we’re not affixing the light strips on the exact perimeter we know that we have enough light strips.
Installation of Philips Hue LED Light Strips
I verified that the back of the TV was dry after cleaning it. Installing the light strip LEDs was easy. I plugged in the controller and power supply. Then attached the Philips Hue LEDs to the controller and verified that the light strips worked. It is necessary to remove a section of the backing from the double sided tape that is attached to the LED light strips. This way you can add the Scotch 3M double sided tape. This double sided tape is amazing and as I continued to attach it I removed the backing from the 3m double sided tape that is attached to the LED light strips. Then I began affixing the Philips Hue Light Strips to the back of the TV. After all was affixed to the TV I hid the controller and low profile extension cord behind the TV.
Why I Love Philips Hue
I’ve been a fan of Philips Hue LEDs since I built our son’s music studio. Controlling the Philips Hue lights from the app on your phone or from your Elgato Stream Deck is very easy. I also installed lesser expensive LED lights outdoors and the ease of use within their ecosystem is no match for Philips Hue’s ecosystem. Mrs U Do It is a fan of the Philips Hue LED light strips and bulbs. And I probably don’t have to remind you or warn you that having a happy wife is very important.
Music Credits
Song: Bigginz Group Therapy
©℗ Album: Bigginz Group Therapy
YouTube: https://youtu.be/KyzCTpmYw50
Artist: U Do It
℗ 2022 No Cheese Records https://lnk.to/BigginzGroupTherapy
Composer Lyricist: U Do It
Associated Performer, Featured: Savvy Turtle
Video Production: U Do It Studios
Music Publishing, Producer: Bigginz Publishing
Associated Performer, Featured, Studio Personnel, Mixer, Recording Engineer: Northside Nate
If you are interested in other U Do It™ articles you can find them here.
“As an Amazon Associate I earn from qualifying purchases.”
#UDoit #NoCheeseRecords #NoCheese #BigginzGroupTherapy #HQ #BigginzGroupTherapyAlbum #AntiCheese #HoldTheCheese #Cheesetubator #CheeselessMastication #Hiphop
Picked out for you
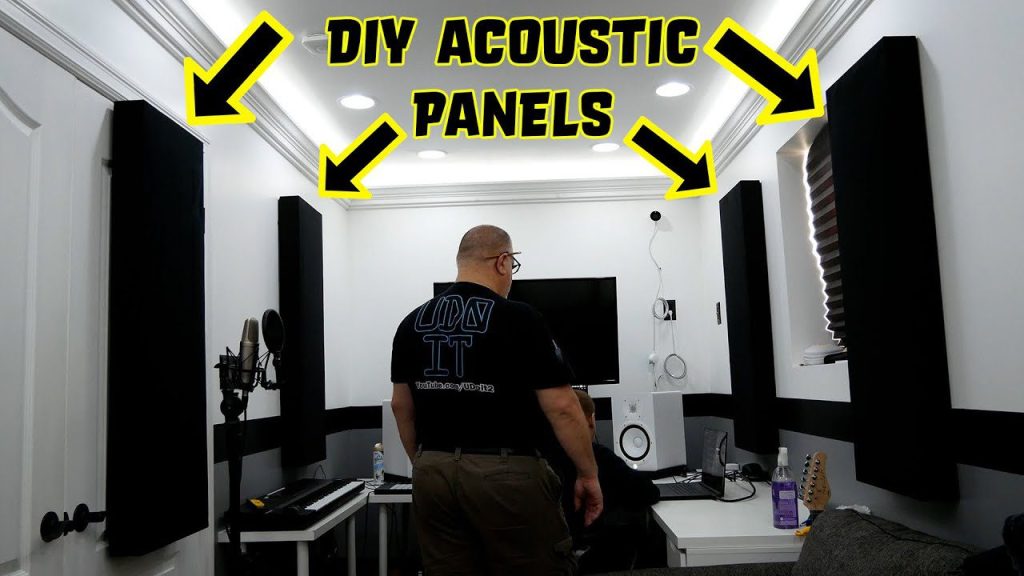
DIY Acoustic Panels for Better Sound Treatment – By U Do It

Replacing an Edger Blade is Easy with the Right Tools Video – By U Do It
Making DIY tile coasters is super easy with cork – By U Do It

Save money by rebuilding your grill burners – By U Do It
How to paint two tone colors with a laser level – By U Do It
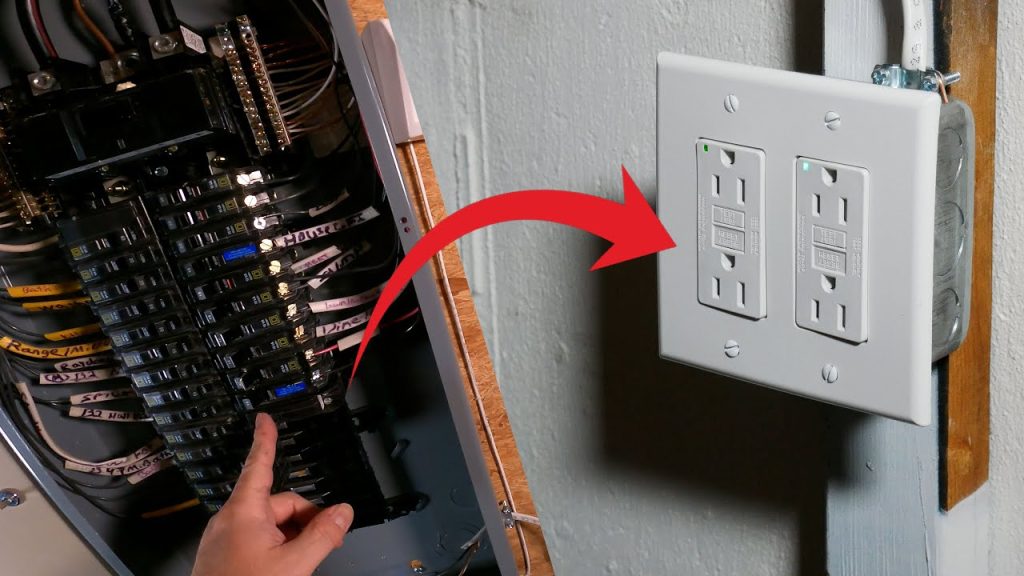
How to install a GFI outlet in basement from start to finish – By U Do It
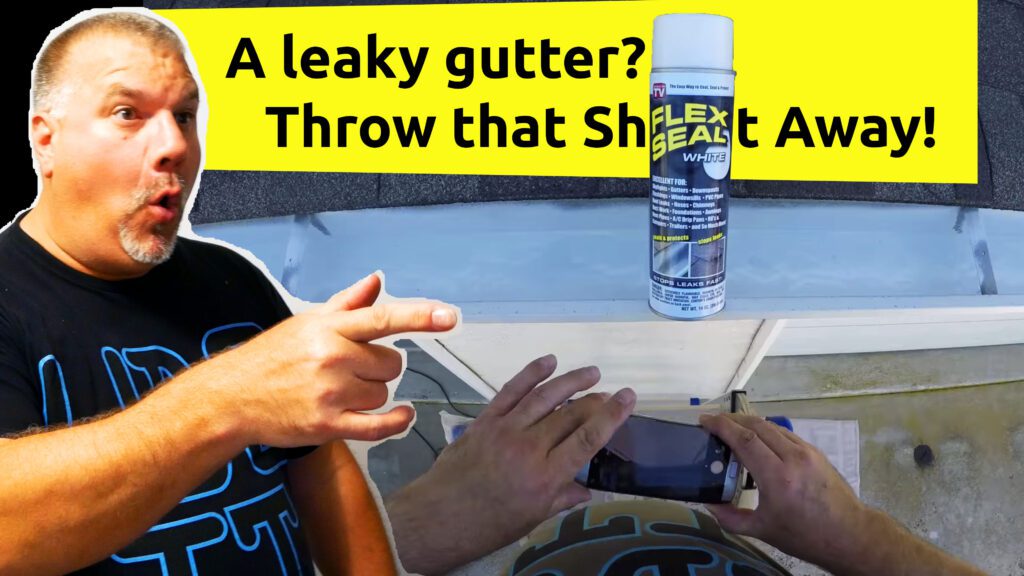
Repair a Leaky Gutter with Flex Seal – By U Do It
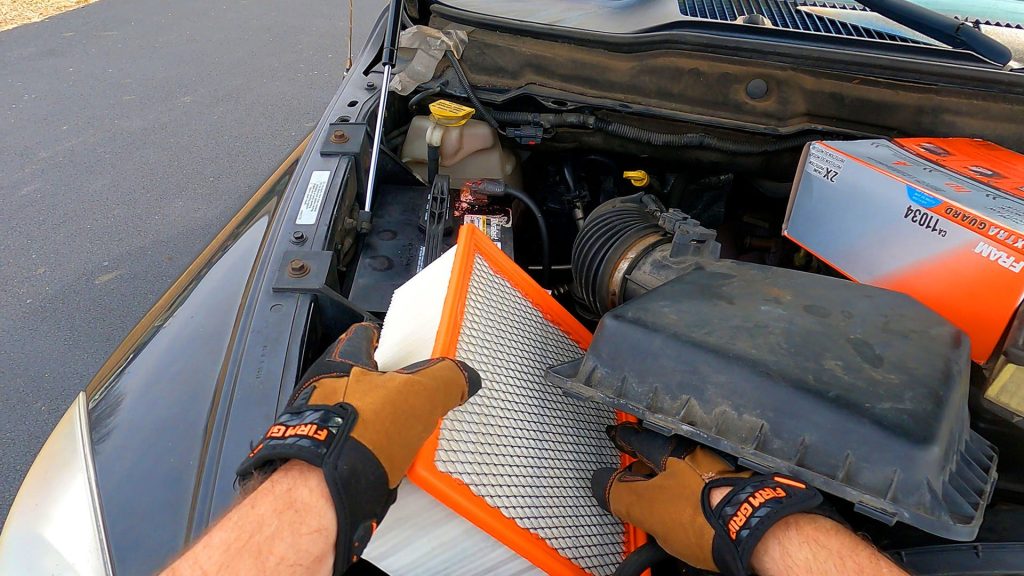
Replace your air filter as part of your regular maintenance – By U Do It

How to Remove Car Pinstripes using an Eraser Wheel – By U Do It
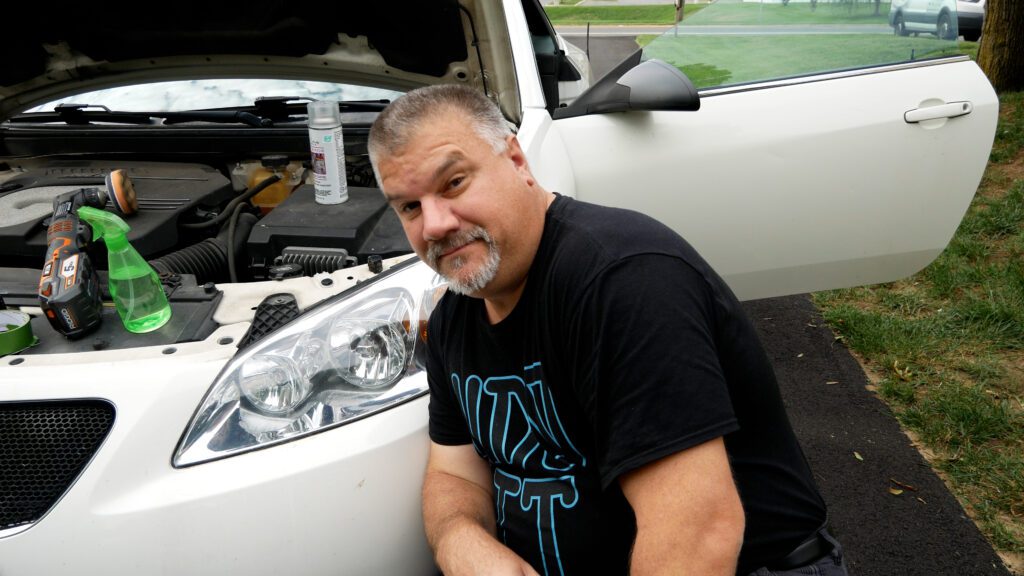
Restore your Headlights in your Driveway – By U Do It
Design of the Day

Follow U Do It on Social Media


What’s next? Check out About U Do It, History of U Do It, and Mrs U Do It to learn even more about U Do It.