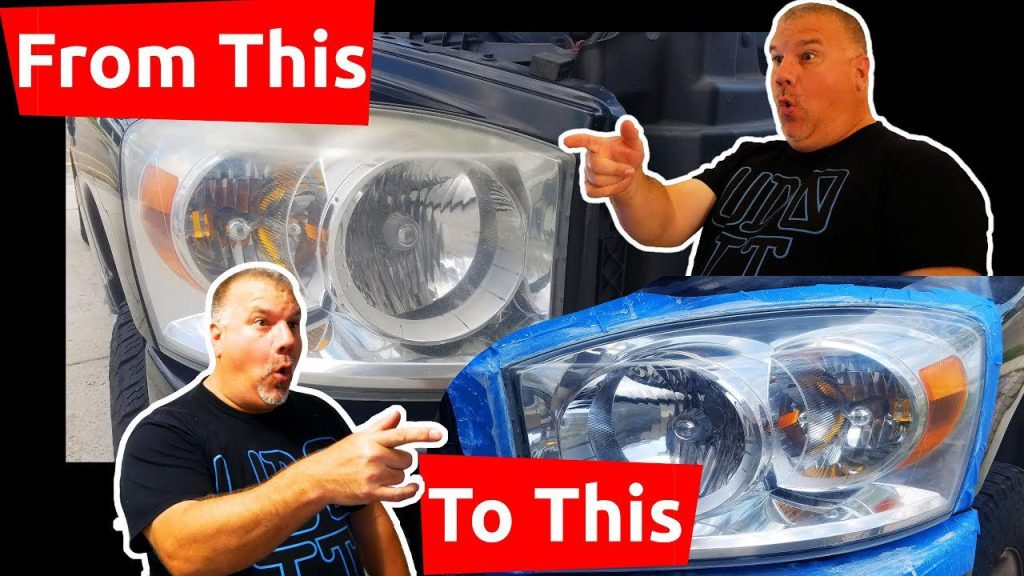
Is it possible to restore your headlights to factory new?
In this video we answer the question “Is it possible to restore your headlights to factory new?” Headlight covers are made of plastic and over time they oxidize and become hazy or yellowish. This because more dangerous over time as your headlight brightness diminishes. To restore your headlights you need to remove the oxidized plastic. To remove it, there is a graduated process to sand down the headlights and finally buff them.
3M provided a solution to do just that. The 3M Headlight Restoration System 39008 comes complete with sanding discs, buffing pad, buffing compound and an arbor. The 3M Headlight Restoration System was created to help you restore your headlights own your own without visiting an autobody shop or car detailer. You can restore you headlights in your own driveway or garage on your own timeline.
Video Chapters
0:00 Intro to the 3M Headlight Restoration System
0:38 Using Frog Tape to tape around headlights
0:44 Using Gold P500 Grit Sanding Disc
0:54 Using White P800 Grit Sanding Disc
1:02 Using the Green / Grey P300 Grit Sanding Disc
1:09 Spraying water on the surface to ensure wet sanding
1:34 Wipe the surface with a clean cloth
1:42 Replace the P300 Disc with the Buffing Pad
1:47 Apply Buffing Compound Directly to the Buffing Pad
1:55 Before Buffing, spread the buffing compound
2:06 Add buffing compound as necessary
2:23 Using a clean cloth wipe the headlight
2:30 Summary of the 3M Headlight Restoration System
No products found.
Tools and Materials Required
U Do It™️ Headlight Restoration Products List.
- 3M Headlight Restoration System 39008 that I used (requires a power drill).
- Power Drill (either battery powered or corded but exercise extreme caution with electric and water)
- A Super Absorbent Towel or Shop Towels
- Frog Tape (or Automotive Finishing Tape)
- A spray bottle filled with water
- 3M Headlight Restoration System 39084 (does not require a drill).
- Buy this version if you do not have or do not want to use a power drill.
- 3M Headlight Clear Coat 39173. (optional)
Sanding
It is best to open the hood to your vehicle since most headlights butt up against the hood. Tape the body around the headlight lens as I did in the video. I used Frog Tape but you can use whatever tape you feel comfortable with and have tested with the paint. 3M Automotive Tape is used by many when restoring headlights. You may want a few layers of tape in case you veer off the headlight onto your paint with the sanding disc.
Once everything is taped to your satisfaction open your 3M Headlight Restoration System box and separate the products. Identify the P500 sanding disc and the arbor. Place the P500 disc on the arbor and mount the arbor to your drill. With a hand sprayer, spray some water on the headlight and begin sanding while moving the sanding disc around to ensure even sanding throughout the entire headlight. You will move from the Gold P500 to the White P800 and finally to the Green / Grey P300.
Buffing
Spray the surface with some water to remove any abrasive material and dry the lens. Drench the lens to help wash away the abrasives.
Next, attach the buffing pad to the arbor. You’ll apply the buffing compound to the buffing pad and then spread out the buffing compound over the headlight lens. Begin buffing while moving the buffing pad around the entire lens to ensure a consistent buffing application. Buff the entire surface until you are satisfied.
Cleanup
Rinse the area and buff dry with a clean cotton towel. Inspect the area and rinse and repeat if necessary. If you notice that the headlight cover is still a little yellow, repeat the above steps.
Take a selfie with your headlight, post that photo of your work and tag U Do It on Instagram.
Optional Protection
After cleaning up the headlight you may want to use the 3M Headlight Clear Coat 39173 to help guard against future oxidation. Follow the directions on the package.
“As an Amazon Associate I earn from qualifying purchases.”
Picked out for you
Restore your Headlights in your Driveway – By U Do It
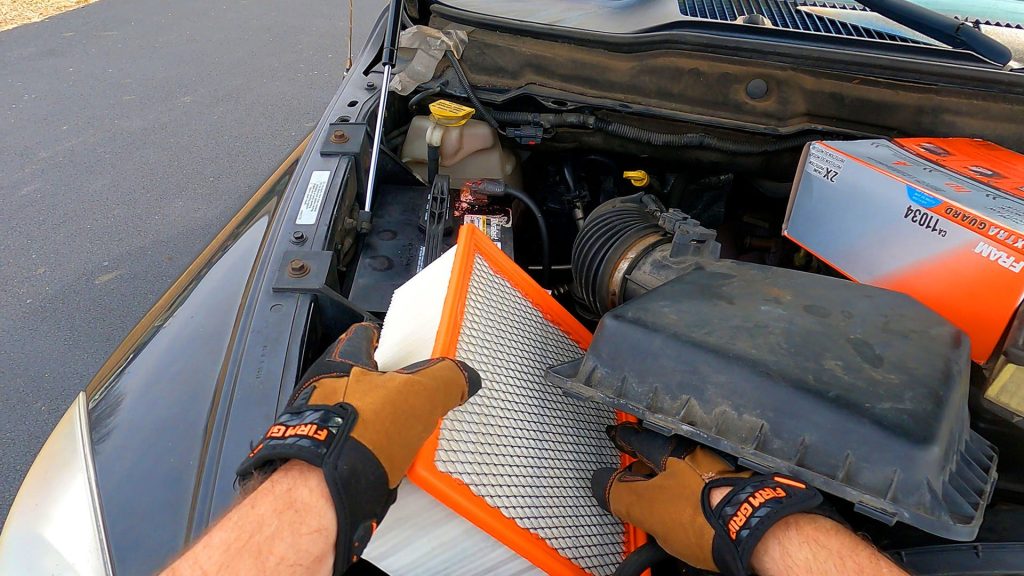
Replace your air filter as part of your regular maintenance – By U Do It

How to Remove Car Pinstripes using an Eraser Wheel – By U Do It
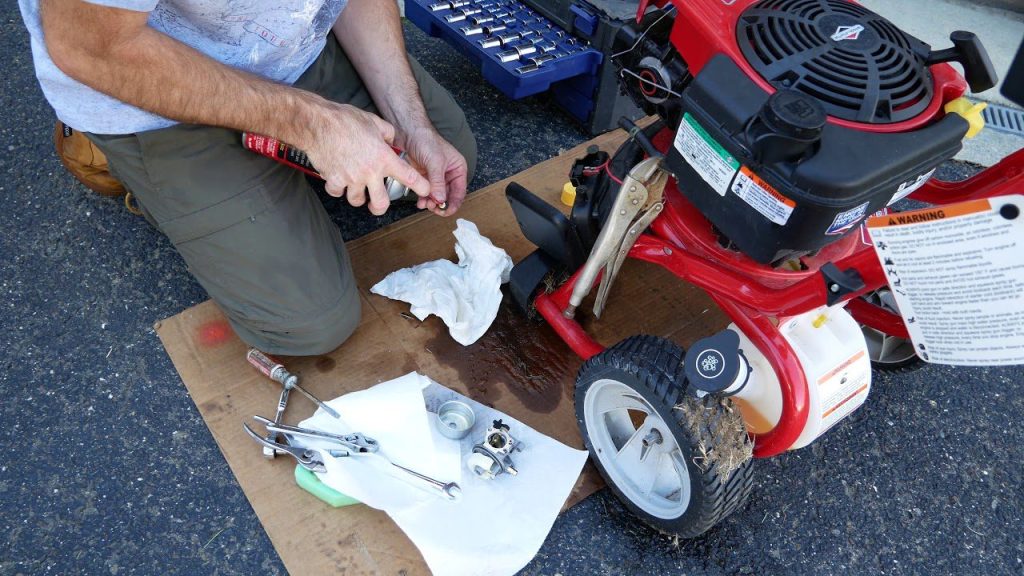
My Pressure Washer Won’t Start – By U Do It

Replacing an Edger Blade is Easy with the Right Tools Video – By U Do It
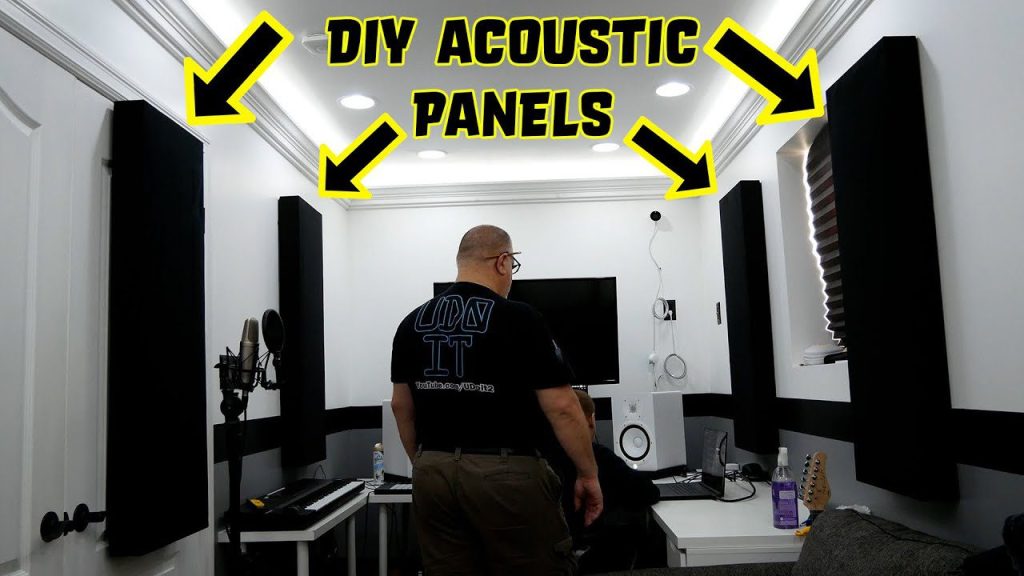
DIY Acoustic Panels for Better Sound Treatment – By U Do It
Making DIY tile coasters is super easy with cork – By U Do It

Save money by rebuilding your grill burners – By U Do It
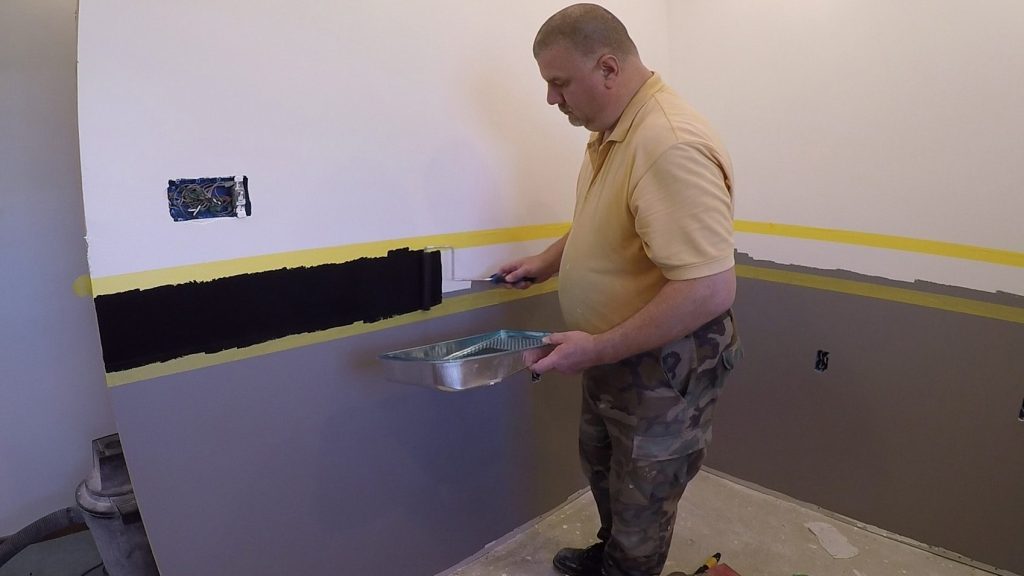
How to paint two tone colors with a laser level – By U Do It
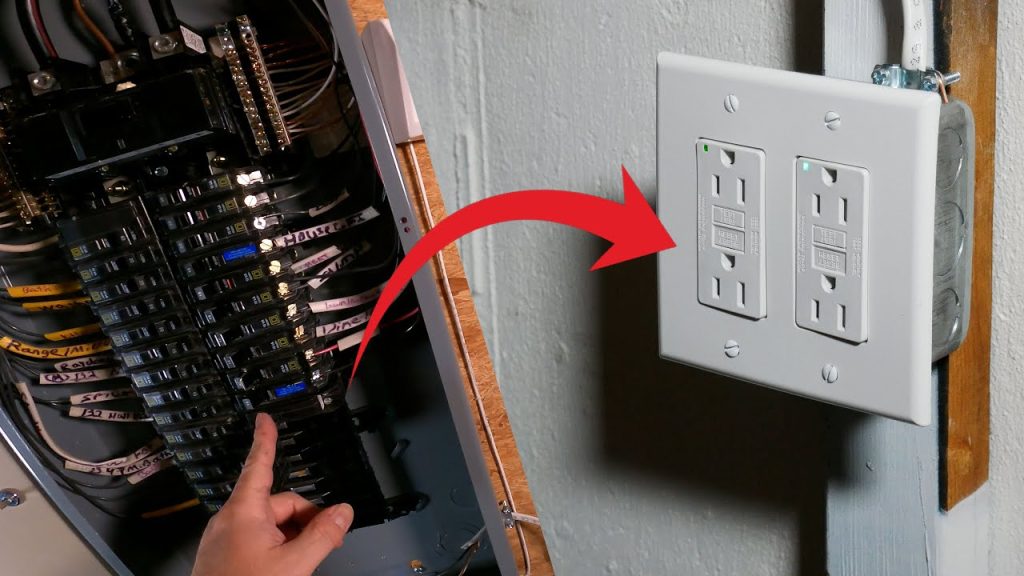
How to install a GFI outlet in basement from start to finish – By U Do It
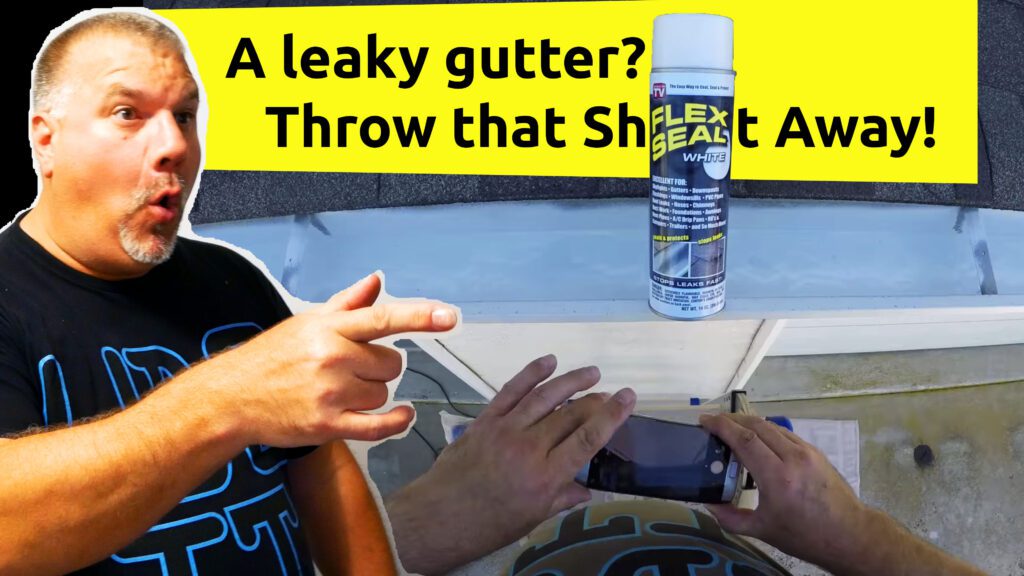
Repair a Leaky Gutter with Flex Seal – By U Do It
Design of the Day

Follow U Do It on Social Media


What’s next? Check out About U Do It, History of U Do It, and Mrs U Do It to learn even more about U Do It.