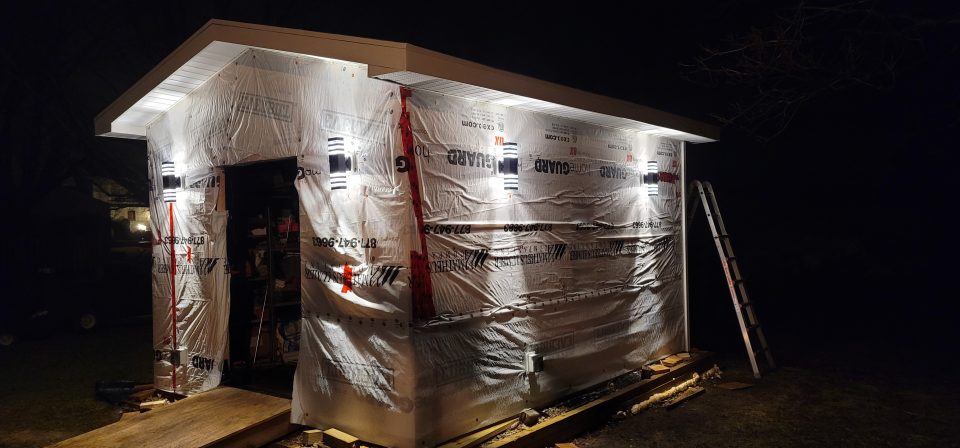
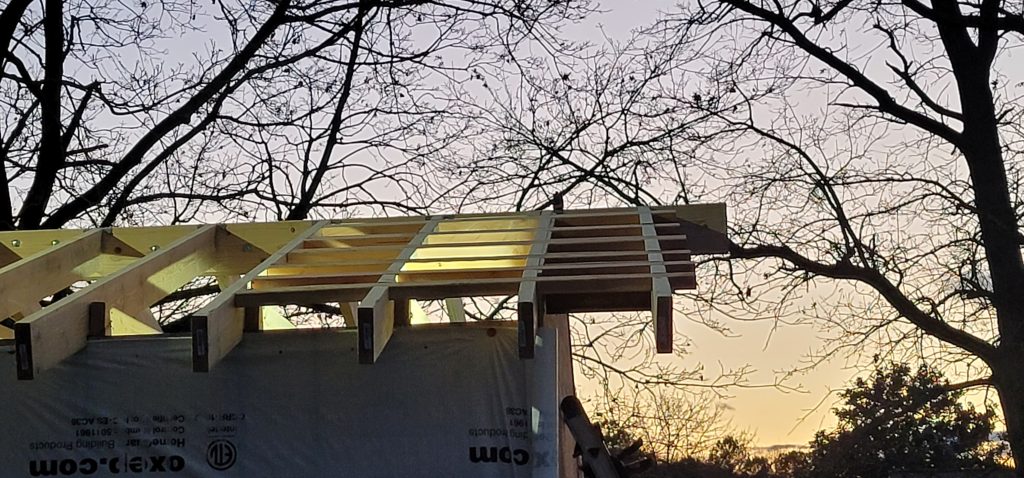
Wiring your shed for electricity may be an afterthought. It certainly was for me. I wish I considered it sooner as it would have made planning easier. Instead, I wired up the shed with outlets and lighting and it’s all powered by an extension cord.
Current Wiring Situation
This is a photo I took of my wiring for purposes of documenting my current wiring situation.
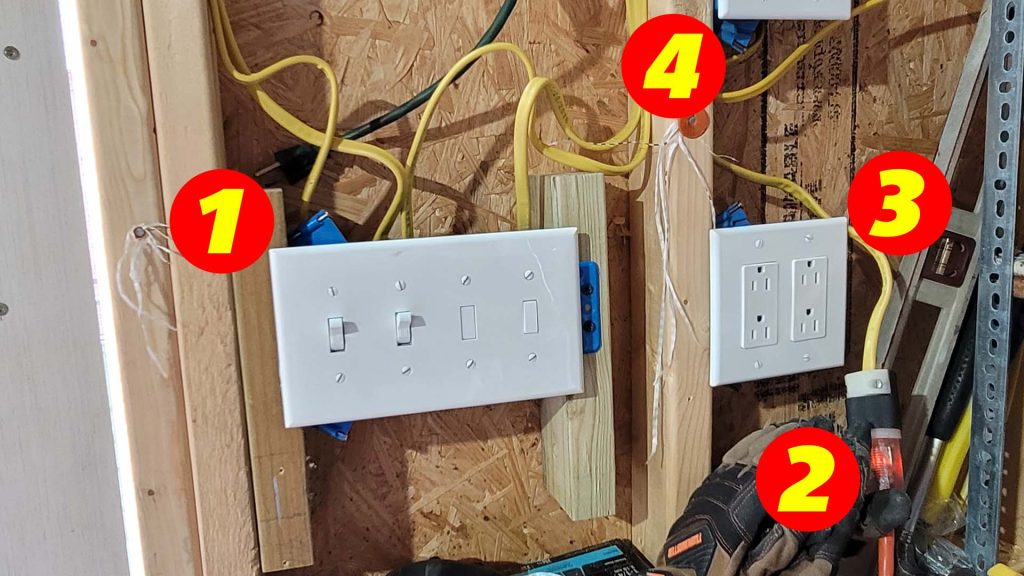
- These are switches for the lights. The left switch is for the interior lights. The right switch is for the exterior lights. Its power is supplied by the distribution junction box 4.
- This is the supply power, which comes from my garage via an extension cord. I have a male plug wired with 12-2 Romex directly to distribution box #4.
- Interior outlets are powered by distribution box #4.
- This is the distribution box where the extension cord powers. The distribution box supplies power to the interior outlets #3, the interior and exterior lights #1, and the exterior outlets (not shown).
Unnecessary Risks
The problem with an extension cord is it introduces unnecessary risks, like a tripping hazard and it’s possible to run it over with a lawnmower. Even though the outlet is a GFI it’s a risk that I no longer want to tolerate. And the cord goes out our garage door, across the grass to the shed. It is not a good look. We’re slowly cleaning up our yard. So the addition of the extension cord is a step in the wrong direction aesthetically.
Permit Required
Running electricity to the shed permanently usually requires a permit as it does in our town. I picked up the electrical permit form from our township Construction Code Enforcement Office. The form is standard and also comes with a jacket. All paperwork submitted to the township will be filed within this jacket. We will cover the details of the permit in a video.
As I already stated, I have electricity run to the shed with an extension cord. I already wired up switches to control lights, the lights themselves, and outlets. By the way, all of this work that I did needs to be undone so the inspector can verify all connections are done properly. This also includes the size wire that was used and the adherence to the code for wire supports, e.g. staples. I used 12-2 AWG wire for the outlets and the lighting.

NFPA’s National Electrical Code (NEC) and 70E
The National Fire Protection Association has the National Electrical Code as well as 70E. I highly recommend you read both the NEC and 70E if you plan on doing the work yourself (DIY). If you feel uncomfortable with any part of the installation process then please consult a licensed electrician.
The National Electrical Code has several sections ranging from agricultural to residential, commercial, and industrial. I can’t cover all aspects here. And besides, your situation will certainly be different than mine. I will reference specific sections to consider. This is a documented thought process.
It is not intended as a direct how-to for you. Think of this as a brainstorming session to help you discover your unique considerations. And remember, in the end, you are responsible for your own decisions. And I can’t stress enough the importance of consulting a licensed electrician.
My Minimum Requirements for Electricity
As already stated I have lighting and outlets. My minimum requirement is one 20Amp 120V circuit for exterior outlets, interior outlets, interior lighting, and exterior lighting. A single 20Amp GFI breaker would be sufficient for this.
15Amp Outlets on 20Amp Circuits
In case you didn’t know, the NEC requires a design of 15Amp outlets to be able to handle 20Amp circuits. However, it is not permissible to install a 20Amp outlet on a 15Amp circuit.
This is why you always want to use UL Listed or UL Certified products. Using a UL listed product ensures that safety is top of mind during the design and manufacturing process of the devices. If the product does not have a UL stamp I would strongly discourage its use. And beware of CE marked products. CE is a self-governing approbation and it doesn’t guarantee safety.
How to Meet Minimum Requirements
I would need one slot in the sub-panel in my garage dedicated to a 20Amp GFI breaker. Then THHN 10AWG 2 conductor wire with a ground would be connected to this 20Amp GFI breaker. The wire would run through 1/2 inch schedule-40 conduit buried 18 inches in the ground out to the shed, and wired up to the junction box. There are many other details involved, but it is probably under $200 in materials and $200 for a trencher.
My “What I Would Like” Requirements for Electricity
This is not a must-have. But, I would like the following:
- 20Amp 120V circuit for interior lighting (GFI breaker)
- 20Amp 120V circuit for interior outlets (GFI breaker)
- 20Amp 120V circuit for exterior outlets (GFI breaker)
- 30Amp 240V circuit for welder (double pole breaker)
How to Meet Minimum Requirements
This requires five slots in a panel. If I were to run all of these circuits to my sub-panel in my garage it would be very costly in terms of conduit and the amount of wire I would need.
Another alternative is to install a sub-panel in the shed. Then run 4AWG wire from a 50Amp breaker in my garage sub-panel to the shed sub-panel. A 50-amp double pole breaker costs $20. The wire alone is nearly $200 for this run of about 70 feet total. But there is the additional cost of conduit that is required from the sub-panel to the wall, outside, and then from the shed wall to the interior to the sub-panel. And this costs about $140 and miscellaneous conduit connections of about $50. The sub-panel itself will cost around $50. And then the additional 20Amp GFI breakers at $60 each for a total of $180. And the 30Amp double pole breaker costs $20.
But, what if I decided to just purchase one breaker at $60 but still add the 8-slot sub-panel? The total cost for this would be $470.
Any option I choose here has the additional cost of the trencher rental, which is about $200.
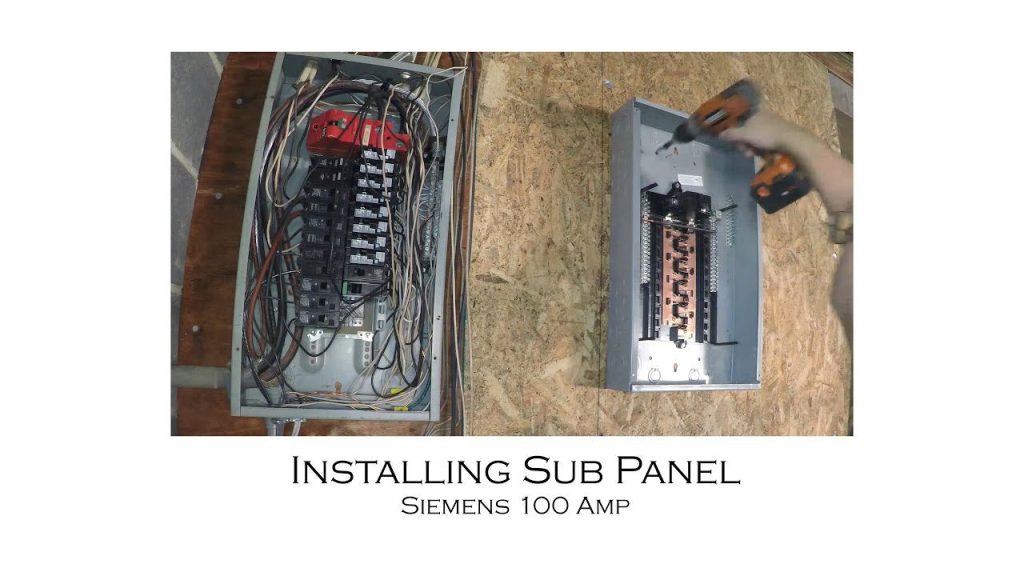
My Decision
I purchased a Siemens 10-slot load-center that can installed as a Sub-Panel. And, I also purchased two Siemens GFI 20Amp breakers to supply power to the interior and exterior outlets and lights. This decision gets the ball rolling and now I am awaiting approval for my permit.
Electrical Permit Application
I submitted my electrical permit application to our township. The plans were very detailed including the drawings so that no questions were left unanswered. Of course, it is always possible that I’ll miss something but that is why we submit plans so they can be reviewed.
Here’s my summary of the submitted plans:
Shed Sub-Panel
Siemens 10-Slot 125Amp Sub-Panel with unbonded neutral bar and a dedicated ground bar installed on the interior of our shed.
Height of Sub-Panel
NEC section 240.24A states that the maximum height of the panel may not exceed 79 inches for the highest switch. I am mounting the panel so the top of the enclosure is at 79 inches, which means we meet this requirement.
Space Around Sub-Panel
NEC section 110.26 requires adequate space for working on panels. This requires a free space in front of the panel of at least 36 inches and 30 inches wide. This width can be anywhere from the left, right, or center of the panel location that it is within. The location of the Shed Sub-Panel is on an interior wall which is 44 1/2 inches wide and is 8 feet tall.
Breaker to Supply Shed Sub-Panel
50Amp breaker installed on existing Garage Sub-Panel to supply power to the Shed Sub-Panel.
XHHW-2 Wire Connected Sub-Panels
Aluminum XHHW-2 3 Conductor 4AWG with 1 Ground 6AWG to connect the Garage Sub-Panel 50Amp breaker, neutral, and ground to the Shed Sub-Panel.
Aluminum Wire and Anti-Oxidation Compound
Since the wire is aluminum many strongly suggest using an anti-oxidation compound. This is also known as an anti-ox compound. Please note that many electricians debate whether or not to apply anti-oxidation on newer aluminum components. I will use an anti-oxidation compound and apply it according to the manufacturer’s specifications. These instructions generally require you to brush it into the wires or rub it in with an Emory cloth.
Wire in Conduit 18-inch deep Trench
NEC Table 300.5 discusses the minimum cover requirements for wiring. The XHHW-2 wire will be run within a 1-inch flexible conduit in a run from the garage to the shed outside. We will place this conduit within an 18-inch deep trench.
Ground Rod and Ground Wire
Since the shed is a detached building a grounding rod and ground wire are required. The ground rod must be either copper or steel and driven into the ground at least 8ft per NEC 250.52. The ground wire must be attached between the grounding rod and the sub-panel’s ground bar.
Pressure Treated Lumber Over Conduit
Once the conduit is complete, as a safety precaution, we will place pressure-treated lumber on top of the conduit before backfilling. This will act as a preventative measure to avoid piercing it if someone digs.
Note: I did not install pressure-treated lumber over the conduit. I chose to rely solely on the Detectable Electrical Caution Tape.
Detectable Electrical Caution Tape Over Conduit
One last precaution that is recommended to be taken is to lay the detectable electrical caution tape over the conduit run. This tape helped me discover a buried conduit in our yard found during trenching. While trenching, I was super close to the conduit I discovered but fortunately, it did not breach the conduit.
Pull Points and Bends in One Run
NEC 358.26 states that there shall be no more than 360 degrees in total bends between pull points.
The conduit will exit the garage through a PVC LB or PVC outlet box. This is considered a pull-point, which is an area where the wire can be fished through. There will be no more than 2 90-degree bends in the buried conduit. So we are ok with 2 90-degree bends.
The conduit will enter the shed through a PVC LB or PVC outlet box. Same as above, this is considered a pull point.
Pulling Wire Through Conduit
Pulling the wire through the conduit is a challenge. Wire lube compatible with the conduit is a must and is recommended to be used.
PVC Expansion Joint
The vertical conduit running from the trench up to the LB that enters the garage requires an expansion joint. The expansion joint is a piece that allows some vertical expansion as the ground soil settles.
Protection of XHHW-2 Wire within the Interior
Since we are using XHHW-2 wire it must be protected throughout the run on the interior of the shed and the garage. The conduit is 1 inch in diameter, but that is the inside diameter. The exterior diameter is approximately 1 3/16 inches for the outside diameter.
This means that a run through every stud must require a 1 1/4 borehole directly in the center of the stud. And the same 360 degrees in total bends must apply. The shed requires exactly 4 total bends within the interior. And this meets the 360-degree rule.
Similarly, the same conduit methodology will be applied within the garage interior from the exit point of the wire on the wall to the Garage Sub-Panel.
Securing and Supporting Wires
NEC section 334.30 Securing and Supporting discusses the appropriate securing and supporting of wires. This is very specific with the maximum distance a wire needs to have a staple along its length and at entry points. Furthermore, it states that flat cables such as the Romex that I am using, shall not be stapled on the edge.
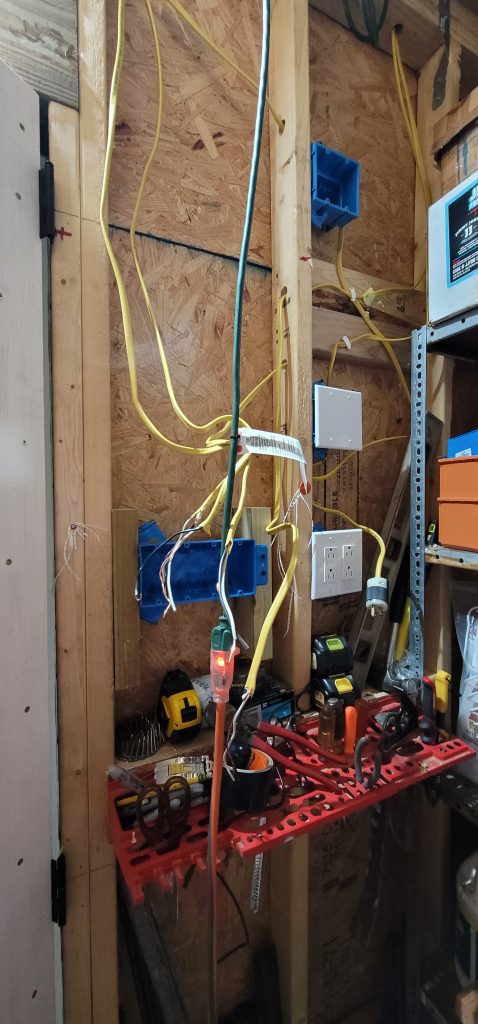
Preparation for Sub-Panel
The Sub-Panel is being installed 15 inches directly above the 4-gang box. The wires that ran along the length of the king stud for the door and the stud to the right need to be moved. This is because the panel will fit perfectly into this cavity with maybe a 1/16 of an inch to spare. So the wires would prevent the panel from being recessed.
The 2-gang junction box on the upper right has been installed as a tie point to extend the wires from the right side of the stud down to the 4-gang switch box. Doing this the routing of the wires this way will not interfere with the sub-panel mounting.
Materials
- XHHW-2 3 Conductor 4AWG Wire and 1 Conductor 6AWG Wire
- Green Electrical Tape (to mark XHHW-2 6AWG ground wire on both ends)
- White Electrical Tape (to mark Neutral XHHW-2 4AWG Wire on both ends)
- 100ft 1″ Flexible Conduit with (4) 90-degree elbows to threads and (5) connectors to threads
- (1) Bottle of Wire Lube
- (2) 1″ PVC LB
- (2) 1″ Bushings
- (50) 1″ PVC Straps (for the flexible conduit)
- (1) Bottle PVC Cement
- (1) box of SPAX fasteners for wood to attach PVC Straps to studs
- (75) 1 3/4″ Tapcon Screws to secure PVC straps to concrete and brick
- (4) Threaded female 1″ PVC Connectors (to adapt flexible conduit fittings to PVC LB)
- (1) 125Amp Siemens E0816ML1125F Sub-Panel
- (1) ECGB10 Gound Bar compatible with Siemens Sub-Panel E0816ML1125F
- (2) Siemens QF120A GFI 20Amp Breakers
- (1) 250ft roll of 12-2 Romex
- (1) Swanson Tool Co DETR31005 3 Inch by 1000 Foot Detectable Safety Tape
Tools
- Drill / Driver
- Trencher Shovel
- Gas Powered Trencher (optional but recommended)
- 1 3/8″ Diameter Core Drill (for Conduit)
- AOBEN Rotary Hammer Drill SDS-Plus / SDS Plus
- Diablo DMAPLCC1930 13 in. SDS-Plus Core Bit Extension with 5/8-11 threads
References
Updates
The purpose of this section is to list any updates made to the article since its original publishing date.
- April 27, 2024
- Added section on Grounding Rod and Ground Wire
- Added section on PVC Expansion Joint
- May 14, 2024
- Updated Grounding Rod and Ground Wire section.
What’s Next?
Several more articles and videos will be published as this effort wraps up.
“As an Amazon Associate I earn from qualifying purchases.”
Video Credits:
Video Production: U Do It™️ Studios a Division of No Cheese Records® LLC All Rights Reserved.
Do It Yourself Build a Shed Series
To learn more about this series check out the DIY Build a Shed Series here.

Picked out for you
How to Install an Electric Sub-Panel to Main Panel – By U Do It

How big should your makerspace be? – By U Do It
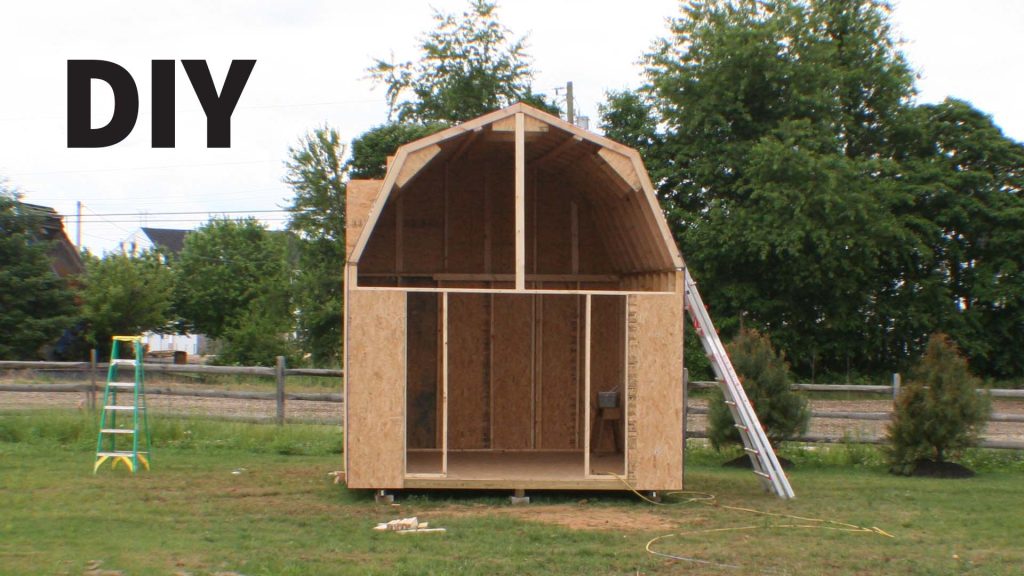
Do It Yourself Build a Shed – The DIY Experience – By U Do It
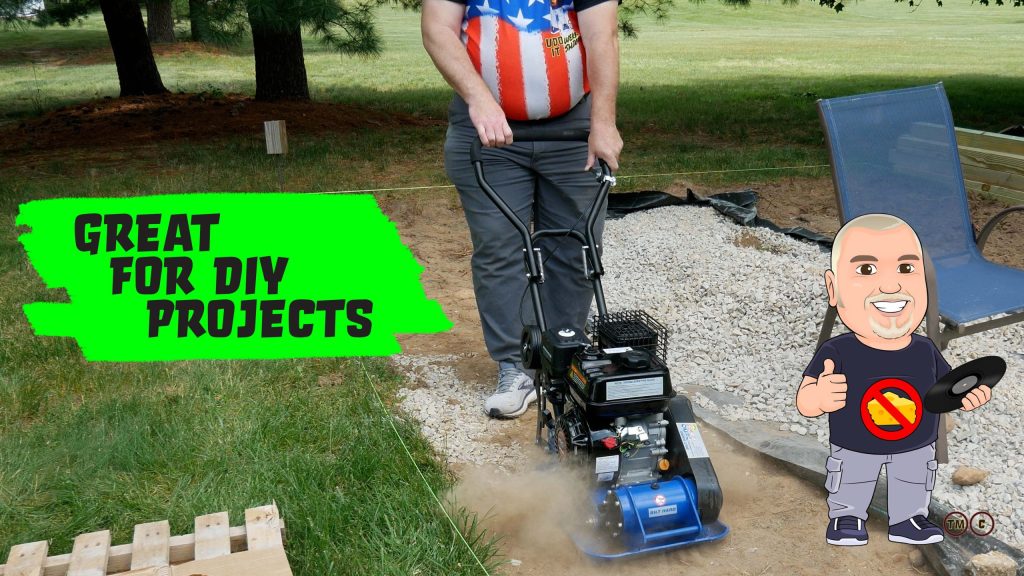
Incredible Tool: Do It Yourself Build a Shed – Bilt Hard Plate Compactor – By U Do It

Do It Yourself Build a Shed – Where to Start – By U Do It
Do It Yourself Build a Shed – Planning and Estimating – By U Do It
Protect your Cabinets with Drawer and Shelf Liner – By U Do It
Our Kitchen Storage Is Lacking – DIY Pantry Cabinet – By U Do It
The First Cut – DIY Pantry Cabinet Part 2 – By U Do It
Do It Yourself or Hire a Contractor – By U Do It
Garage door wont close unless I hold the button down – By U Do It
How to Install a Door Lever for a Bedroom – By U Do It

Save money by rebuilding your grill burners – By U Do It
Music of the Day

Follow U Do It on Social Media


