You want effective sound treatment for your studio then DIY Acoustic Panels is a great way using mineral wool, wood and speaker cloth. You get to control how the panels are is built. The mineral wool I used is Roxul Safe-n-Sound. It’s dimensions are 3″ thick by 47 inches tall by 15 1/4″ inches wide. I purchased 1x4x8 pine boards from Home Depot and I purchased speaker cloth from Joann Fabrics.
Video Chapters for DIY Acoustic Panels
0:00 Introduction to Making Panels
0:12 Measure Mineral Wool for Length of Wood
0:28 1×4 Cutlist, Screws & Tools
0:35 Cut Wood
1:11 Assemble boards & clamp
1:52 Countersink & Screw Together
2:39 Clean workbench for speaker-cloth
2:49 Apply speaker cloth
3:14 Staple speaker cloth
4:50 DIY Picture Hanger
6:43 Picture Hanger
7:14 Hanging Acoustic Panels
7:42 Clap Test listening to Clapping
Constructing DIY Acoustic Panels
This covers the materials used as well as the tools used to build them. Rather than buying picture hangers I opted to make my own. You’ll want a large workspace to construct your acoustic panels. Consider wearing a mask while working with mineral wool and saw dust from cutting.
Materials Needed
The materials and tools used in this video are available here: https://amzn.to/3N309Qc
Other tools useful in making the panels: https://amzn.to/3suDHGc
- Speaker cloth 60″ tall x several yards long
- 3 inch x 15 1/4 inch x 47 inch Mineral Wool Batts (purchased in a bulk package
- (2) 1 inch x 4 inches x 8 feet boards for each panel
- Narrow crown staples
- 1 1/2″ wood screws
- Wall Anchors & Screws
- Picture Hangers (or make your own)
- Dust Mask
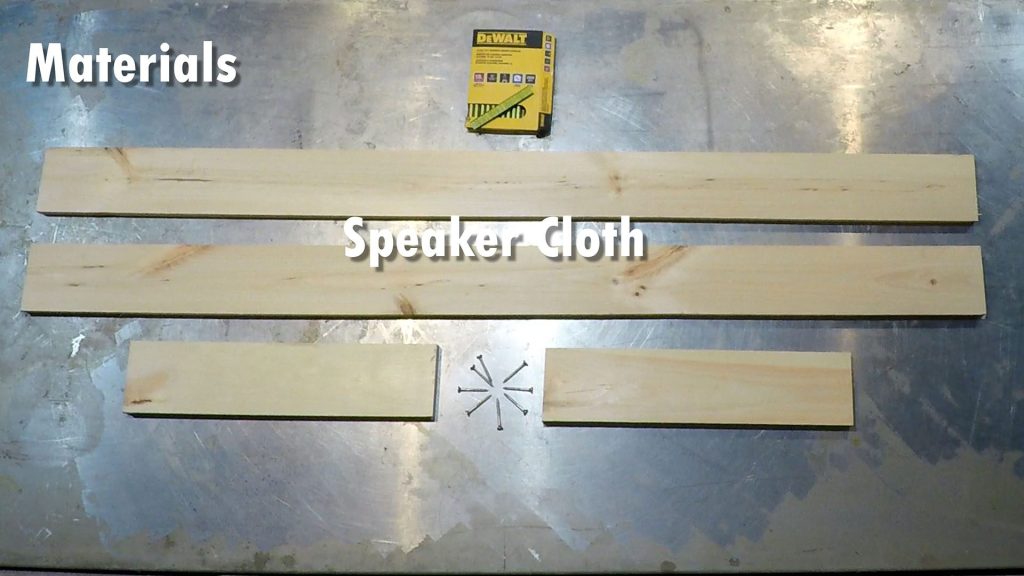
Original source of the photo is provided by U Do It, on YouTube channel U Do It.
Tools Required
- Tape measure
- Pencil
- Miter saw
- Drill
- Countersink bits
- Narrow Crown Stapler
- Scissors
- (2) 24″ clamps
- Gloves
- Moving Blanket
- Vacuum
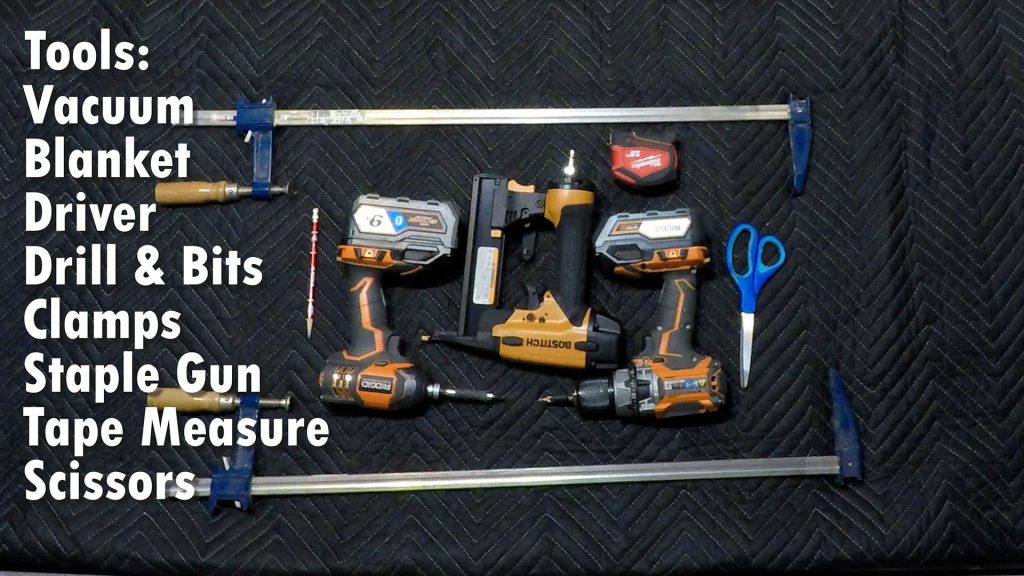
Original source of the photo is provided by U Do It, on YouTube channel U Do It.
Measure Mineral Wool
You’ll want to double check the measurements of the mineral wool. Measure the width, the length and the thickness. I expect you’ll find the measurements to be 3 inches x 15 1/4 inches x 47 inches.
Cut Pine Boards
When you cut your 1×4 boards for your acoustic panels you’ll want to account for the thickness of two boards, which is 1 1/2 inches (2 boards at 3/4 inches). For this I first squared the ends of the boards with my DeWalt compound miter saw. After squaring the boards I cut them in half. The boards should be cut to 48 1/2 inches. But, the boards are just slightly larger than 96 inches after squaring the ends. So cutting them in half will be slightly less than 47 inches. Next you’ll cut the inner boards to the width of the mineral wool batts, which was 15 inches for my batts. I recommend wearing construction gloves like my Firm Grip gloves to avoid splinters.
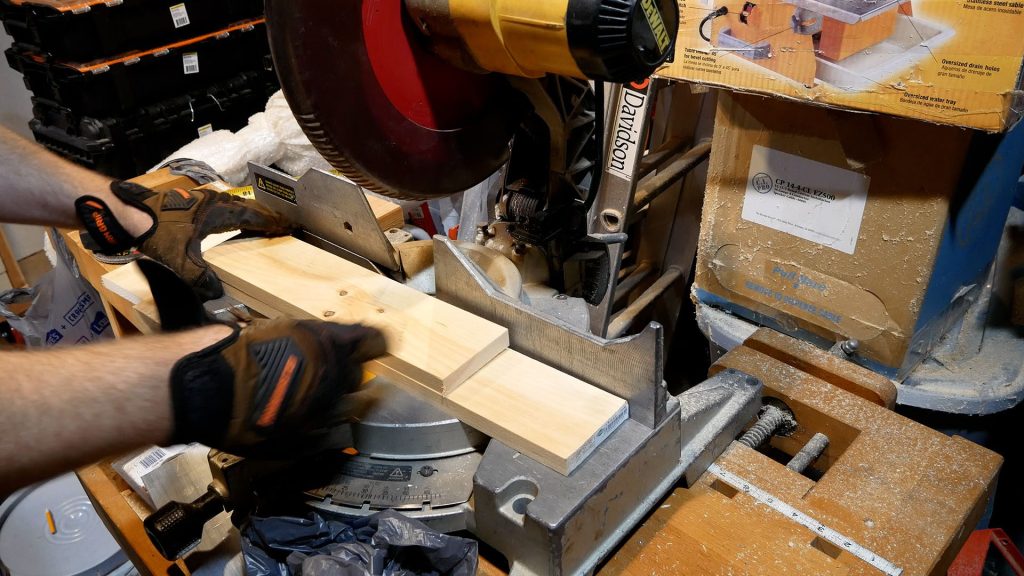
Original source of the photo is provided by U Do It, on YouTube channel U Do It.
Assemble DIY Acoustic Panel
To assemble the DIY Acoustic Panels place the boards around the mineral wool as I demonstrate in the video. Clamp the outer boards together with the clamps but don’t tighten all the way (just enough so you can still tap the boards). Make sure that the boards are in alignment to make it look nice and straight. Use your tape measure to measure the diagonals of the panel. If the measurements are identical in both directions then your panel is square. Otherwise, reposition them so that they are square. On the top ends of the boards drill two countersink holes as I demonstrate in the video. Screw your wood screws into each hole. Repeat for the other three corners. Remove the clamps.
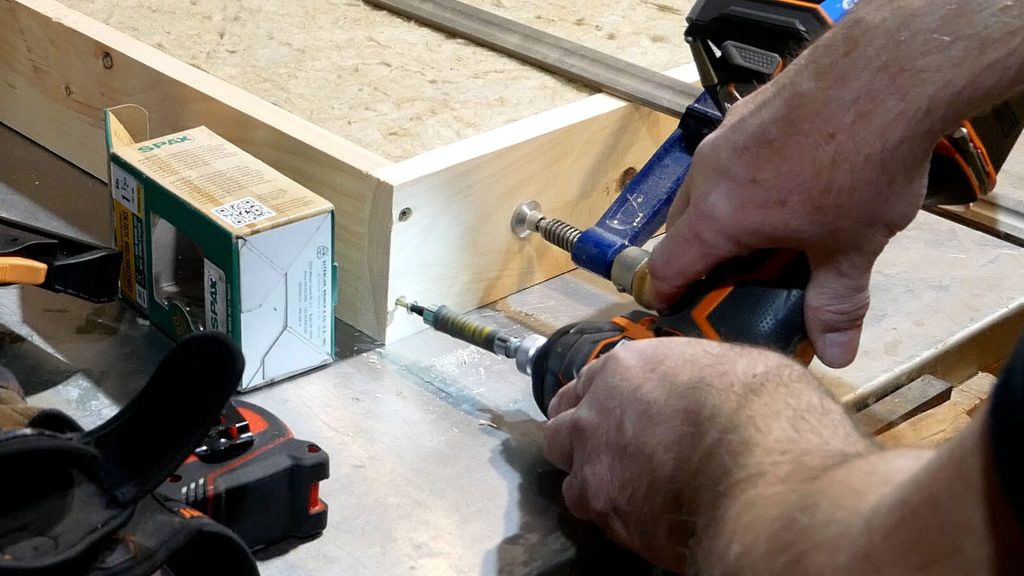
Original source of the photo is provided by U Do It, on YouTube channel U Do It.
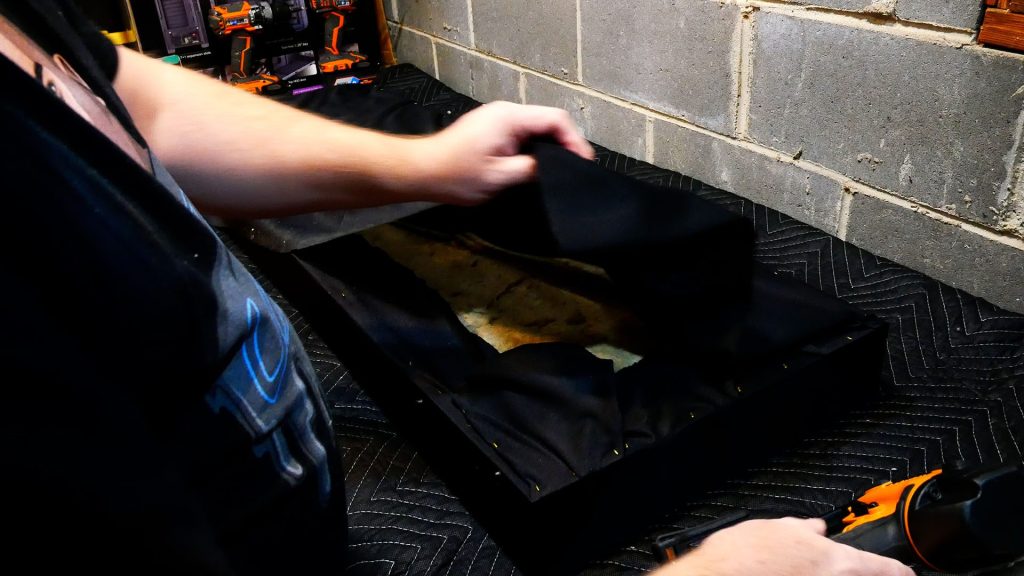
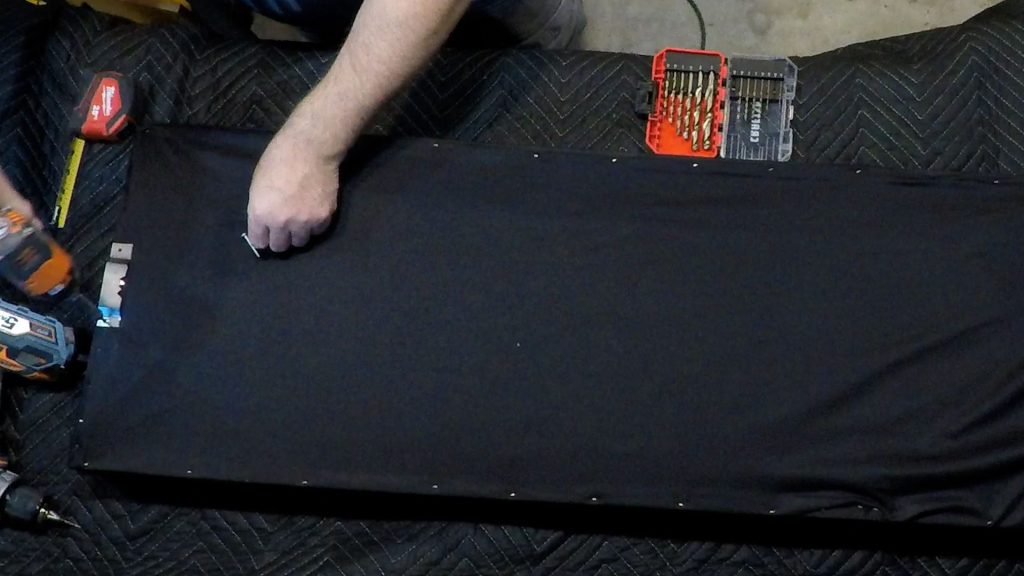
Wrap Acoustic Panel with Speaker Cloth
Prepare your area for application of the speaker cloth by vacuuming the workspace to remove any dust or loose mineral wool. Place a moving blanket as I did over your workbench and place the acoustic panel frame on top of it. Inspect the panel and choose the worst side for the back. Begin wrapping your panel frame with the speaker cloth using the narrow crown stapler to secure the cloth to the frame. You’ll want to wrap the panel so that the stapes are on the back side of the panel. No staples should be visible in the front. Wrap the panels as you want. I used a method where I was able to wrap the excess over itself and secure it giving the back extra support. The corners were also wrapped at a 45 degree angle on the tops and bottoms only so you won’t see them.
Original source of the photo is provided by U Do It, on YouTube channel U Do It.
Attach Picture Hanger
On my panels I attached a picture hanger I built myself using steel that I first cut to length and width. I used a jig that I built out of steel stock and my impact wrench to give the picture hanger it’s angle. I also cut teeth into the picture hanger using my angle grinder. Then I drilled out two holes to secure it.
Original source of the photo is provided by U Do It, on YouTube channel U Do It.
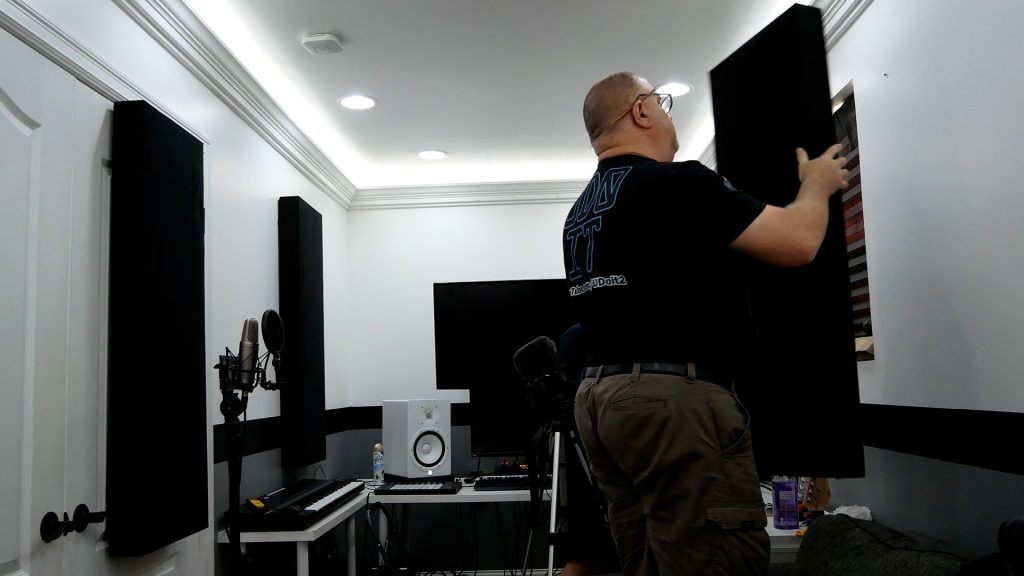
Hang your Acoustic Panels
Identify the spots in your music studio or livestreaming studio for optimal placement. This can be done using a mirror technique which will help you find the first reflection point followed by the secondary reflection points. Hang the panels in those spots. For Disteff’s music studio we needed to also take into consideration the windows and the doors and light switches. You’ll notice that we hang one panel directly on the one door. Although this is a door that can open it is latched and is not the main door to enter the room.
Original source of the photo is provided by U Do It, on YouTube channel U Do It.
If you are interested in other U Do It™ articles you can find them here.
Picked out for you
Improve the vibe of your home with Philips Hue LEDs – By U Do It
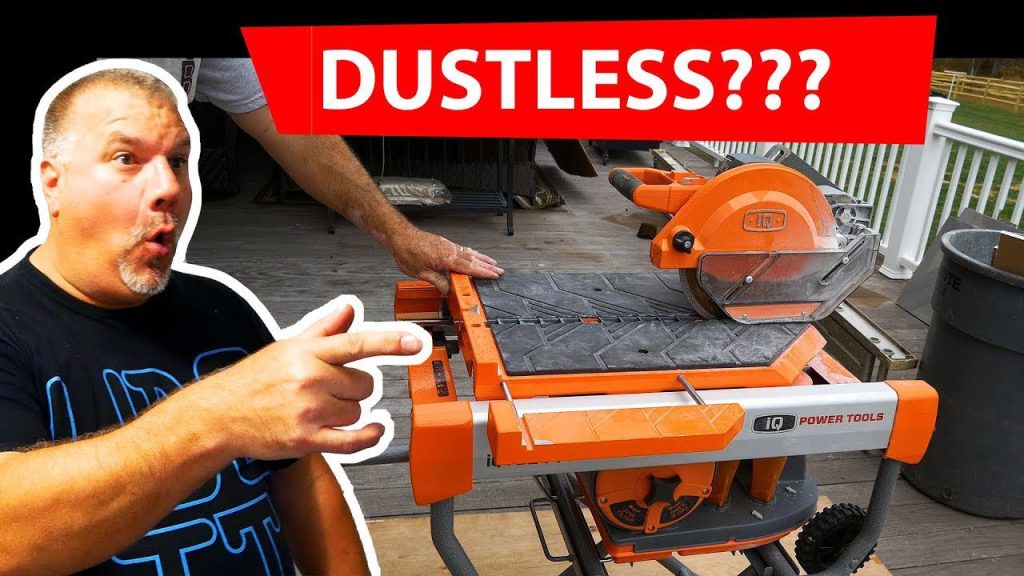
Tile Talk – iQ Power Tools iQTS244 24 Inch Tile Saw – By U Do It
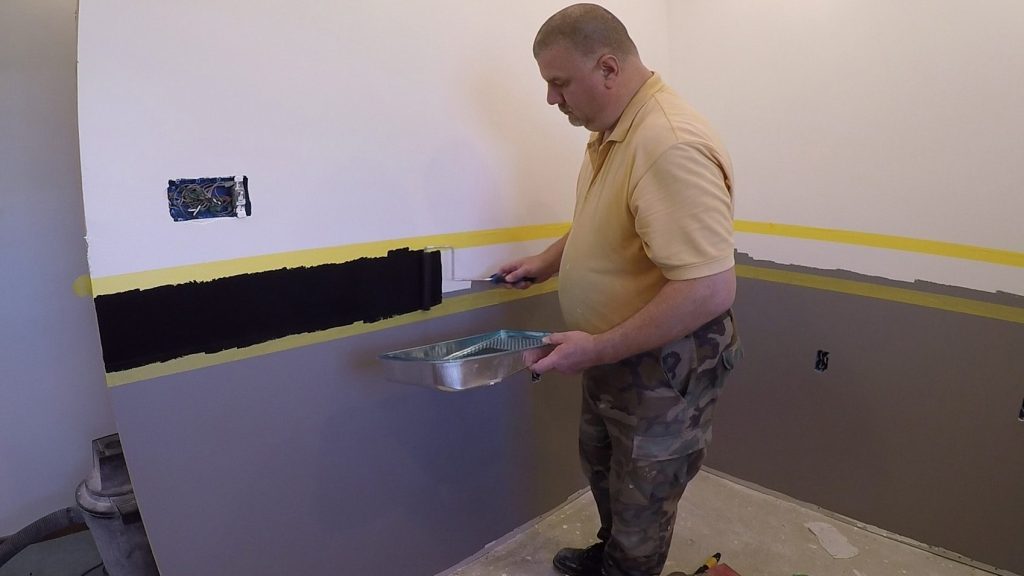
How to paint two tone colors with a laser level – By U Do It
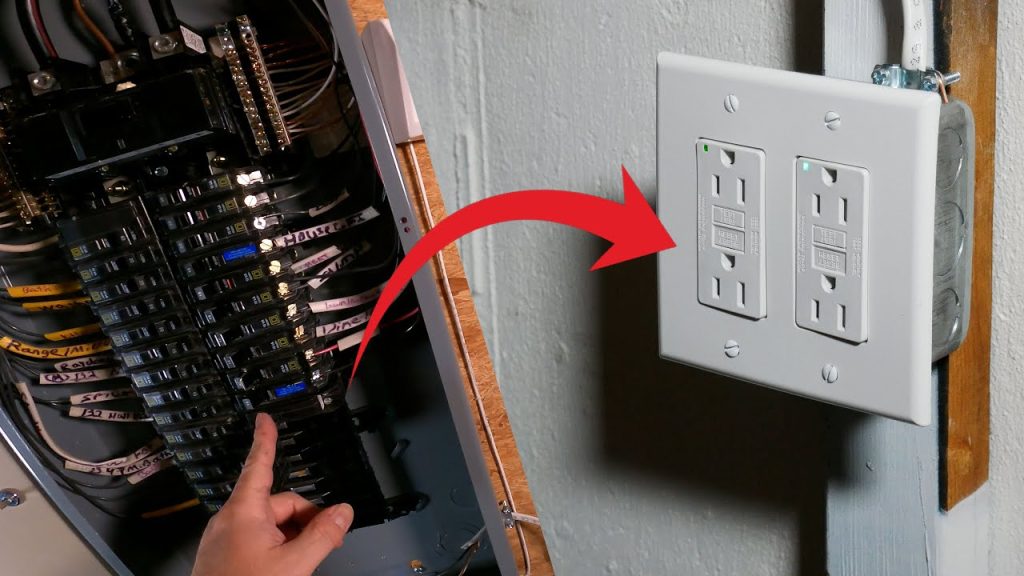
How to install a GFI outlet in basement from start to finish – By U Do It
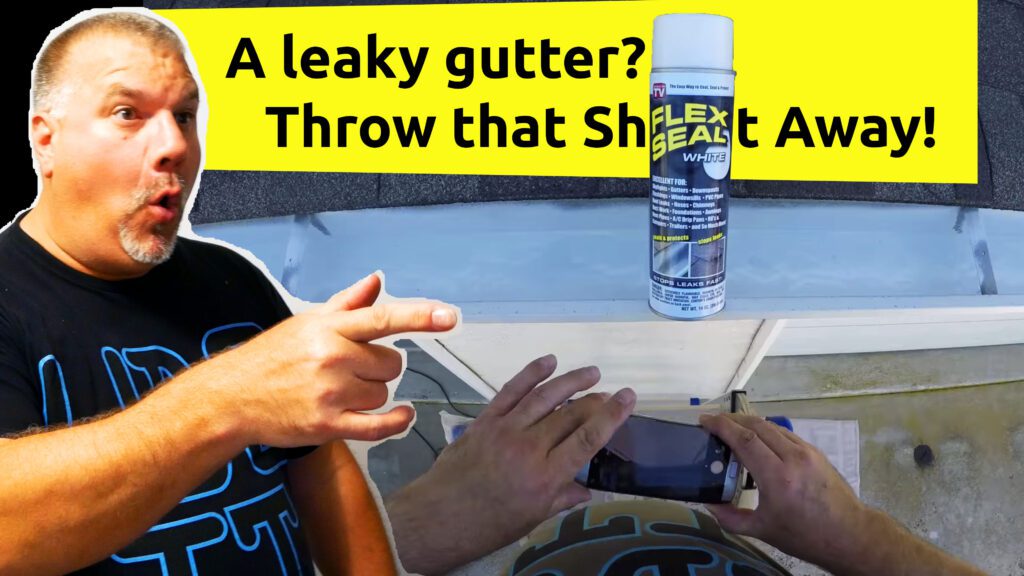
Repair a Leaky Gutter with Flex Seal – By U Do It

Replacing an Edger Blade is Easy with the Right Tools Video – By U Do It
Making DIY tile coasters is super easy with cork – By U Do It

Save money by rebuilding your grill burners – By U Do It
Replace your air filter as part of your regular maintenance – By U Do It

How to Remove Car Pinstripes using an Eraser Wheel – By U Do It
Restore your Headlights in your Driveway – By U Do It
Design of the Day

Follow U Do It on Social Media


What’s next? Check out About U Do It, History of U Do It, and Mrs U Do It to learn even more about U Do It.