If you want to know how to build a ramp for a shed, this is the article for you. The ramp is being built with 2×8 8-foot long lumber, hardware, and pressure-treated plywood.
My Measurements
I used my Bosch laser level to determine the difference in height from the top of the shed floor to the ground. The laser level casts its beam onto a survey stick at the approximate point where the ramp will end. I determined that the height difference was 13 inches. Using rise over run calculations I was able to determine that the angle of the ramp will be a 9-degree slope.
I was also able to determine that there is a 46.5-inch cut that needs to be made at the end of each ramp joist at 9 degrees. This will allow the joist to rest flat on the ground for approximately 4 feet. That gives this design some extra stability.
My First Cuts
Using five 2×8 8-foot long pressure-treated boards I cut the ends of each at a 9-degree miter. Then I make a mark from the opposite end of the board to 46.5 inches. Using a scrap piece of OSB I screwed a cutting guide that was offset by 1 3/8 inches. I was able to quickly cut the taper using my circular saw. I repeated this for the remaining four ramp joists.
Tools Used for the Construction of the Shed Ramp
To purchase the tools recommended to construct a shed ramp visit my list below:
No products found.
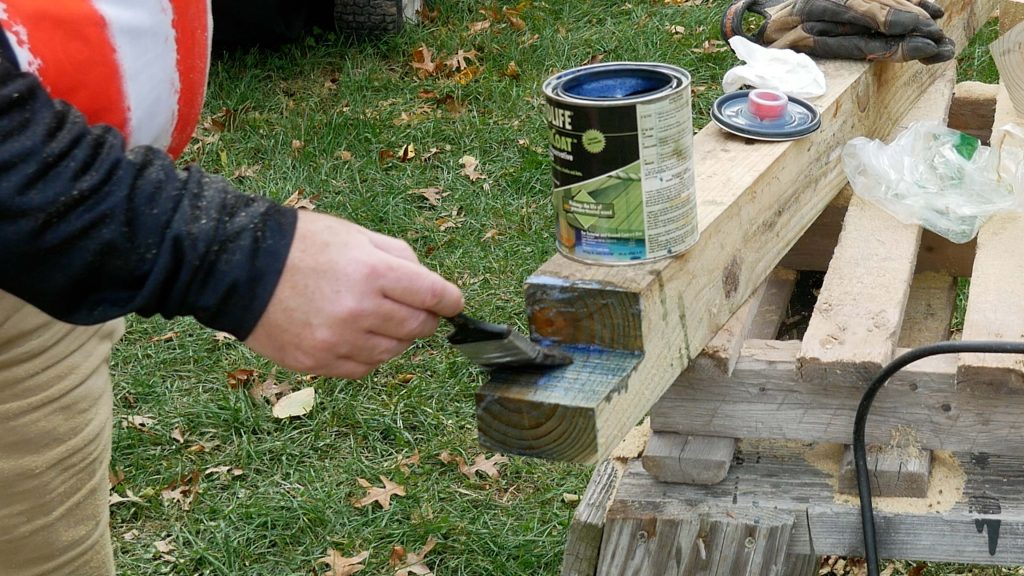
Avoiding Direct Ground Contact
The joists are resting on shingles to shield the lumber from direct contact with the ground. The shingles are placed on the ground first so we do not forget about them.
Hanging the Joist Hangers
Next I have to determine where to place the floor joists along the edge of the shed floor joist. I was able to determine the offset as mentioned in the video based on a few factors. One was the angle of the joist as it rests on the joist hanger. Next, I was able to determine the offset from the top of the joist hanger to the top of the joist while it was resting at the 9-degree angle. Lastly, taking into account the thickness of the pressure-treated plywood, I was able to determine the exact location of the joist hanger placement.
Using my combination square, I set it to the offset from the top of the shed floor to the top of the joist hanger. This allowed me to consistently place the joist hanger at the correct location. Firmly holding the joist hanger, I affixed a screw through the joist hanger into the floor joist. Now, I could straighten the joist hanger and install another screw directly below.
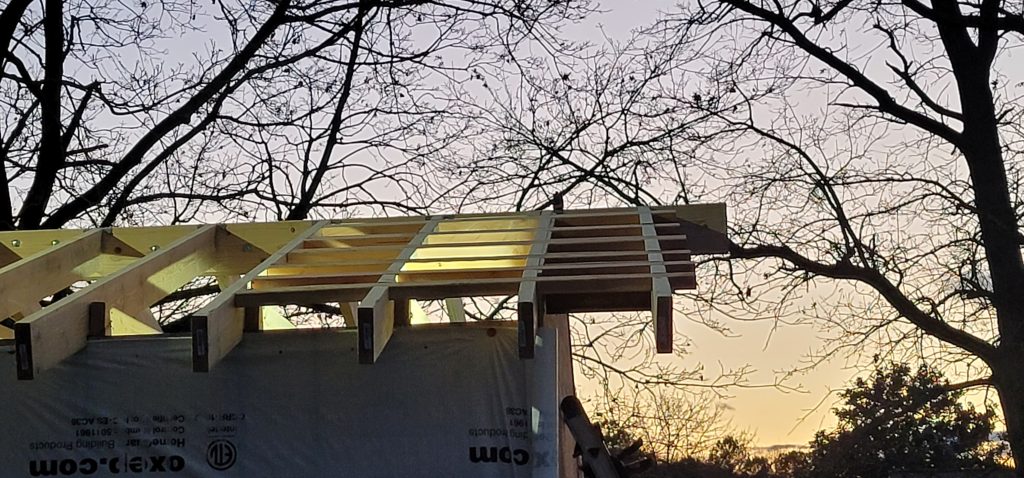
Installation of the Joists
The ramp joists are installed at 12-inch centers spanning 4 feet, which is why I am installing five joists. Installing the joist was easy as I just had to set it into the joist hanger and clamp it together with my heavy-duty Jorgensen E-Z Hold clamp. I could attach the other side of the joist hanger to the floor joist. Then I was able to install the top two toe screws through the joist hanger, through the ramp joist, and directly into the floor joist.
Blocking for Stability
Blocking between the ramp joists is required for stability. I installed four scrap pieces of 2×6 between the joists using my framing nailer and 3 1/4-inch framing nails.
Installation of Pressure-Treated Plywood
Lastly, I placed the sheet of pressure-treated plywood onto the ramp joists and secured it using 2 1/4-inch framing nails.
Summary of Build
I’m very pleased with the build of the ramp. The top of the ramp matches the height of the shed floor perfectly and that is amazing. I rarely achieve that level of success without having to backtrack and adjust. I was able to load several large items into the shed, even with snow cover. Having the tools that I thought were right for the job made this go quickly.
I am slowly regaining control of my workshop in my garage by moving materials into the shed. This is some positive feedback that I needed since trying to accomplish anything in my garage was impossible because of all of the clutter.
How to Build a Ramp Video Chapters
- 0:00 Cutting the ramp joists
- 3:44 Discussion of construction
- 5:00 Attaching 3rd ramp joists to shed floor joists
- 7:13 Simpson Strong-Tie ZMax Joist Hangers
- 9:38 Using Simpson Strong-Tie 2 1/2″ Construction Screws
- 12:03 Attaching last ramp joist
- 13:52 Installing blocking between ramp joists
- 14:58 Installing plywood for ramp
- 15:48 Credits
“As an Amazon Associate I earn from qualifying purchases.”
Video Credits:
Video Production: U Do It™️ Studios a Division of No Cheese Records® LLC All Rights Reserved.
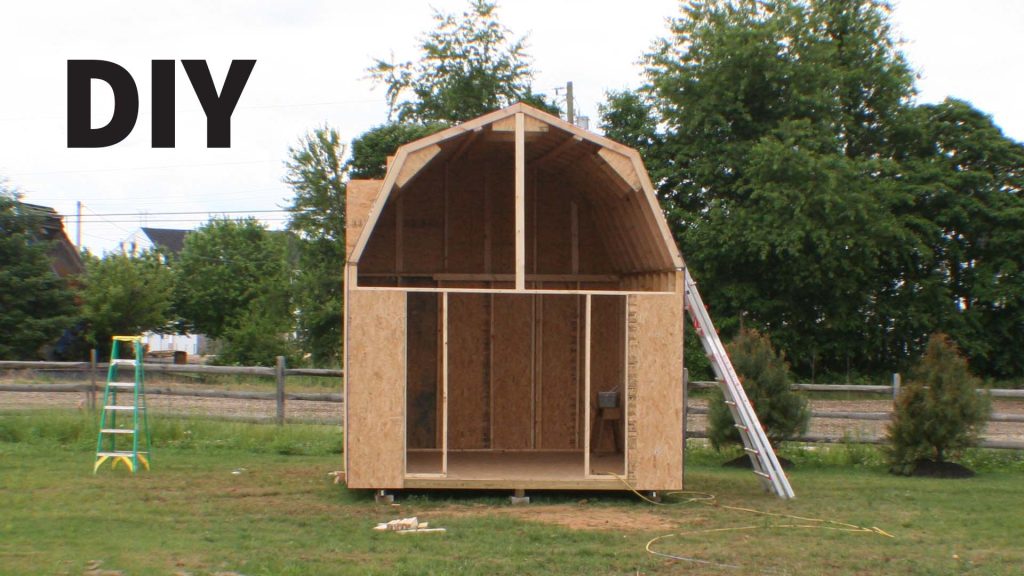
Do It Yourself Build a Shed Series
To learn more about this series check out the DIY Build a Shed Series here.

Picked out for you
Great Product: Do It Yourself Build a Shed – Woodlife Copper Coat Wood Preservative – By U Do It
Do It Yourself Build a Shed – The DIY Experience – By U Do It
Incredible Tool: Do It Yourself Build a Shed – Bilt Hard Plate Compactor – By U Do It

Do It Yourself Build a Shed – Where to Start – By U Do It
Do It Yourself Build a Shed – Planning and Estimating – By U Do It
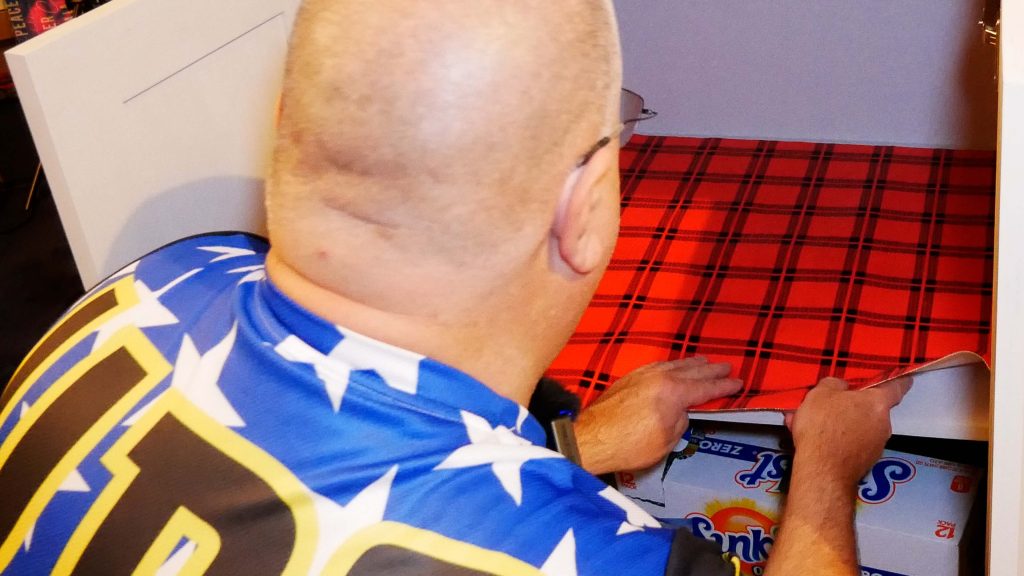
Protect your Cabinets with Drawer and Shelf Liner – By U Do It
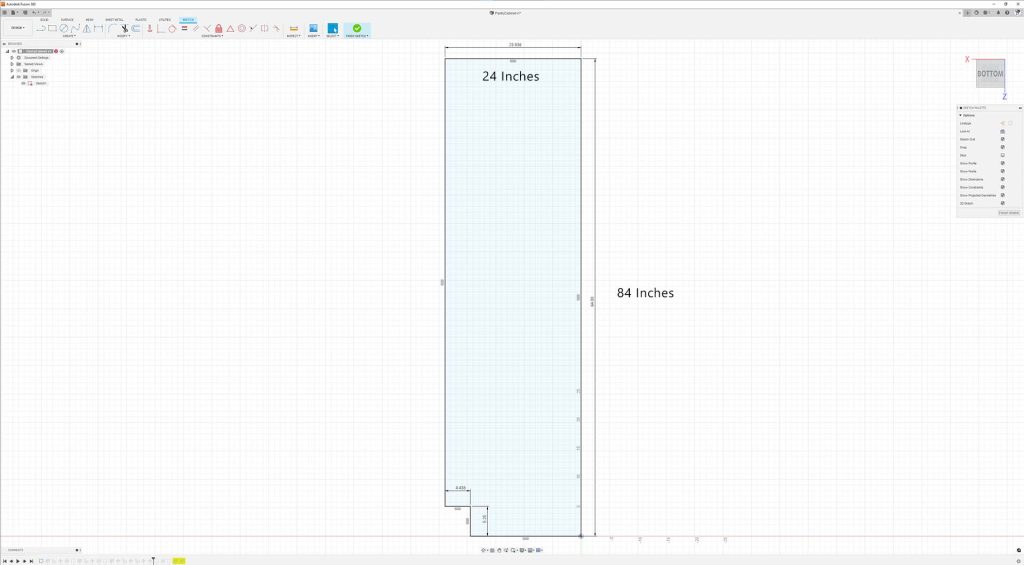
Our Kitchen Storage Is Lacking – DIY Pantry Cabinet – By U Do It
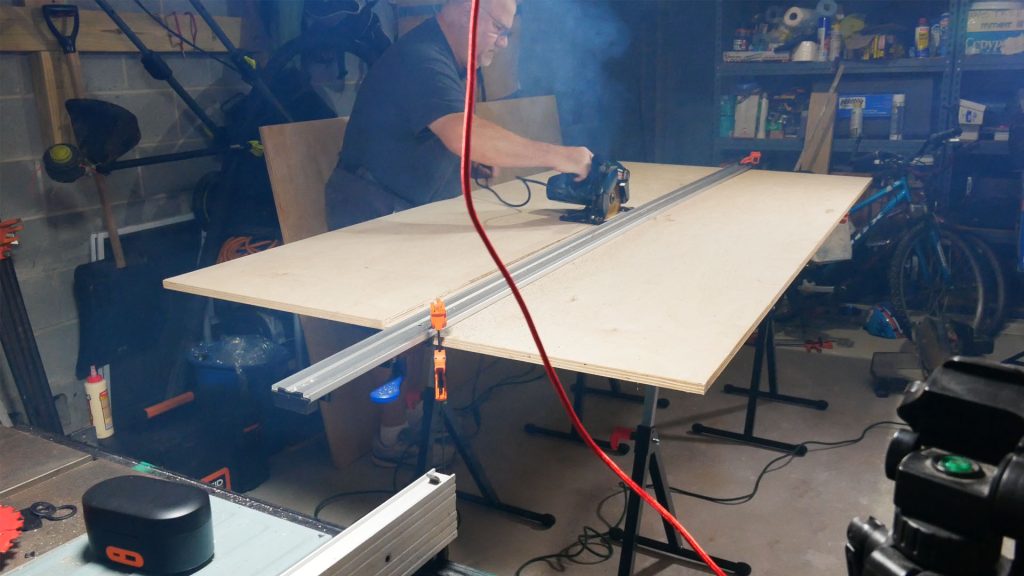
The First Cut – DIY Pantry Cabinet Part 2 – By U Do It

Do It Yourself or Hire a Contractor – By U Do It

Garage door wont close unless I hold the button down – By U Do It
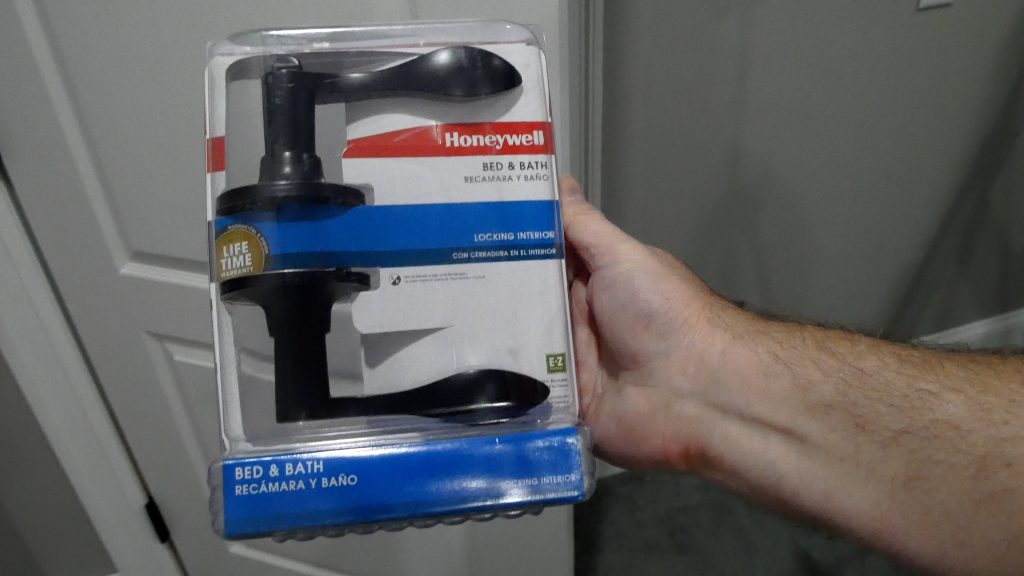
How to Install a Door Lever for a Bedroom – By U Do It

Save money by rebuilding your grill burners – By U Do It
Music of the Day

Follow U Do It on Social Media


