In this video, U Do It demonstrates how to replace a tail light in a 2007 Pontiac G6 Convertible.
It is nearly impossible to tell if your turn signal, which is also known as a blinker, is working while driving. Fortunately, the Pontiac G6 provides an indication if the turn signal is not working by blinking at a faster rate. With the car in park and the parking brake applied you can turn the key to accessory mode. Then you can flip your turn signal lever to signal left and to signal right. Notice the rate at which it is blinking. In both cases, exit the vehicle and observe your front left, front right, rear left, and rear right turn signal lights around your vehicle. If you see one is not operating properly, chances are that the bulb is defective. This doesn’t mean that there aren’t other problems.
- See Sylvania’s Automotive Bulb Replacement Guide in the Technical Details below to confirm compatibility
- Longer life than basic bulbs
- Legal for on road use
Amazon.com Price last update on 2024-07-26 - Details
Tools and Materials Used
- 3157LL Turn Signal/Brake Lamp Bulb
- Mechanic Tool Set – 12mm socket / extension / ratchet
- Paper towel to secure nut to socket so you don’t lose it
Video Chapters – Replacing a Tail Light in a 2007 Pontiac G6 Convertible
- 0:00 Fast Blinking indicates a bad turn signal bulb
- 0:32 Remove the cover to access the blinker bulb
- 2:47 Remove the tail light assembly
- 3:23 Replace the bad light bulb with a new 3157LL
- 5:00 Reinstall the tail light assembly
- 6:05 Install flanged nuts to secure tail light
- 7:41 Install covers
- 7:56 Test blinker
Helpful instructions
- Insert the key into the ignition and turn to the accessory mode.
- Flip your turn signal to the left and then to the right. If both are out they will blink fast. If only one is out only that one will blink fast. If neither are out they will blink normal. While the turn signal is blinking exit the vehicle and check the front and the rear turn signal lights so you know which to replace. If it is the rear turn signal / brake light that needs to be replaced then continue.
- Remove the covers for the bolts as shown in the video.
- Remove the nuts that secure the two bolts and remove the bolt on the rear of the light assembly as shown. (12mm socket)
- Remove the light assembly from the car as shown
- Remove the light socket from the light housing
- Wear gloves.
- Remove the bulb from the light socket by pulling outward away from the socket.
- Install the new bulb
- Install the light socket into the light housing.
- Install the light assembly
- Install the nuts and bolt and secure
- Test the blinker
- Install the bolt/nut access covers.
“As an Amazon Associate I earn from qualifying purchases.”
Picked out for you
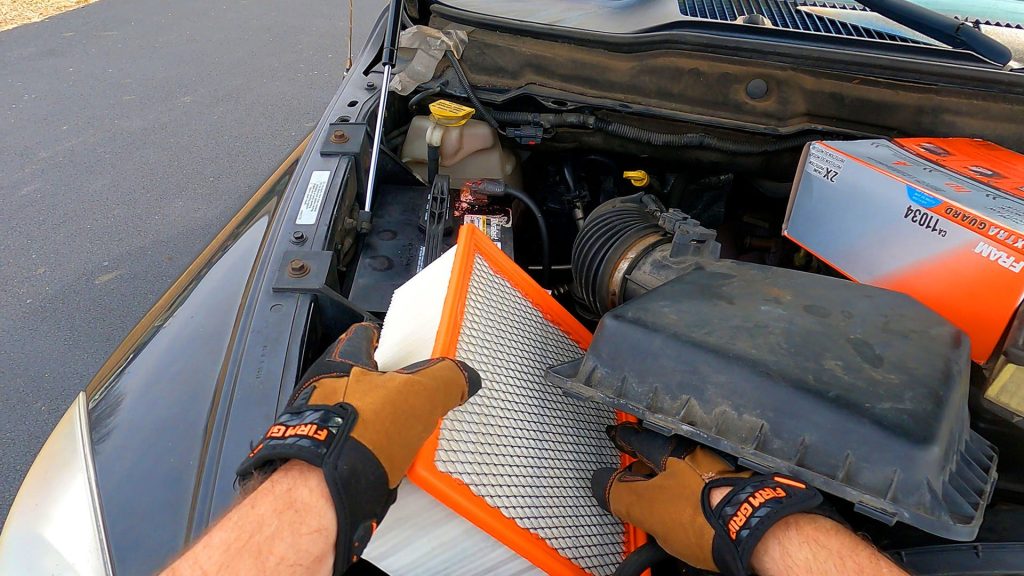
Replace your air filter as part of your regular maintenance – By U Do It
How to Remove Car Pinstripes using an Eraser Wheel – By U Do It
Restore your Headlights in your Driveway – By U Do It
How to install a GFI outlet in basement from start to finish – By U Do It
How to Install an Electric Sub-Panel to Main Panel – By U Do It
Improve the vibe of your home with Philips Hue LEDs – By U Do It
Outlet Loses Power when it is Touched or Moved – By U Do It
Save money by rebuilding your grill burners – By U Do It
How to paint two tone colors with a laser level – By U Do It
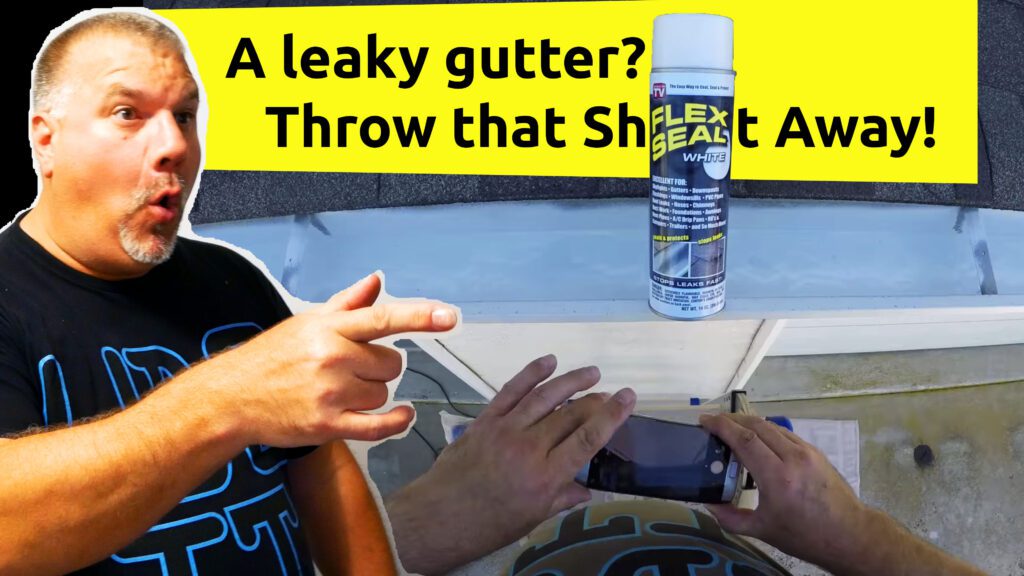
Repair a Leaky Gutter with Flex Seal – By U Do It
Design of the Day
Follow U Do It on Social Media
What’s next? Check out About U Do It, History of U Do It, and Mrs U Do It to learn even more about U Do It.


