Making DIY tile coasters is super easy with cork backed adhesive sheets. These adhesive backed cork sheets are 4 inches wide by 4 inches wide by 5/64 inches thick. When installing these on tiles you may need to trim them. Normally, 4 inch wide tiles are less than 4 inches wide to account for spacing where the grout is installed.
I purchased four inch square travertine tiles to use as coasters. To prepare the cork backed adhesive sheets I had to trim off a little more than 3/8 of an inch from two adjacent sides . That way it would fit on the back of the tile without sticking out. I removed the adhesive backing from the sheet and centered it on the tile and installed it.
Typically I do this on a crafting mat but this is on top of my anti-static mat that I use for electronics and PC assembly, which is fine because it is resistant to chemicals.

- A POWERFUL, VERSATILE SMART CUTTING MACHINE - Take your decorative art & craft to the next level with the original Cricut Maker that virtually creates any project on your wish list. Delivers a pro-level cutting experience with its advanced suite of tools
- CUTS 300+ MATERIALS IN A WHIZ - Cuts everything from delicate paper & fabric to matboard & leather. The included Rotary Blade practically cuts any fabric for a sewing project & the Knife Blade makes precise cuts to thicker stuff for more depth & dimension
- APP BASED CRAFTING TOOL WITH WIRELESS-BLUETOOTH CONNECTIVITY - With just a few clicks, create personalized and custom designs with this cutter using the cloud-based Design Space app that works on mobile phones and laptops (iOS, Android, Windows, and Mac)
Amazon.com Price last update on 2026-07-14 - Details
To find this item and other crafting items you may visit my shopping list here: https://amzn.to/3f4Z2D5
Making a DIY Tile Coaster
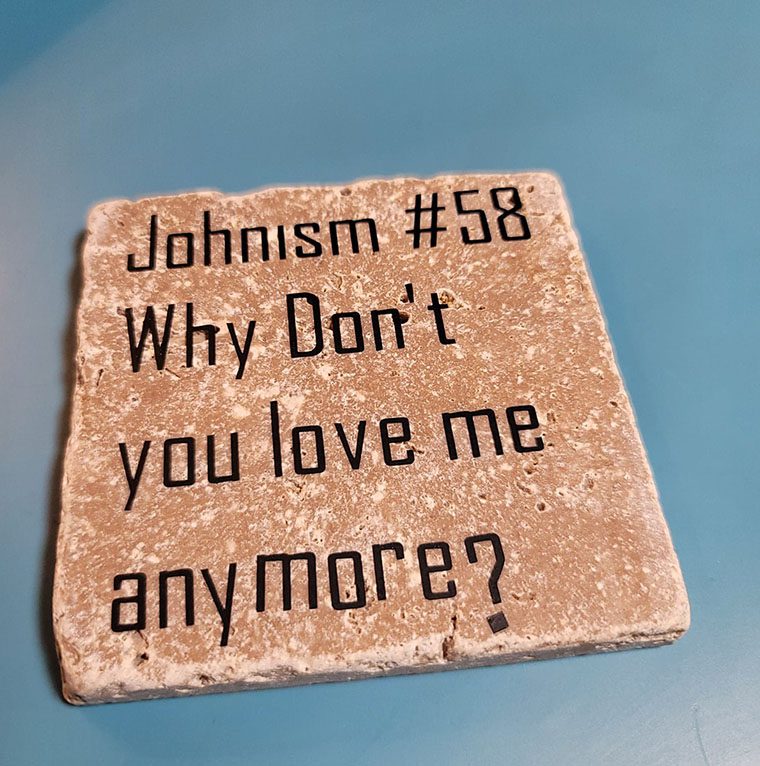
For our friend’s birthday I took one of his common sayings “Let’s make a bouncing baby BOYYYYY!!!!!” and typed that saying into the Cricut editing software and sized it so it would fit within the profile of the travertine tile.
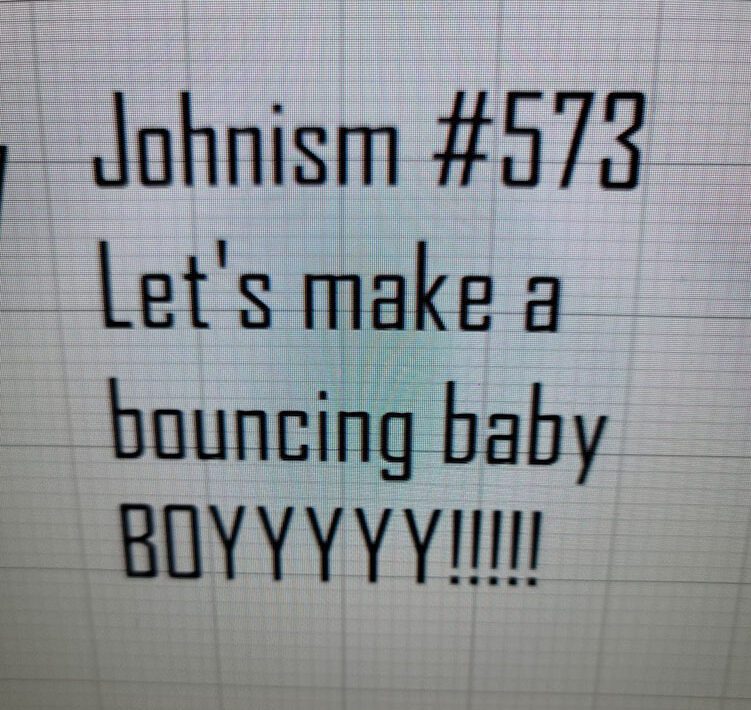
Then I sent that file to the Cricut to cut it out.
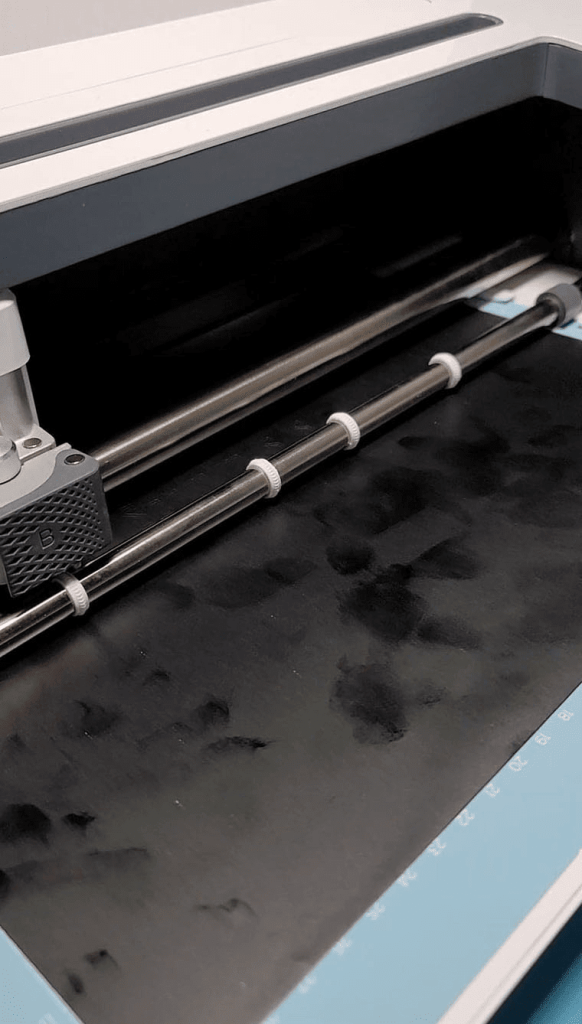
And applied the cutout to the travertine tile and weeded out all of the vinyl to be removed. It wasn’t perfect since I had to double back and add the letters again so you can see some are not in line. But the good news is that the gift was well received.
Preparing travertine tile for cork
Note: The back side of the travertine tiles are not polished as they are meant to be mounted on the wall. That’s the side you want to install the cork onto. The also have dust and dirt on them. So I cleaned the tiles with water (do not use soap) to remove any of the dust. Then I set the oven to 200 degrees, let it heat up then turned it off. I placed the tiles in the oven on the rack to help the drying time. Two days later I grabbed the tiles out of the oven. Then I readied them for installing the cork backed squares onto the back side of the tile.
If you are interested in other U Do It articles like “Making DIY tile coasters is super easy” you can see them here.
If you are interested in other U Do It™ articles you can find them here.
“As an Amazon Associate I earn from qualifying purchases.”
Picked out for you
DIY Acoustic Panels for Better Sound Treatment – By U Do It

Replacing an Edger Blade is Easy with the Right Tools Video – By U Do It
![]()
I Turn Sam Sheffer Snapchat Ghost into a Masterpiece – By U Do It

Save money by rebuilding your grill burners – By U Do It
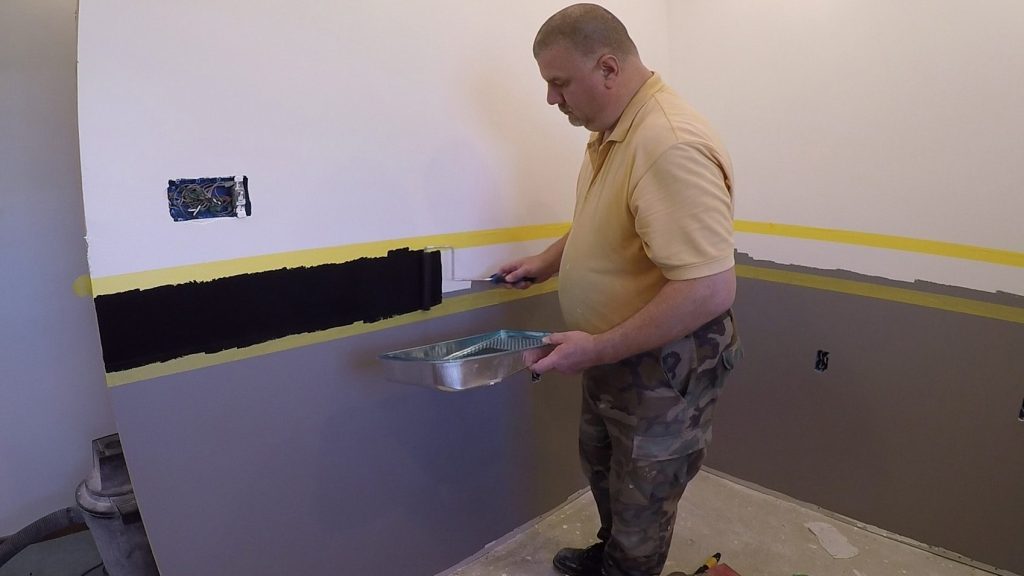
How to paint two tone colors with a laser level – By U Do It
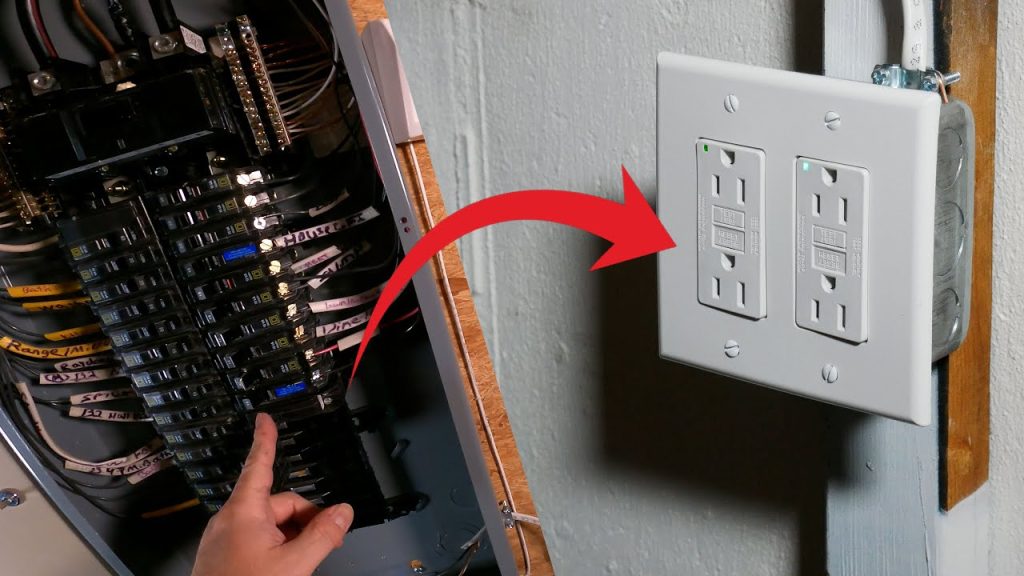
How to install a GFI outlet in basement from start to finish – By U Do It
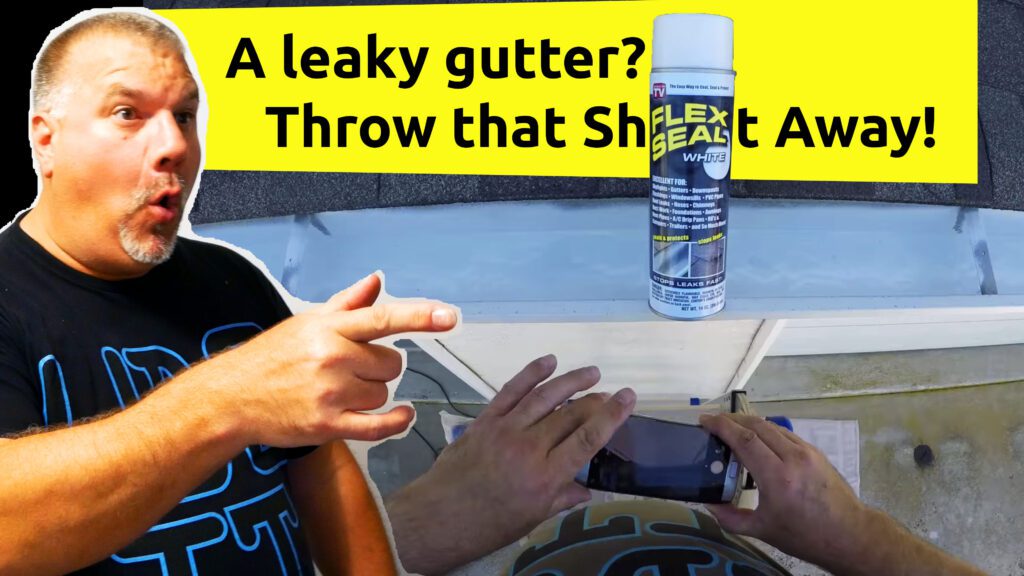
Repair a Leaky Gutter with Flex Seal – By U Do It
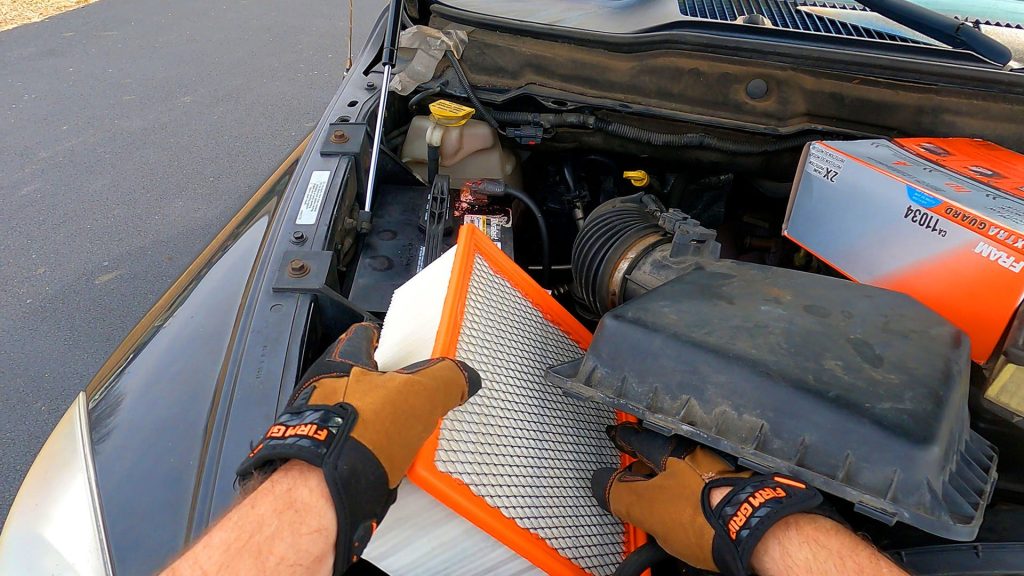
Replace your air filter as part of your regular maintenance – By U Do It

How to Remove Car Pinstripes using an Eraser Wheel – By U Do It

Restore your Headlights in your Driveway – By U Do It
Design of the Day

Follow U Do It on Social Media


What’s next? Check out About U Do It, History of U Do It, and Mrs U Do It to learn even more about U Do It.
1 comment
Do you hyper focus like I do and rage out with ADHD after having a Coke?
[wpd-giphy id=’RlMCDzDQHGPkb3tSLF’ subdomain=’media1′ width=’270′ height=’480′]
Comments are closed.