The DIY Experience of Do It Yourself Build a Shed is very rewarding. I’ve made some mistakes and corrected what I could. I also chose to purchase some tools to make the building experience easier. And, I chose not to purchase other tools that could have saved time. These topics and others are covered in this article.
Ideation
This shed has been planned for several years. I finally decided to do this as I need room to work to produce more content for my TV show DIY with U Do It. Some projects are outdoors, like cleaning my gutters or pressure washing my house. But other projects are best performed within a workshop.
Project Status
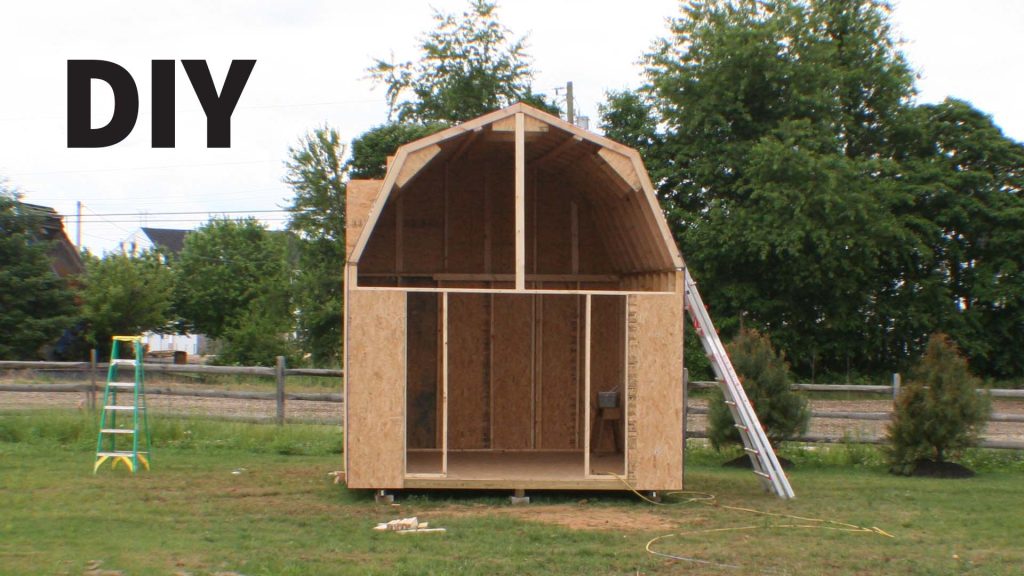
As of December 8, 2023, we have the framing completed on the shed. The sheathing is installed on three walls. I am working on the gable overhang for the front of the shed. Once I finish sheathing the back of the shed I’ll begin working on the rear gable overhang.

Planning versus Reality
You can plan for years but at some point, you need to just begin building. I created my plans in Adobe Illustrator and used those plans to determine my list of materials. I maintained the materials list within Microsoft Excel so I could keep track of my expenses. My plans were very detailed down to 1/4 of an inch in some cases and 1/16 of an inch in others. In the photo below you can see the floor joists, which are spaced 16 inches on center, are doubled up on the ends as well as the rim joists. It isn’t necessary since these are resting on the timbers, but I specified this in my plans for extra strength.
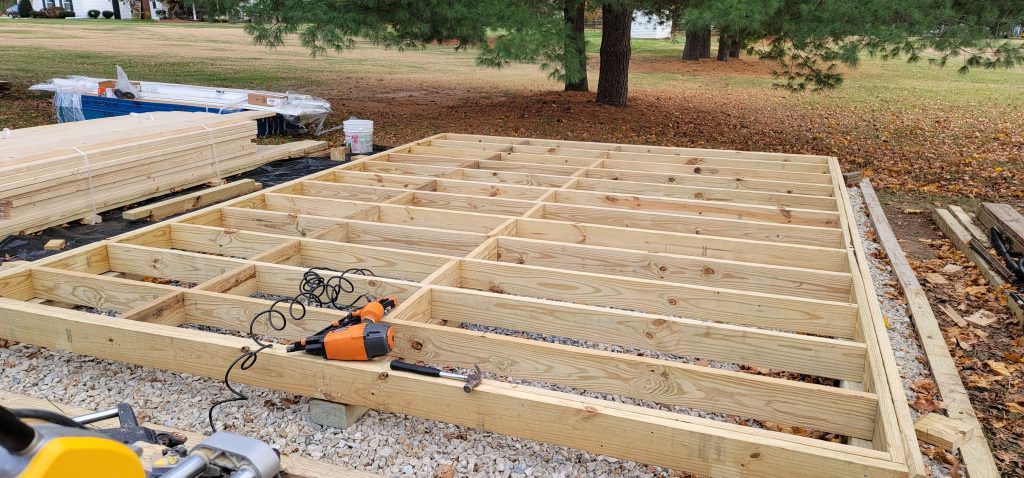 The plans called for (15) 2x6x12 pressure-treated wood and (4) 2x6x16 pressure-treated wood. These were added to the materials list with links to Lowe’s Home Improvement within my spreadsheet. Because I had extra materials from a previous job, I did not include the blocking in the materials lists. The blocking is the smaller pieces of pressure-treated wood that are set in between the floor joists, which provide an added level of rigidity to the flooring.
Since I had a lot of fasteners from previous jobs on hand, I did not include them in my materials list. For instance, the Grip Rite Exterior Galvanized Smooth Round HD GR034HG nails below that I had from a previous job. I used these to build my shed on our last property and finish my basement. Framing is nearly complete and I just threw this empty box away. I have maybe 20 clips of nails remaining to complete the job. You can choose how detailed you want to be on your materials list.
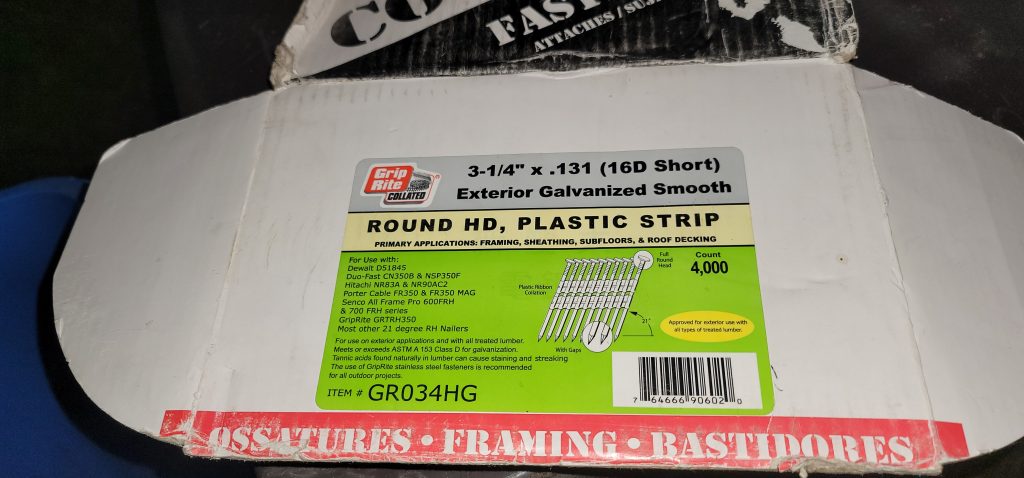
Grip Rite Exterior Galvanized Smooth Round HD GR034HG
It is Necessary to Correct Mistakes
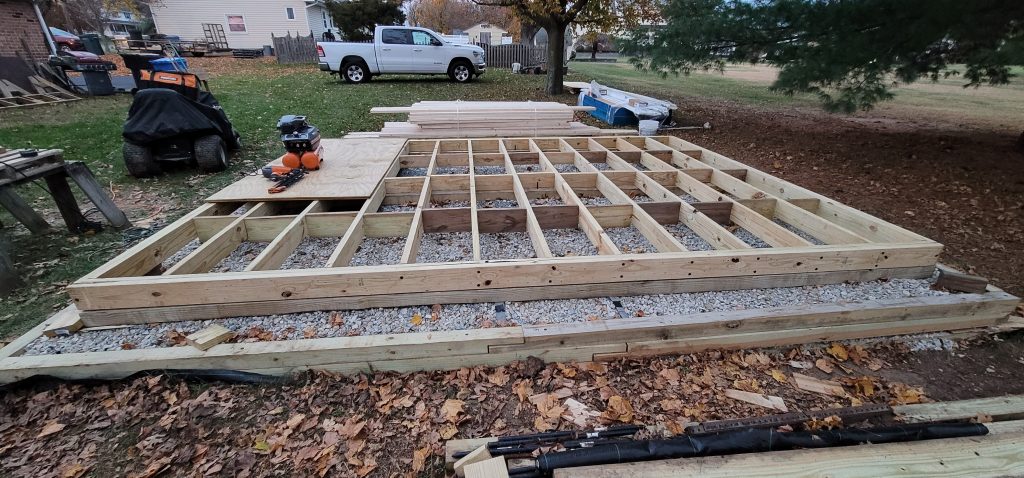
In my opinion, this deck looks great and is ready for flooring. But, there’s a story behind the construction of it. You have certainly heard “Measure twice cut once.” There should also be a quote “Measure twice build once.” Well now there is, I just quoted it. My plans were very detailed down to the exact placement of each joist relative to the rim joist for 16 inches on center.
If you weren’t aware, 16 inches on center is an ideal construction spacing so that a 4-foot by 8-foot sheet of plywood will break at the center of a stud, joist, or rafter. If you look closely you can see the sheet of pressure-treated plywood breaks in the middle of the floor joist. This means that a 1-1/2 inch wide joist has 3/4 inch for the edge of one sheet of plywood. The other 3/4 inch is for the next sheet which will butt up against it but staggered using an alternating 4-foot, 8-foot pattern.
Measure Twice Build Once
The rim joist facing you has a story to tell. It was assembled, then re-assembled then re-assembled again. As I mentioned my measurements for the flooring were on 16-inch centers. I measured correctly on the far rim joist. But on this side facing you, I was off by an entire 1-1/2 inch. When I pulled my measurements on this rim joist for the joist placements, I think I pulled it from a bad initial measurement. This just continued propagating the error. If I didn’t correct this then none of my plywood sheets would break properly in the middle of a joist.
I had to correct this error and I wasted a day doing it. I had to remove all of the lag screws. Then I used my Craftsman 42-Inch Spring Steel CMHT82500 Pry Bar, which is a huge pry bar, to wedge in between the two rim joists and pry off the outer rim joist. Once I removed the outer rim joist I was then able to bang out the inner rim joist with my hammer. Then I used my DeWalt reciprocating saw to cut all of the framing nails flush.
If you see a mistake, it is best to take the time to fix it. Otherwise, you could have an improperly built structure that would be weak. We have had 100-mph winds in our area as a result of heavy storms passing through. We’ve even had tornadoes close to us. I want this structure as strong as possible.
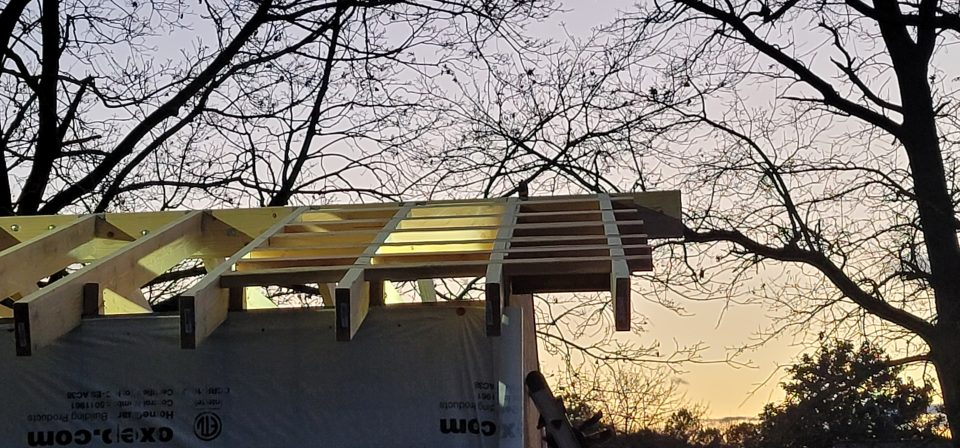
Rafters Didn’t Fit
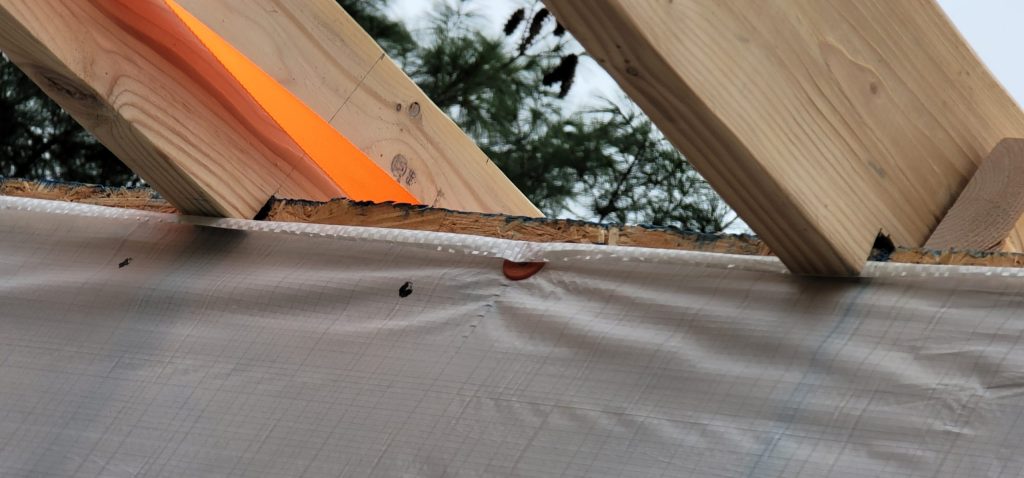
My plans were exact and drawn down to the 1/32-inch tolerances to get measurements for the angles so I knew exactly where to cut the bird’s mouth on the rafters. A bird’s mouth is a little cutout of the rafter that allows it to rest on the top plate of the wall, as shown in the photo below. The placement of the bird’s mouth can be precisely calculated through Pythagoras’ theorem using the rise and run as inputs. I used my design program to precisely calculate where the bird’s mouth was to be placed.
When I started with the first rafter, which is the one on the right in the photo below, it would not fit properly. I couldn’t figure out why and I took the rafter down, and cut the bird’s mouth out more so it would fit, which was the wrong approach. There were two issues but I realized them at different times. As I said, my plans were exactly down to the 1/32-inch. What was lacking in my plans, which I realized after I was trying to figure out the issue with the bird’s mouth, was that the plans did not include the OSB sheathing on the walls. The thickness of the OSB is 7/16 inch but could be as much as 9/16 depending upon its expansion from moisture exposure.
Updated Plans
I updated my plans to include the OSB and obtained the exact measurement for the cutout of the bird’s mouth on the rafter. You’ll notice the left rafter has a much better cut-out of the bird’s mouth. This is based on my updated measurements. Sometimes, plans are correct but lack details that you’ll find in the field and you need to update them.
Although this rafter is in place it still didn’t fit and I couldn’t figure out why. While standing on a ladder I observed the ridge beam and its orientation to the center of the shed. I used a level to translate the edges of the ridge beam down to the ceiling joist, which is that 2×4 on the right side of the photo below. I measured the center of the 2×4 and learned that the ridge beam was off by 1/2 of an inch further away from the wall shown.
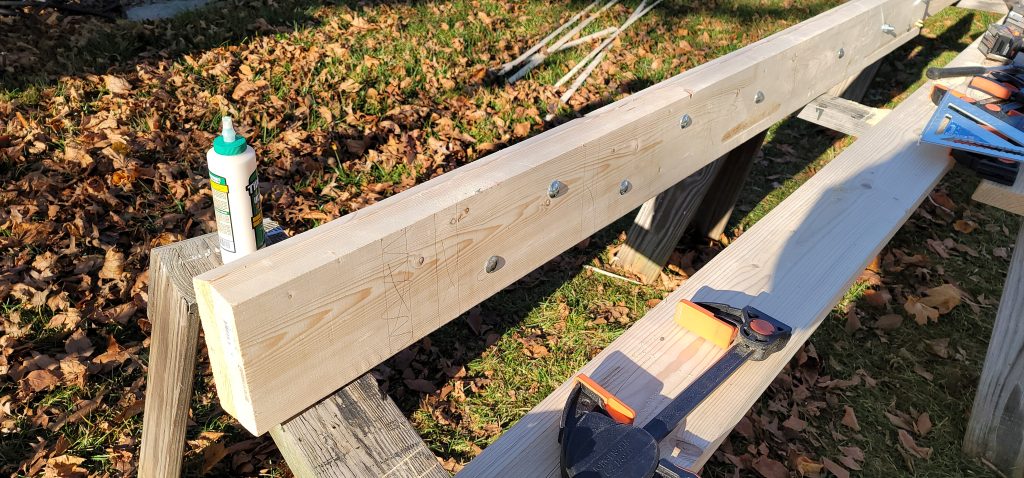
To add further context the ridge beam is heavy and slightly flexible. It is made of 2-ply 2×8 lumber glued and fastened together as shown below. I needed a way to pull the ridge beam, which is slightly flexible laterally, towards the center. Knowing that my rafter and the bird’s mouth were cut perfectly I knew this rafter was the key to correctly positioning the ridge beam in the center.
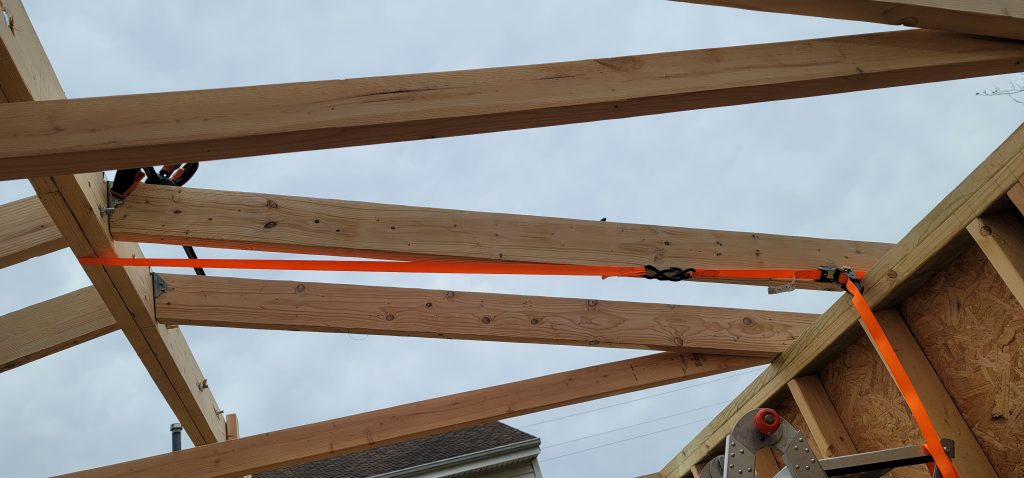
Using a ratchet strap as shown below I was able to use the lip of the bird’s mouth as a point of leverage to pull the ridge beam into position using the ratchet strap. Once it was in position I was able to clamp the Simpson Strong-Tie 3-2/7-in 18-Gauge Galvanized Steel Ridge Rafter Connector to the rafter. Then I could toe-nail the rafter to the ridge beam followed by securing the connector to the rafter.
Tools
Whenever I work on a project I try to purchase the tools and consumables that will make the job easier. I will also walk through a store on occasion and look for clearance items. If there is a tool that might have a use I’ll buy it. I have all of the tools I need for this job to build the shed. However, I decided to purchase some additional tools and consumables.
Grabo
I knew I didn’t want to forcefully carry these (6) sheets of 3/4 inch pressure-treated plywood with my hands alone. So, I purchased the Nemo Grabo Electric Vacuum Suction Cub Lifter to aid in this. I watched as many of my friends used these and knew I had to get this. I’m working on a review video of this product as well as all other tools that I purchased. The Grabo worked well in helping me carry the sheets of plywood. But, it would not grab 7/16 OSB at all. So I was disappointed with that but fortunately, 7/16 OSB is not heavy.
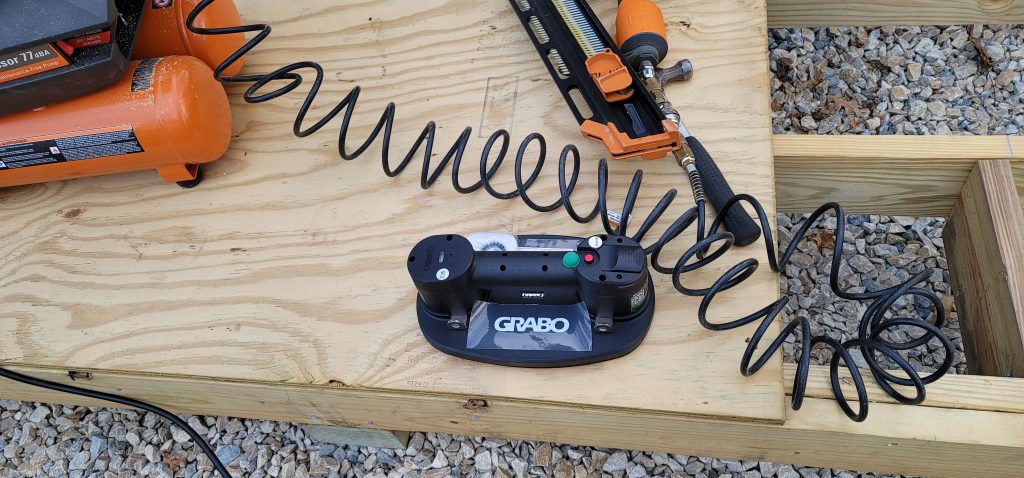 Nemo Grabo Electric Vacuum Suction Cub Lifter
WEN Pneumatic Coil Roofing Nailer
Shortly, I’ll be working on the roofing for our shed. I borrowed a roofing nailer from my cousin Brian of Innovative Builders when I built our last shed. This time I wanted to have it on hand for this project and future projects. In addition, it provides another opportunity for a tool review.
Freeman Palm Nailer
A pneumatic palm nailer is a gift from the heavens. When you have a framing nail that wasn’t set properly all you do is place the tip of the palm nailer over the protruding nail. The palm nailer does all the work and hammers in the nail. Sometimes, you can’t get enough swing to set a nail. The palm nailer will allow you to nail it in without even striking it with a hammer. I own a pneumatic palm nailer but it just broke. I’m certain that the gaskets within it failed since it was so old. So I purchased the Freeman Palm Nailer as a replacement and will be putting it to use on the remaining part of the shed building.
Electric Hoist
I want to build a ladder hoist to hoist materials up to the roof of the shed, including lifting the OSB sheets. I was hoping that the Grabo would hold onto the OSB and the hoist could simply wrap around the handle and lift the sheet. But that is not the case. So now, I just need the ladder hoist to hoist up the sheets and shingles to the roof.
DeWALT 24V Max Planer
I own several hand planers but I wanted a hand-held power planer that I could use on a ridge beam that I built for the shed roof. The beam was not level on the bottom but it needed to be to evenly transfer the weight of the roof to the front and back walls of the shed.
Cap Nailer / Stapler
I chose not to purchase this product. There are several manufacturers but one popular manufacturer is Stinger, which makes a cap nailer. This product is very expensive and I’m ok spending extra time hammering in cap nails. The cap nails are used to secure the house wrap around the shed as well as nail down the synthetic underlayment on the roof.
Oscillating Blades
I purchased several oscillating blades to help with the construction of the shed. These include blades capable of cutting through nail-embedded wood, wood blades, and even a shingle-cutting hook blade. I love the oscillating tool and its ability to plunge cut. It was perfect for cutting the OSB flush to the roof rafters following its profile including the dados that were cut out for the gable ladder 2x4s.
The DIY Experience
I wouldn’t have this any other way. Building is something I’ve always enjoyed. I’m building this shed to be functional but to also look amazing. I have plans to surround the shed with river rock, include low-voltage soffit lighting, and have windows and shutters. Every time I see the shed I’ll be reminded of the experience I had building it – the DIY Experience.
There have been some tough times building it including a back muscle that I pulled and struggled through. I rushed through some things while building that had to be adjusted or replaced. Our friend and mentor Savvy Turtle is a source of inspiration and determination as he has been rebuilt many times from war-time injuries and is still doing things. So I used his grit and determination to persevere through slight discomfort.
As an engineer, there is usually a battle between those in the field and those in the office. Engineers don’t always see the details in the field and those in the field don’t always see the big picture. Great things happen when engineers and builders are in harmony and work together to solve problems. I was able to experience both sides of this. I think it is important to share our mistakes as it can help others to avoid them. Making mistakes or encountering errors is normal and will invariably happen. Remember to take the time to resolve the ones that can have an impact on your final product.
Do It Yourself Build a Shed Series
To learn more about this series check out the DIY Build a Shed Series here.

Picked out for you
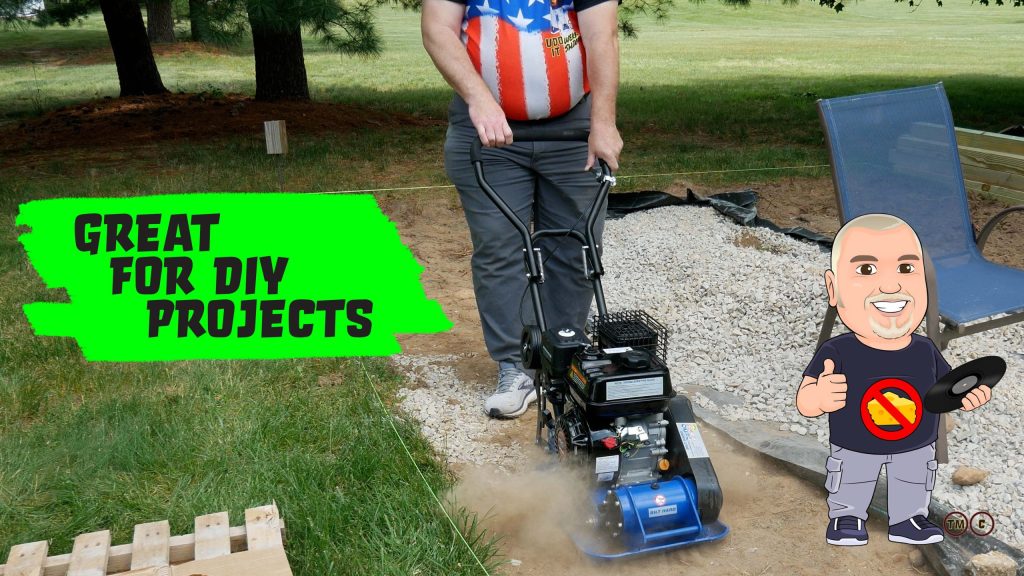
Great Buy: Do It Yourself Build a Shed – Bilt Hard Plate Compactor – By U Do It

Do It Yourself Build a Shed – Where to Start – By U Do It
Do It Yourself Build a Shed – Planning and Estimating – By U Do It
Protect your Cabinets with Drawer and Shelf Liner – By U Do It
Our Kitchen Storage Is Lacking – DIY Pantry Cabinet – By U Do It
The First Cut – DIY Pantry Cabinet Part 2 – By U Do It
Do It Yourself or Hire a Contractor – By U Do It
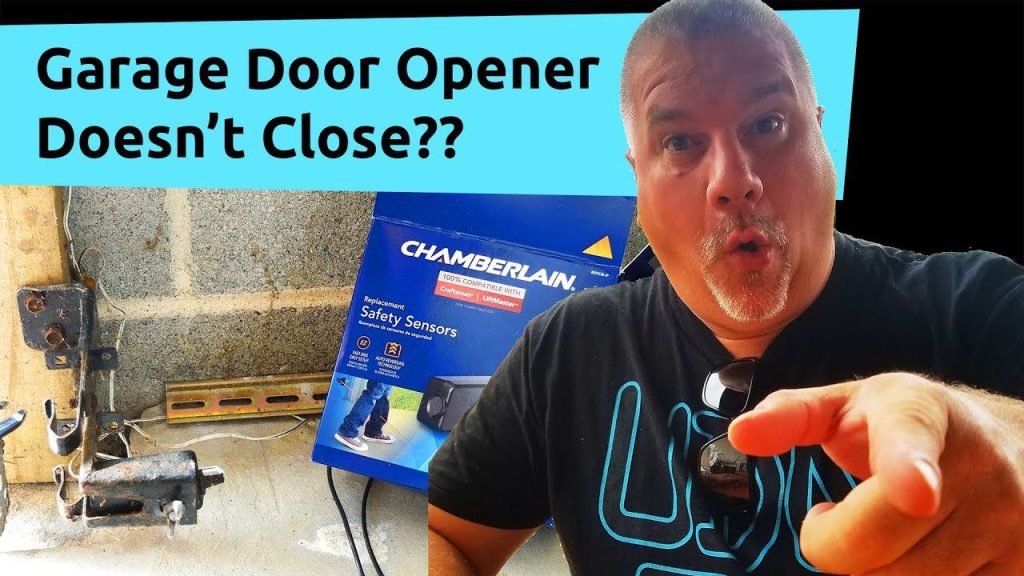
Garage door wont close unless I hold the button down – By U Do It
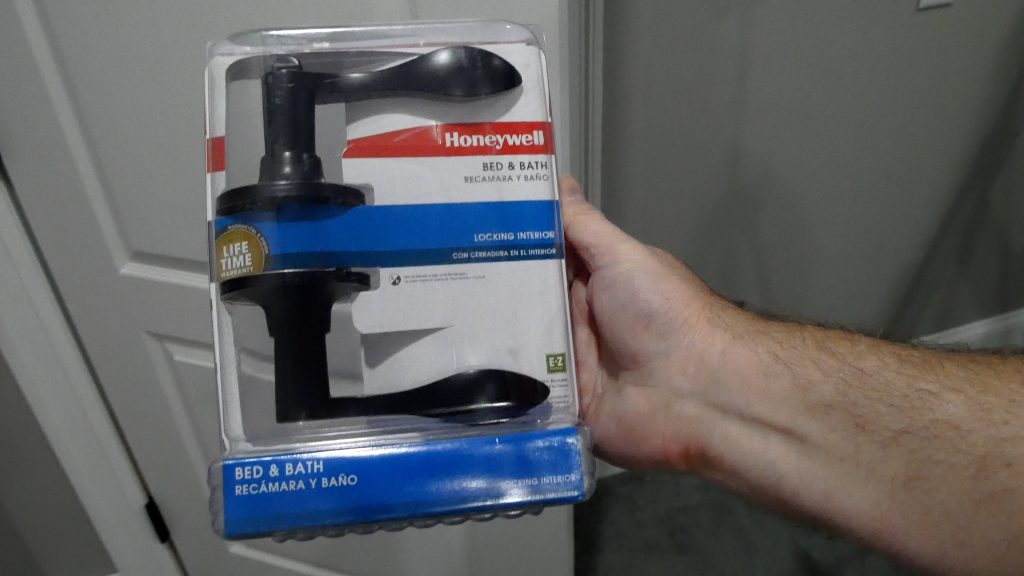
How to Install a Door Lever for a Bedroom – By U Do It

Save money by rebuilding your grill burners – By U Do It
Music of the Day

Follow U Do It on Social Media


What’s next? Check out About U Do It, History of U Do It, and Mrs U Do It to learn even more about U Do It.