Garage door wont close unless I hold the button down.
My garage door would not close. I had to hold the button down. This happened to me on two separate occasions. The first time was from Superstorm Sandy, which hit in October 22, 2012. The second time was from the blizzard Jonas that turned into a Nor’easter storm in January 2016. I fixed it by replacing the sensors. They were submerged under water from the flooding.
In this video I demonstrate how to replace garage door sensors. My sensors were damaged from being submerged. And my garage door wouldn’t close. I show you how to remove the old garage door sensor and garage door brackets and replace the bracket and sensor with new ones.
How to Install Garage Door Sensors
Identify the manufacturer of the garage door opener. Identify the sensors and try to find a manufacturer name and model number on the sensors. You may have to remove the sensors to locate this information. With this information order replacement sensors. Read the directions of the sensors. Consult your installation guide for your garage door opener.
Tools Used
For tools that would be useful in this installation visit my UDoIt™ Contractors Tools for Home list: https://amzn.to/3CHXveu
- Wire strippers
- 3/8″ Ratchet set
- Screwdrivers
- Pliers
- Wire staple gun
- Hammer
Materials & Supplies Used
- Newer chamberlain manufactured garage openers including sears craftsman, chamberlain, LIFTMASTER
- Newer chamberlain openers that currently have black brackets that clip onto the garage door track
- Chamberlain openers that currently have 1 sensor with a green light & sensor with a yellow light
Amazon.com Price last update on 2026-07-14 - Details
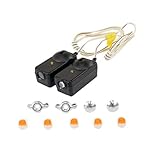
Garage Door Safety Beam: https://amzn.to/2BcjjlE
Garage Door Safety Sensor Brackets: https://amzn.to/2MMTE4p
Chamberlain/LiftMaster/Craftsman Garage Door Opener Replacement Safety Sensors G801CB-P: https://amzn.to/2nHj34h
For more garage door sensors and garage door openers visit my UDoIt™ Garage Door Openers / Maintenance list: https://amzn.to/3Xo2M4m
- PB Blaster
- Electrical tape
- Replacement garage door sensors
- Cardboard or oil mat
- Nylon wire ties or cable ties
- Wire staples or wire clips
Removing Old Sensors
Flooded sensors or a humid environment can cause the threads of the retaining bolt and nut to rust. As you can see in the video I sprayed placed a piece of cardboard under the garage door sensor. I sprayed PB Blaster on the threads and let it soak in and lubricate the rust. Using a ratchet and socket I was able to remove the bolt holding the old bracket in place. Cut the wire with enough slack to attach the new sensor. Repeat on the other side.
Installing Replacement Garage Door Sensors
To install the first sensor secure the new bracket in place. Install the sensor into the new bracket. Route the wire from the new sensor and secure it properly. Use a a wire stapler, wire-clips (needs a hammer) or other approved method. Determine the length of wire that you need, leave a little slack and cable tie off. Cut off the excess with your wire strippers. Connect the appropriate wires together. Both white wires should be connected together. And both white wires with a black stripe should be connected together. Using the supplied wire connectors splice them together. Repeat for the other garage door opener.
Test Garage Door Opener
Verify that the garage door sensors are working properly You should see an LED indicator showing that the garage door sensors are properly aligned. If they are not in alignment, loosen the wing nut on the first sensor and use your best judgement. Tighten the wing nut. Repeat on the other garage door opener. From this state, you should be able to get them in alignment. Are the LEDs on? There could be a problem with wiring. Possibly the wiring is cut. from the garage door opener. I had this happen. It was not fun replacing the length of wire from the garage door sensor all the way to the garage door opener.
If everything is connected correctly, give the garage door remote a press and observe whether or not the garage door closes.
If you are interested in other U Do It™ articles you can find them here.
“As an Amazon Associate I earn from qualifying purchases.”
Picked out for you
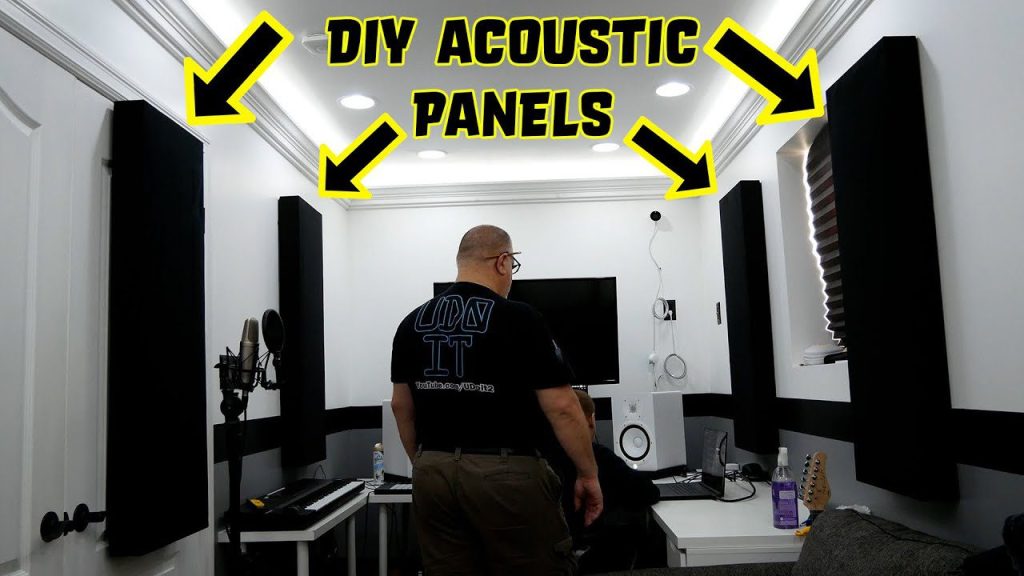
DIY Acoustic Panels for Better Sound Treatment – By U Do It

Replacing an Edger Blade is Easy with the Right Tools Video – By U Do It

Making DIY tile coasters is super easy with cork – By U Do It

Save money by rebuilding your grill burners – By U Do It
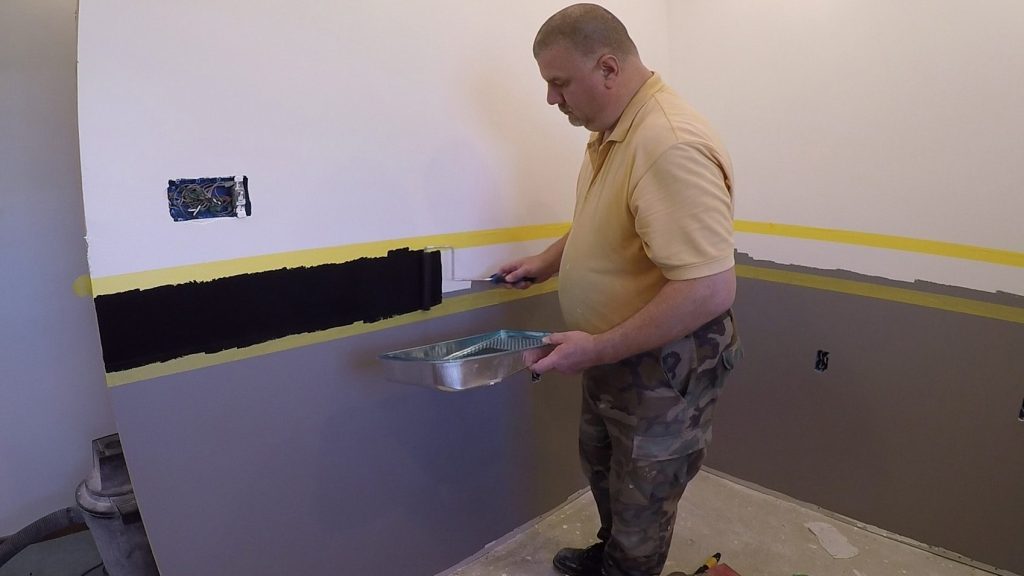
How to paint two tone colors with a laser level – By U Do It
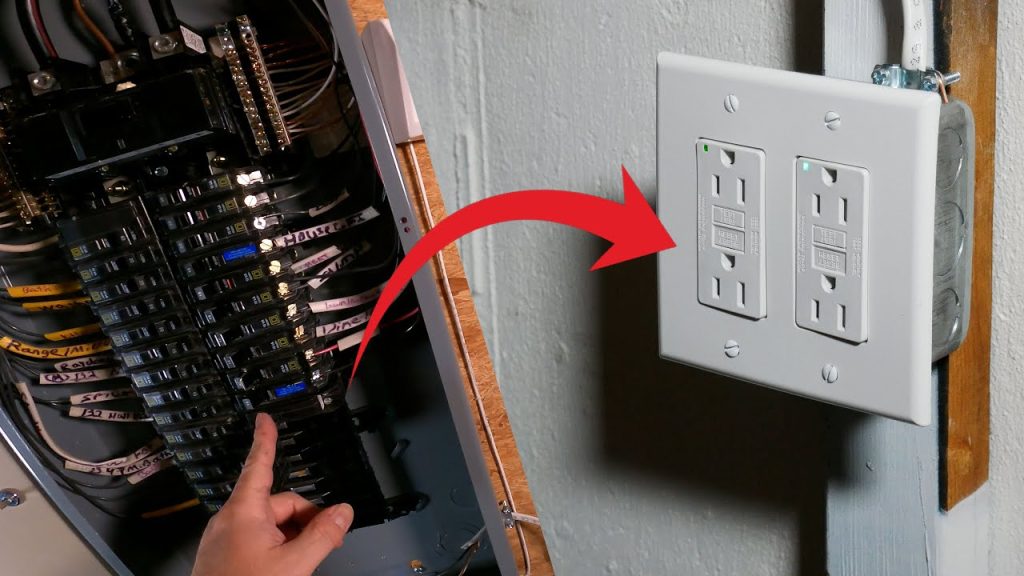
How to install a GFI outlet in basement from start to finish – By U Do It
Repair a Leaky Gutter with Flex Seal – By U Do It
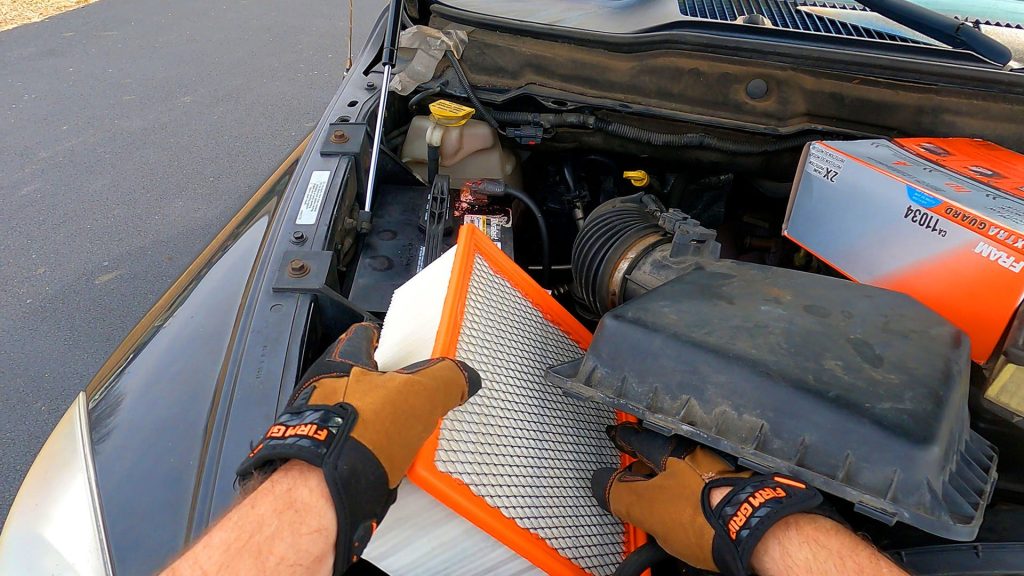
Replace your air filter as part of your regular maintenance – By U Do It

How to Remove Car Pinstripes using an Eraser Wheel – By U Do It
Restore your Headlights in your Driveway – By U Do It
Design of the Day

Follow U Do It on Social Media


What’s next? Check out About U Do It, History of U Do It, and Mrs U Do It to learn even more about U Do It.