An electric sub panel is installed for many reasons. Adding additional breakers to a workshop for your power tools or lighting is a common one. Or you want to convert your unfinished basement into a home-theater. A Sub-Panel installed in the basement will give you the flexibility beyond the one GFI outlet and one pull-string light you have. For instance, you can add additional breakers to the sub-panel. These breakers can be designated for outlets, lighting, powered incline theater seating, a projector or even building out a retro arcade area.
What’s Covered in this Article
- Recommendations
- Tools and Materials
- The sub-panel installation as shown in the video
- Addresses some misconceptions and frequently asked questions
- National Electric Code (NEC) Links
- Safety First
Safety Recommendations
I’ll state this again at the end but it is very important that you consult a licensed electrician. It is equally important that you review your plans with your city or town’s code enforcement officer. And if at any point you feel uncomfortable working on electric you should stop. Consult a licensed electrician to perform the installation for you.
Tools and Materials
The electrical tools used in my installation are available here: https://amzn.to/4016OjF
The general contractor tools used in my installation are available here: https://amzn.to/3CHXveu
The materials used in my installation are available here: https://amzn.to/3mYrI4h
Electrical and General Contractor Tools Used
- A circular saw to cut OSB (Oriented Strand Board) or Plywood
- Construction gloves
- A straight edge or angle iron for reference line
- Ridgid Power Tools Drill / Driver
- Clamps
- Ramset .22 Caliber Fastener
- Ladder
- Wire Cutter for 2-o wire
- Romex cable ripper
- Tape Measure
- Hammer
- #2 Robertson Screw Driver or #2 Combination Tip Screwdriver like Klein Tools 32378
Materials Used
- 4×8 Sheet of 7/16″ thick OSB or 1/2″ Plywood
- Ramset Nails with washers
- Ramset Power Loads Rounds (yellow or red)
- Siemens PL Series 100Amp Load Center P2020B1100CU
- Anti-Oxidation Compound
- 14 feet 2-0 gauge 4-Wire
- Siemens AFCI/GFCI Dual Function 20 Amp Breaker Q120DFP
- Wirenuts or Push in Wire Connectors
- Siemens Q2100 2P 100A Circuit Breaker
Sub Panel Installation Video
These are the chapters within the Sub-Panel installation video:
- 0:00 Installation of Sub-Panel
- 1:39 Unboxing of Siemens panel P2020B1100CU
- 2:14 Mounting of panel
- 3:40 Mounting of romex connectors to secure 2-0 wire
- 4:51 Installation of Wire
- 7:03 Landing of wire in Sub-Panel
- 10:57 Installation of 100Amp double pole breaker in main panel to receive 2-0 wire that feeds sub-panel
- 13:10 Cleanup of main panel wiring
- 14:57 Replacement of 20Amp standard breaker with combination AFCI/GFCI breaker
- 16:29 Testing of the breakers within panel after cleanup of wiring
- 17:40 Preparation of landing 2-0 wire in main panel
- 19:17 Application of anti-oxidation compound to aluminum wiring and landing wiring to ground and neutral bus bars.
- 23:47 Application of anti-oxidation compound to aluminum wiring and landing wiring to breaker
Misconceptions and Frequently Asked Questions
Why is it necessary to remove the bonding screw in the sub-panel?
The Bonding Screw in a sub-panel bonds the neutral bus bars to the ground. It is necessary to remove it so that the neutral and ground paths remain independent back to the main panel where they are combined. This way, in the event a fault, current will not find it’s way through the metal surfaces of appliances and equipment. Have you ever felt a tingling sensation when you touched an appliance? Don’t try this but this is current finding its way to the grounded surface of the appliance. This can be very dangerous. By keeping the neutral and ground isolated within the sub-panel current will not find its way through the grounded surface of appliances.
Why is it necessary to separate the neutral and ground wires in a sub-panel?
See above.
Does adding a sub-panel increase or decrease my service?
The short answer is no but it is important that you understand why. Adding a sub panel does not increase the current capacity of your service. Adding a sub-panel only allows you to segment your existing circuits or add additional branches. It does NOT permit you to add an addition onto your home or build a kitchen in your basement.
Adding a sub-panel doesn’t increase your capacity. For instance, if you add a 50Amp sub-panel to a 100Amp Load Center you did not gain 50 additional Amps of capacity. Similarly, you do not suddenly lose 50Amps of capacity by adding a sub-panel. It is best that you see the question below “Why do you want to install a sub-panel?”
Why do you want to install a sub-panel?
You need to first answer this question. “Why do you want to install a sub-panel?”
Segment Circuits
If you want a sub-panel merely to segment existing branches that perfectly fine. For instance, you have a branch where the outlets from your hallway, are on the same branch as your bedroom and foyer. When you plug in your vacuum in the hallway the breaker trips because you have your computer, a gaming console and a box fan all running at the same time. This is a great opportunity to rewire your home and separate the hallway and foyer from the bedroom. You do this by installing another breaker and routing the bedroom wiring into the new breaker. Please be aware that it is not always that easy. A licensed electrician needs to evaluate your wiring to make sure you can isolate the other rooms onto separate circuits.
Add a Kitchen to your Basement
You want a sub-panel because you want to build another kitchen in your home. Then you are exceeding the capacity of your main panel. A load calculation was performed when your home was designed prior to being built. This is based on the square foot of the home multiplied by a 3VA, the number of bathrooms, appliances, HVAC units, bathroom fans, electric dryer, washing machine, etc. This load calculation certainly did not include the appliances required for a second kitchen.
You will need a licensed electrician to help calculate your new load requirements and determine if a larger service is to be installed. In the end you may not need a sub-panel and may just need to install a larger service. You may have a 100Amp service now and determined that you need a 200Amp service. If you have the physical room for a larger panel then this will naturally give you more available slots.
Building an Addition or Adding a Workshop
Building an addition is a similar problem. The additional comes with a VA multiplier of 3VA per additional SQFT. You also have to consider the purpose of the new space.
- Are you adding another laundry room?
- Are you simply providing additional living space?
- Will you need an additional HVAC system or one or more mini-split units to be added?
- Is the purpose of the addition for a workshop?
- What size machinery do you expect to operate?
- Will you be operating a 100 gallon compressor at the same time as a plasma CNC while working on another project welding?
If so, you will need to provide all of this information to the electrician who can perform the new load calculations for you.
Depending upon your situation, you may still want a sub-panel installed to give you remote connection points. Running one long larger gauge wire is easier than running 10 12AWG or 14AWG wires back to the main panel.
Please ensure proper electrical bonding by torquing all setscrews and lugs down to the proper torque. Proper electrical bonding helps to ensure a good flow of electricity with negligible resistance impeding the flow.
Consult a Licensed Electrician
Please consult a licensed electrician before you attempt any of this on your own if you do not have detailed knowledge of electricity. An improper installation could result in ineffective GFI protection, shock, electrocution, or fire. Please follow all safety precautions when working with electricity. If you are not comfortable performing this work then please hire or consult a licensed electrician. This is not something that you can take an approach where you’ll just wing it. A slight misstep could result in shock or electrocution. But don’t consider the only hazard the electricity. Your work area could be equally as dangerous. Observe all reasonable safety precautions from every level from standing on a ladder to installing the panel to landing the wires. Even improperly handling a knife or wire cutters could result in injury.
This demonstration shows half-way through that it would be nearly impossible to tie in the sub-panel with the bundle of wires that occupied the right half of the panel. It was necessary to short all wires and reroute them for a better layout to avoid any obstructions to the 2-0 wire that needed to be landed in a 2-pole 100 Amp breaker. Skip ahead of this section if it does not apply to your panel setup.
If you are interested in other U Do It™ articles you can see them here.
Picked out for you
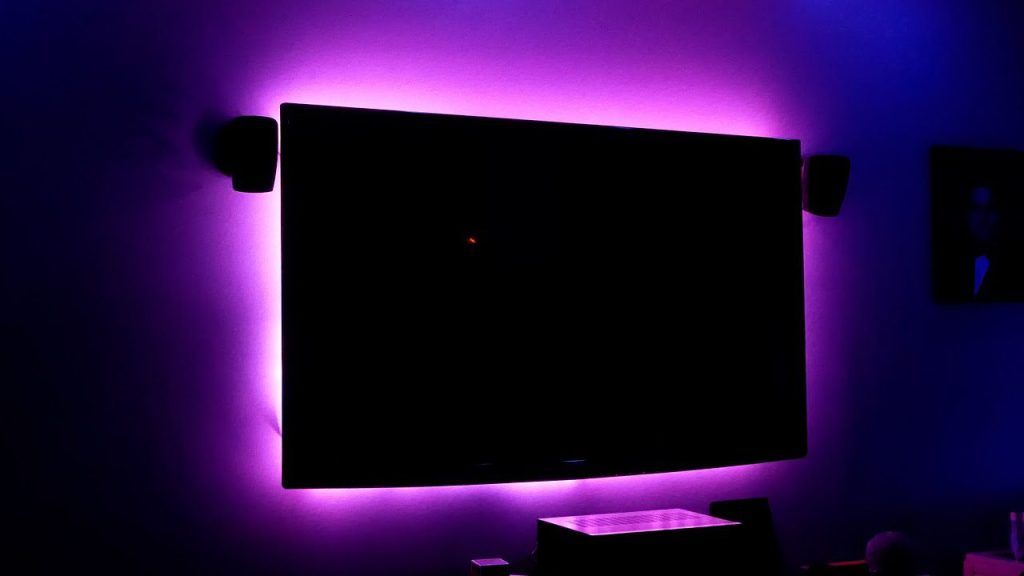
Improve the vibe of your home with Philips Hue LEDs – By U Do It

Replacing an Edger Blade is Easy with the Right Tools Video – By U Do It

Making DIY tile coasters is super easy with cork – By U Do It

Save money by rebuilding your grill burners – By U Do It
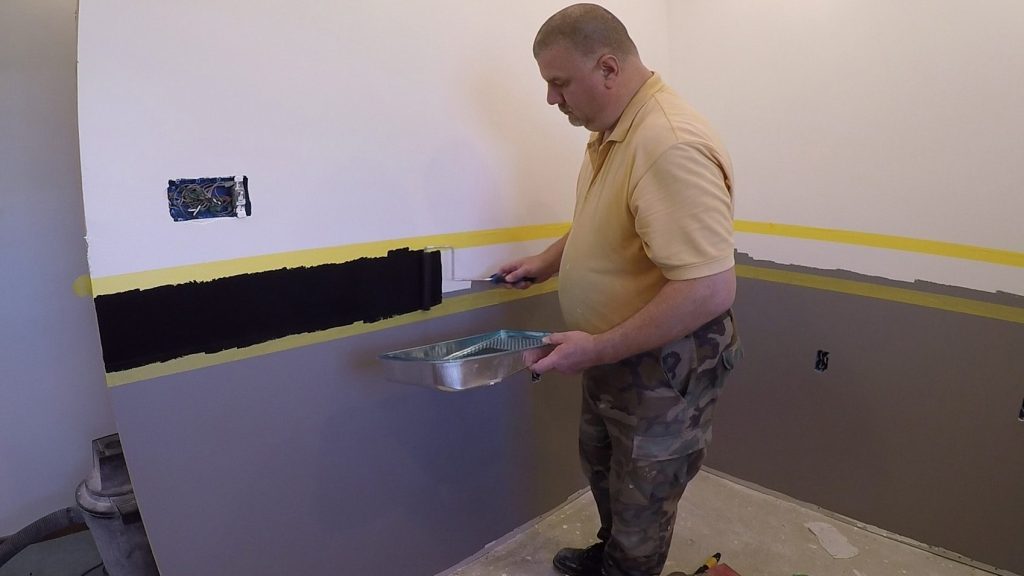
How to paint two tone colors with a laser level – By U Do It
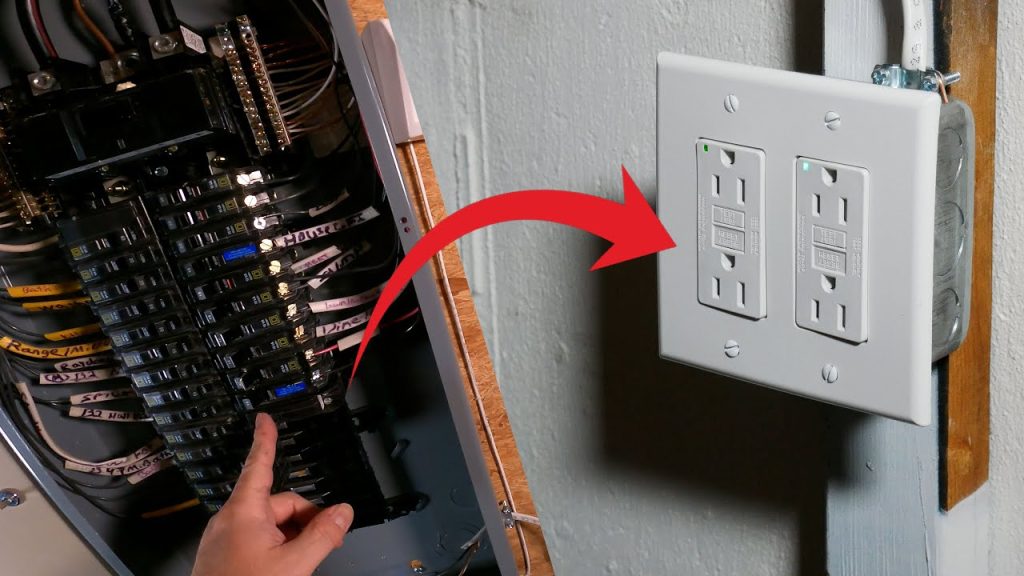
How to install a GFI outlet in basement from start to finish – By U Do It
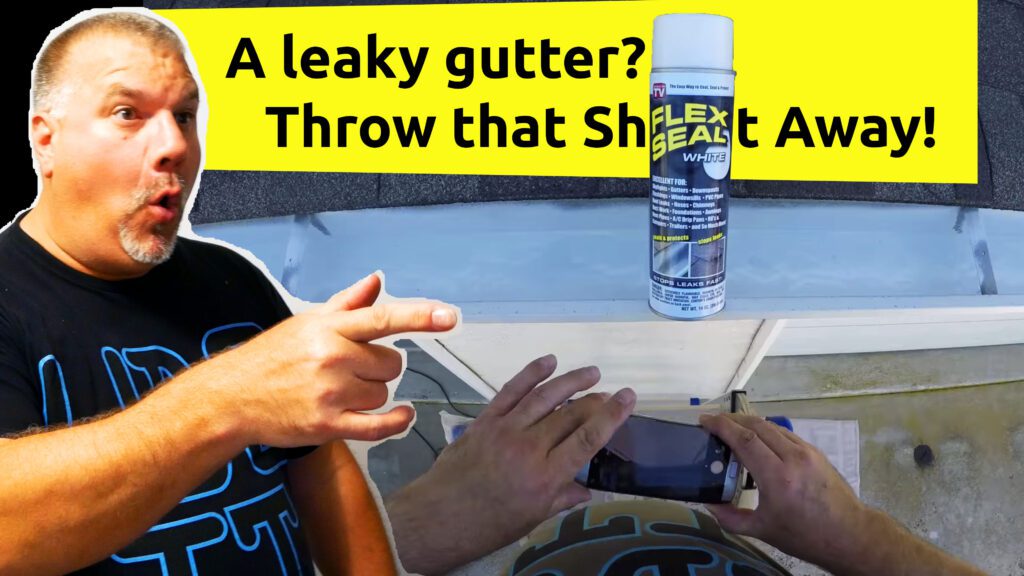
Repair a Leaky Gutter with Flex Seal – By U Do It
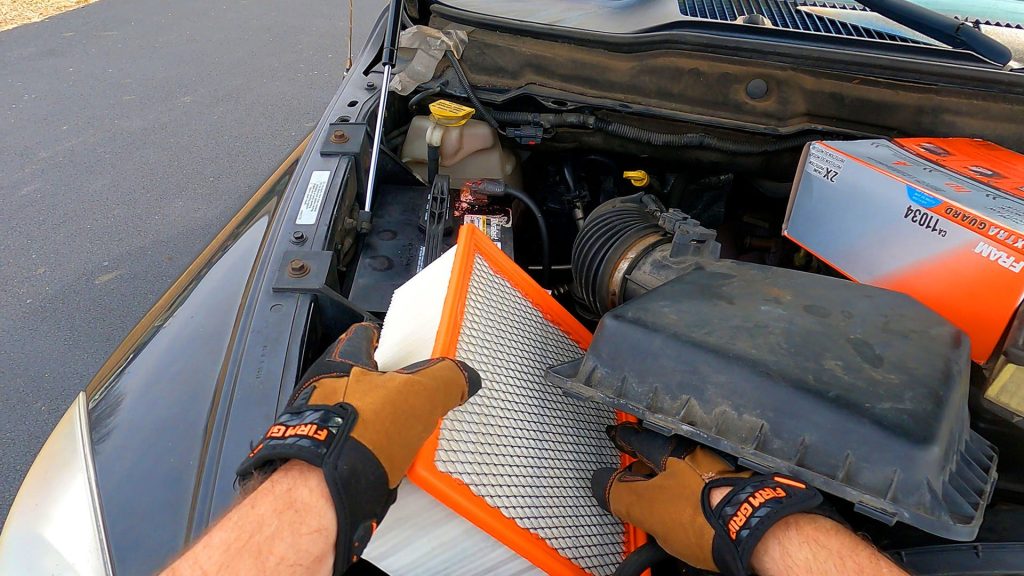
Replace your air filter as part of your regular maintenance – By U Do It

How to Remove Car Pinstripes using an Eraser Wheel – By U Do It
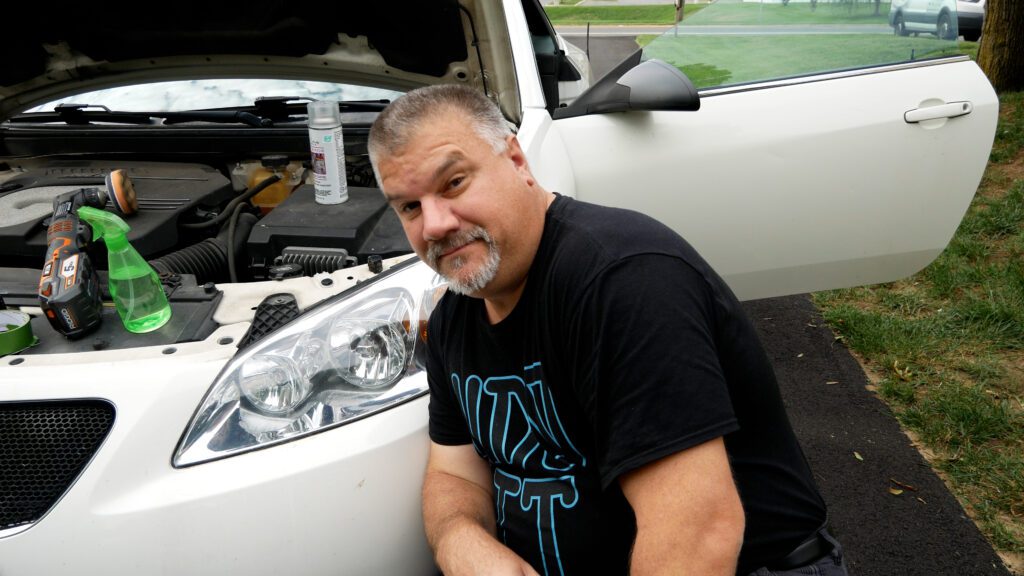
Restore your Headlights in your Driveway – By U Do It
Design of the Day

Follow U Do It on Social Media


What’s next? Check out About U Do It, History of U Do It, and Mrs U Do It to learn even more about U Do It.