If you have an interest in restoring a Super Nintendo Console that is yellow, then you can learn how in this article. The Super Nintendo Console was released in 1991. With it being over 30 years for some of these systems, it’s a strong possibility that the units ABS are yellow.
Why Does the ABS Plastic Turn Yellow
The console body and components are ABS plastic. ABS is an initialism for acrylonitrile butadiene styrene. One of the cons of ABS plastic is that it yellows with long-term exposure to heat and or UV light rays. Once the consoles are old, then the chances are high that there has been exposure to heat and UV light. Also, consider the heat that the units generate when running. That could also contribute to the yellowing of the ABS. If you are like me, you probably have your console sitting on top of another device like a VCR, receiver, or even an old-school television. That is probably the case with this console that my brother Carl aka MuttBunch is restoring in this article.
Disassembly of the Super Nintendo Console
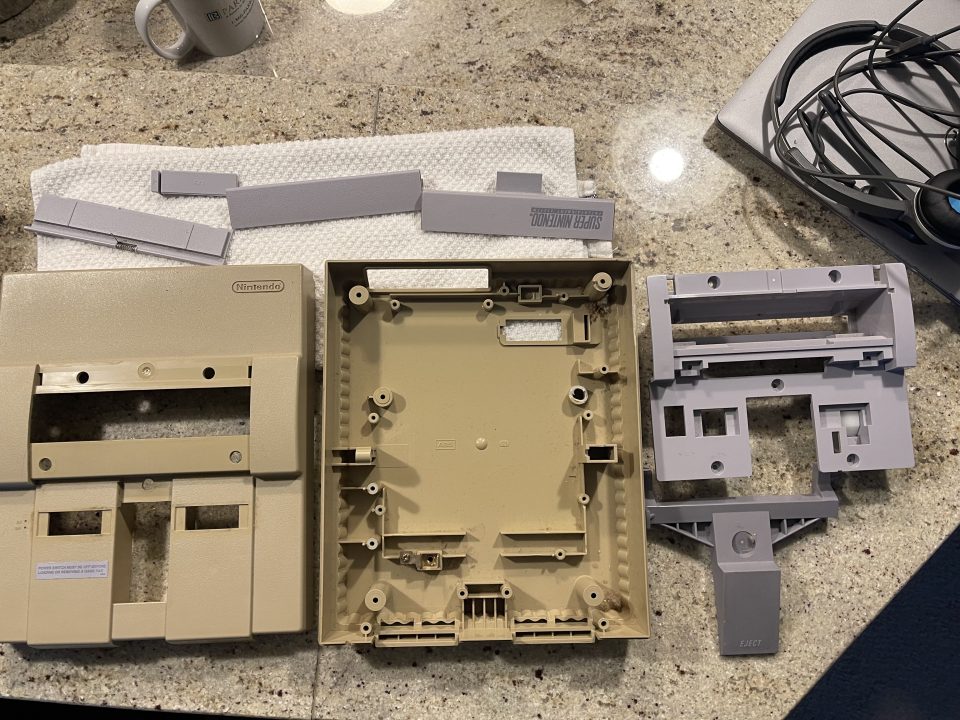
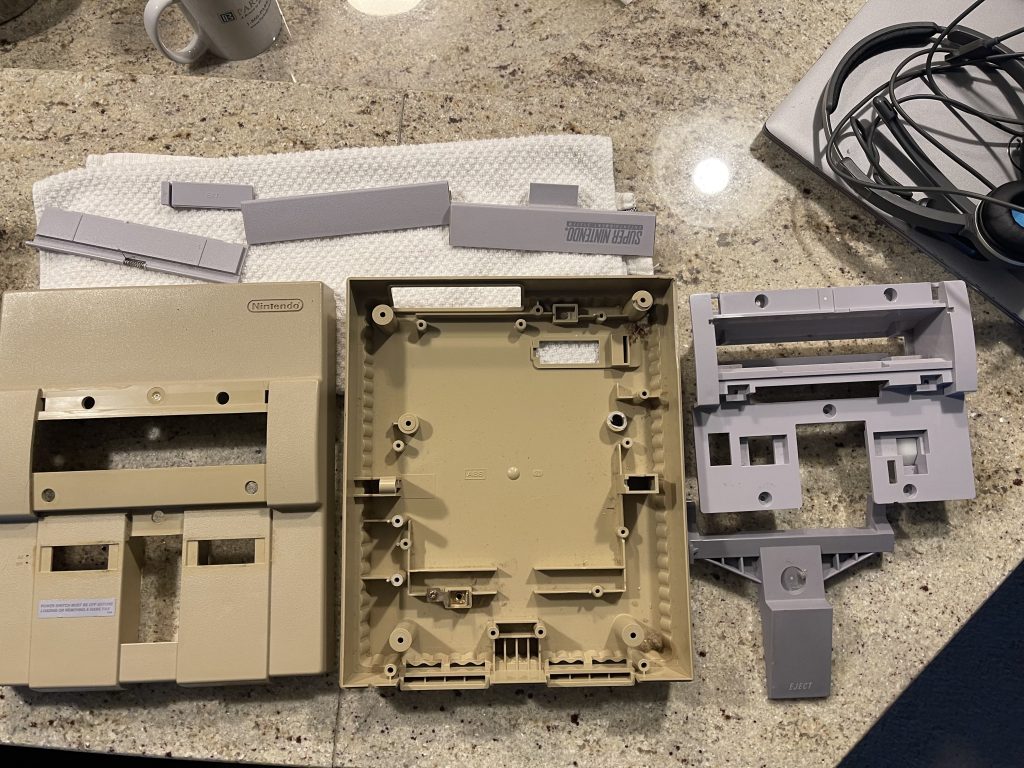
Carl disassembled the Super Nintendo so that all of the plastic pieces were separated. It was a laborious process and tedious at times to avoid breaking any components. Here is a photo that he provided to me for the creation of this article. This shows the separate plastic components. You can see the exterior case is yellow.
The Bleaching Science
Bleaching ABS plastic is possible with a bath of hydrogen peroxide and UV light. The process can be sped up by warming the hydrogen peroxide. I know it sounds weird that the very conditions that can cause the yellowing, can restore the plastic to its original color. But, the science behind it is that the oxidation bonds from long-term exposure to UV light and excessive heat can be broken. I won’t get into it any further as there are plenty of articles and videos out there discussing the chemistry.
Warning
Please note that this is dangerous and anything you do here is at your own risk. Hydrogen peroxide can release oxygen and hydrogen under the right conditions, which can be explosive. There are other risks to consider as well, such as exposure to UV light, burns from the heater, potential severe respiratory problems from a bleaching material, exposure to off-gassing of ABS plastic, a shock or potential electrocution from the combination of electricity and water, unwanted bleaching of material, etc. It is up to you to research these on your own and determine if it is something you wish to pursue given the known and unknown risks.
The Bleaching Tank
Carl built a bleaching tank using a tote, an aquarium water heater, a digital and programmable thermostat, a UV LED spotlight, and a 300 UV LED Lightstrip. Pharmacy grade 3% hydrogen peroxide solution is best as it is safer than say a 12% solution. Although, 12% solution will take less time. Please note that the tank parts list is below.

The Bleaching Process
It is best to calculate the volume of the tote that will be necessary to completely submerge the plastic parts. You can assume that the tote is a cuboid, in which one can easily find the volume of length x width x height. For the height, you will use the minimum height required to completely submerge the plastic parts. The tote lid is cut out in such a way that the UV LED Lamp sits on the lid without falling through the lid and into the tank. If you look closely you can also see the submerged UV LED Light strip within that bath to help cast UV light from many angles.
Submerge the aquarium heater in the tank and set it to a temperature of 31 degrees Celcius, which is 91 degrees Fahrenheit. You can see that the temperature being read is 29 degrees Celcius on the digitally controlled thermostat. This means that the output is energized to turn on the aquarium heater. It will shut off once it reaches the set point. You can program the on and off points to build in enough hysteresis. Hysteresis is important so that the aquarium heater isn’t rapidly toggling on and off.
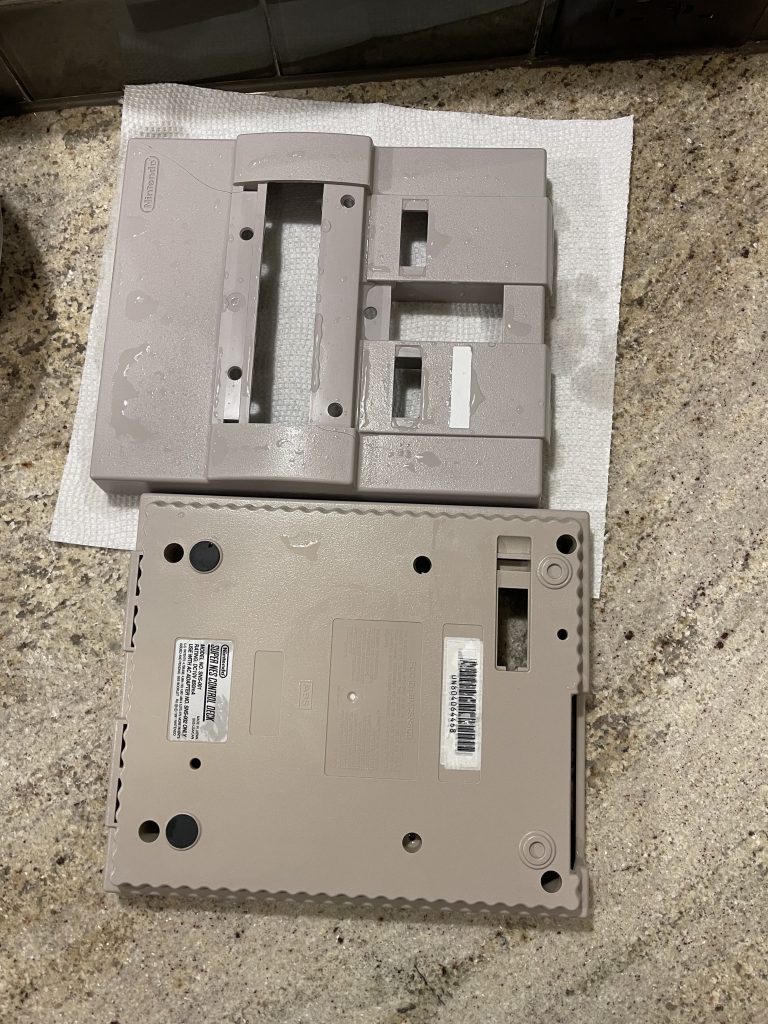
It is important to watch over the tank and bleaching process. If you walk away from it then it is best if you de-energize the equipment. Carl set a timer for 6 hours at which point he de-energized the heater, circuit, and UV light. He inspected the parts and was pleasantly surprised at the outcome. This was after the parts were immediately removed from the tank. All parts were thoroughly dried and left to sit to air dry.
The Restored Super Nintendo Console
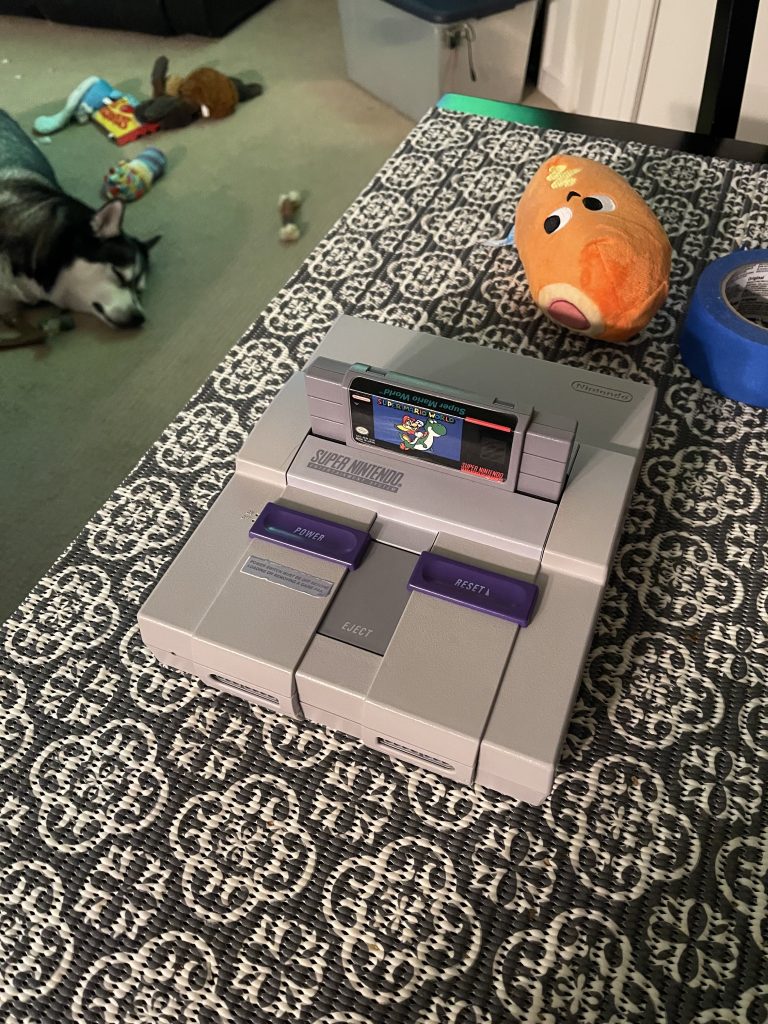
With the air-dried parts ready and waiting it was time to assemble the console. Carl reassembled the console sat back and looked at his work. He plugged in the console and gave it a go. The restoration was a success.
Tank Equipment Parts List
- 50Watt Aquarium Heater
- 20AWG Wire 100 Feet
- 12VDC Power Connectors
- 12VDC 5Amp Power Supply
- 2 Pack 100 Watt UV LED Blacklight Lamps
- Programmable Digitial Temperature Controller
- 60 Watts 300 UV LED Light Strip
“As an Amazon Associate I earn from qualifying purchases.”
Video Credits:
Video Production: U Do It™️ Studios a Division of No Cheese Records® LLC All Rights Reserved.
Picked out for you
Equipment Repair – Husky Air Compressor Won’t Exceed 40PSI – By U Do It
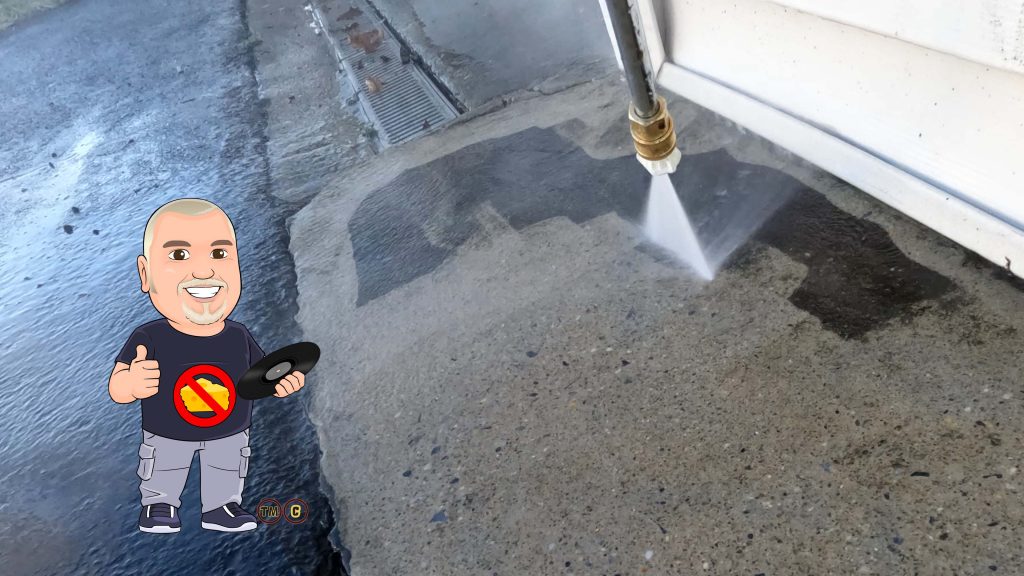
Quickly Clean your Concrete and Siding with this Pressure Washer – By U Do It
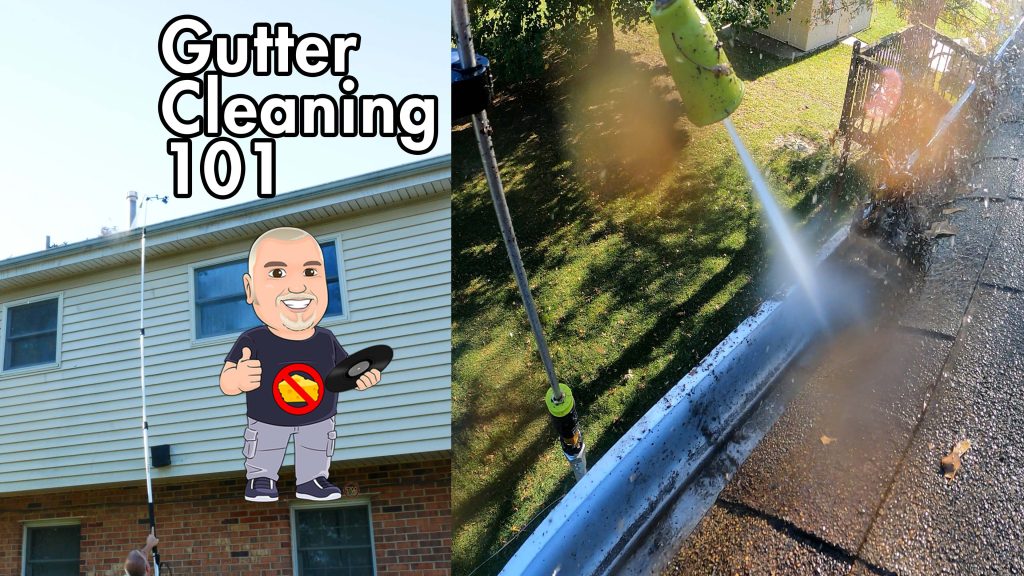
Cleaning Two-Story Gutters with a Pressure Washer – By U Do It
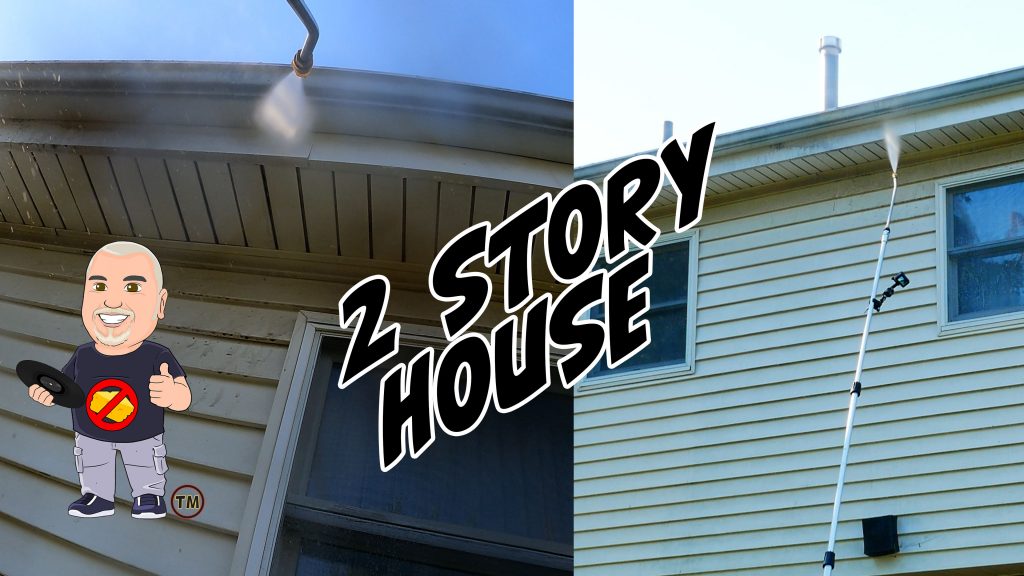
How to clean siding on a 2 story house with a pressure washer – By U Do It
My Pressure Washer Won’t Stay Running – How to Fix – By U Do It
My Pressure Washer Won’t Start – By U Do It

Replacing an Edger Blade is Easy with the Right Tools Video – By U Do It
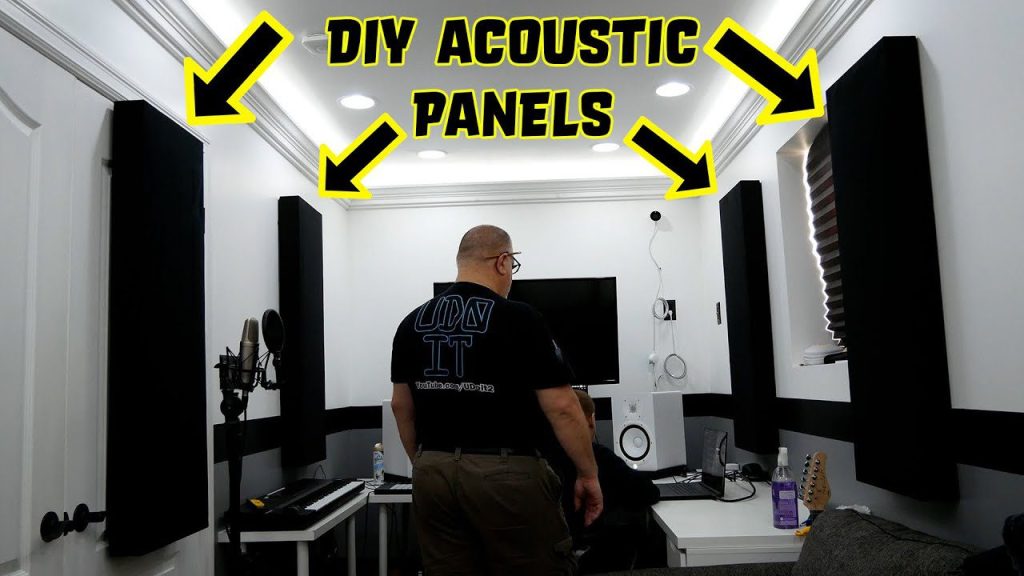
DIY Acoustic Panels for Better Sound Treatment – By U Do It
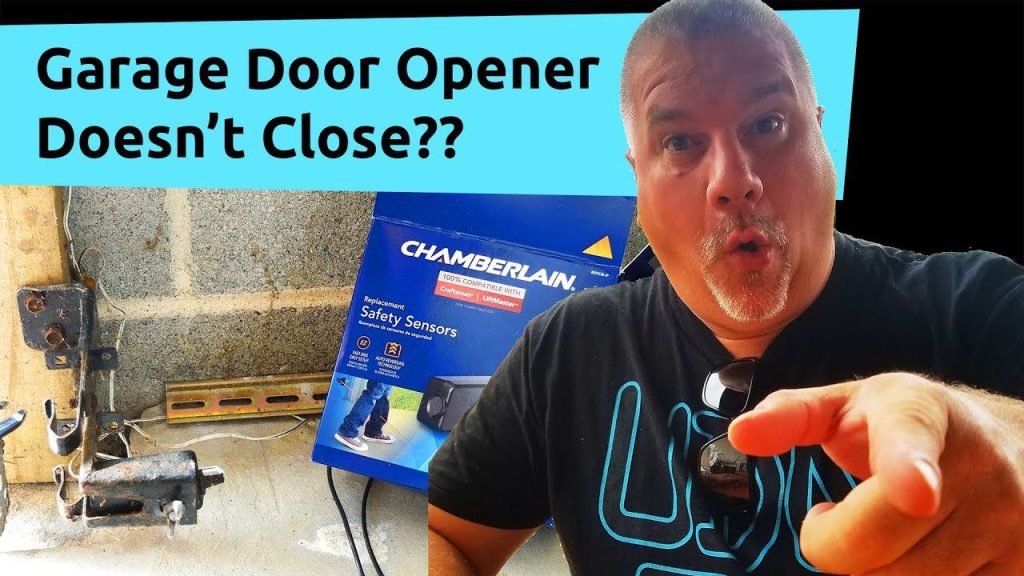
Garage Door Won’t Stay Opened Unless I Hold the Button Down – By U Do It
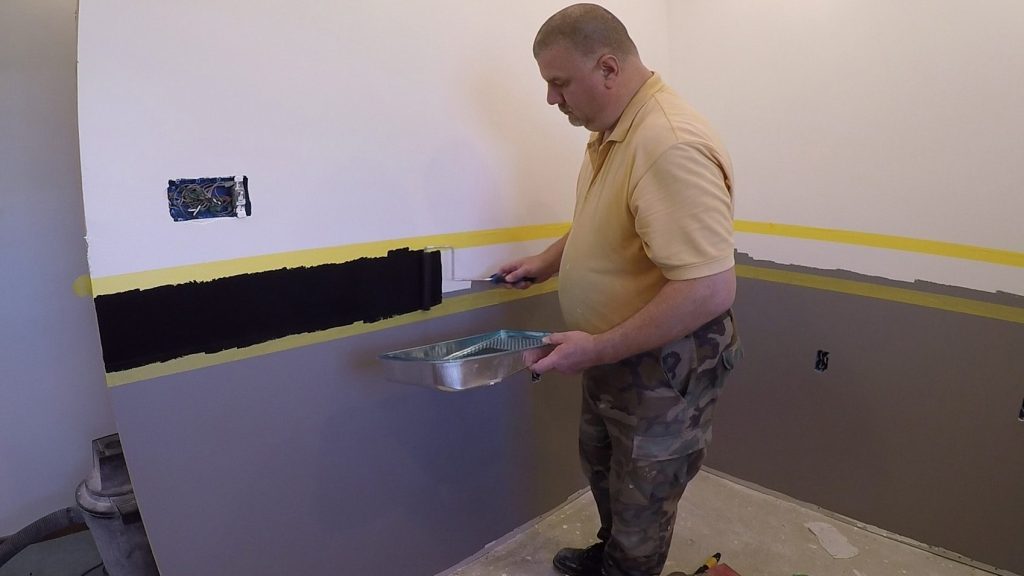
How to paint two tone colors with a laser level – By U Do It
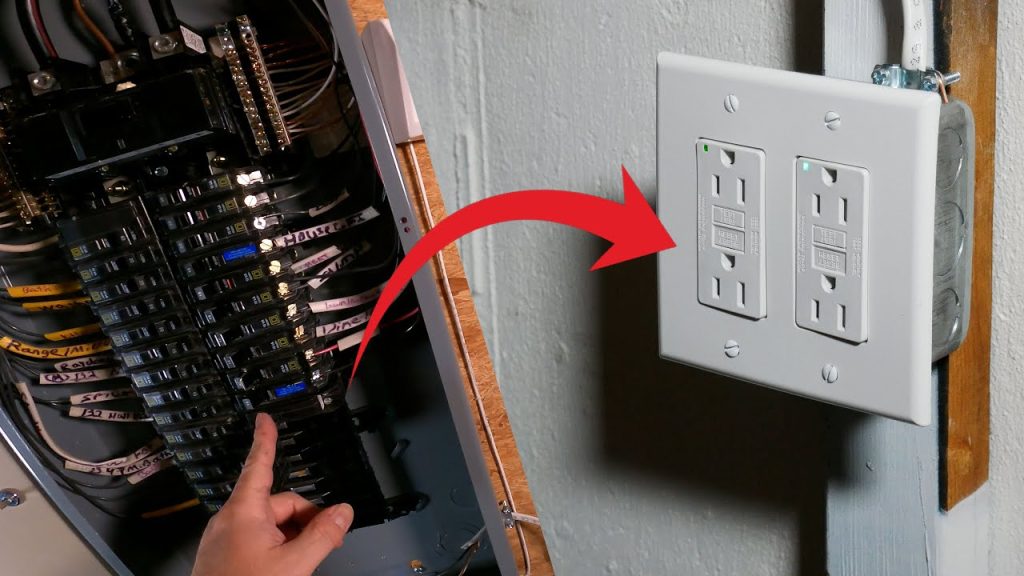
How to install a GFI outlet in basement from start to finish – By U Do It
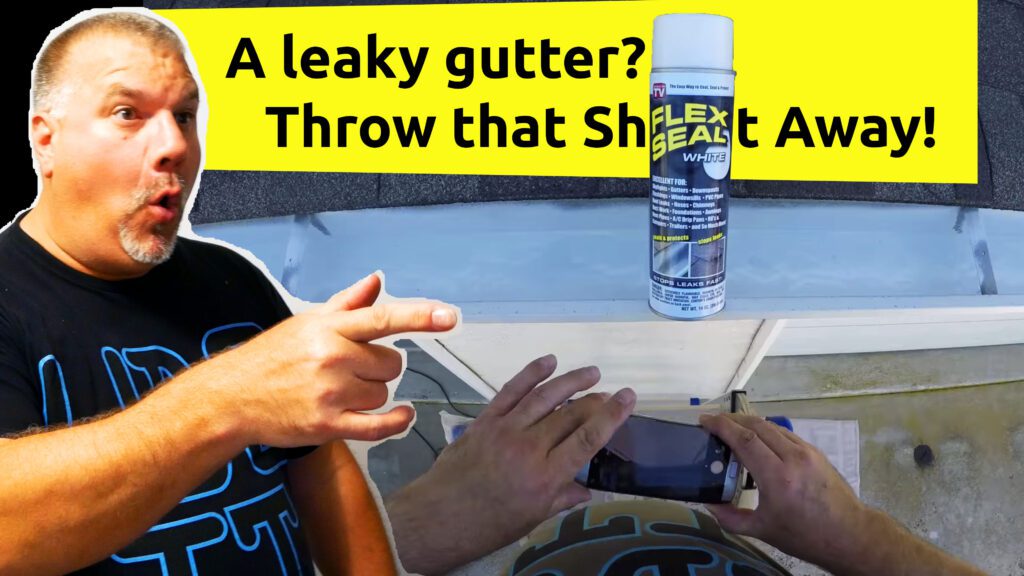
Repair a Leaky Gutter with Flex Seal – By U Do It
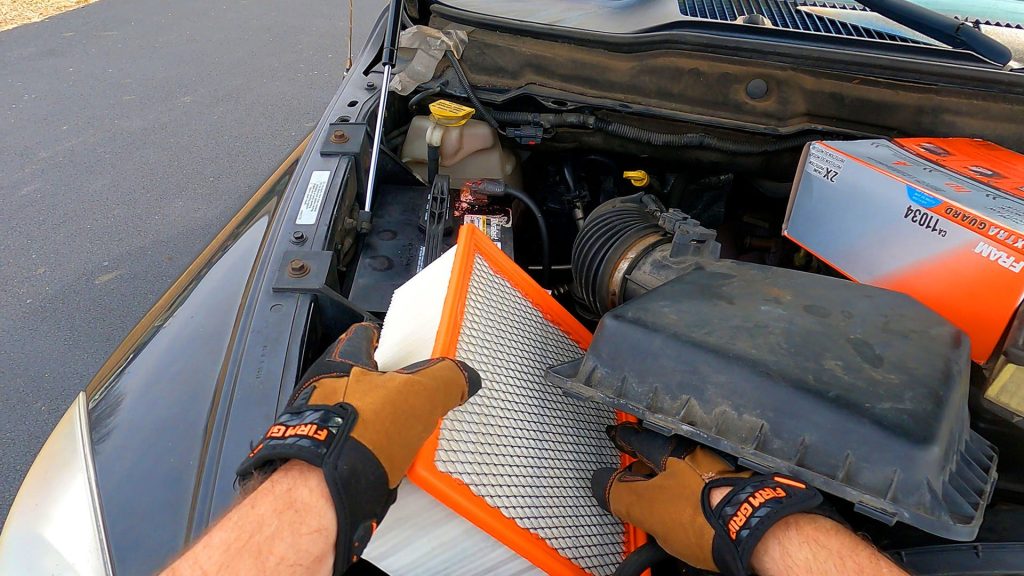
Replace your air filter as part of your regular maintenance – By U Do It
Design of the Day

Follow U Do It on Social Media


What’s next? Check out About U Do It, History of U Do It, and Mrs U Do It to learn even more about U Do It.