The ErgoNova Gun Safe with Biometric Lock features three walls perfect for storing your rifles and shotguns. It also has a shelf for ammo and your cleaning kit. And the door has felt protection with three pouches for handguns. The manufacturer sent this unit to U Do It for review.
Instructions
I’ve reviewed and built many products. In most cases, the instructions are lacking. That is not the case with the ErgoNova gun safe. The instructions were detailed very well, but there was one issue and I do not believe the instructions were to blame.
Caution
It would be best if you have someone to help you, but I’m used to building things alone as a one-man team. The package is quite heavy and would be best if you have a hand truck to move the package into position before building it. And, I recommend that you assemble it in the room where it will be housed.
Tools Required
I recommend the following
- Utility knife (to open the packaging)
- Gloves (edges of the pieces are sharp in areas)
- Phillips #2 screwdriver
- Battery-powered screwdriver (not required but will help when the threads won’t grab)
- A throw rug or tarp (only required if you have floors that you do not want to scratch during assembly)
- 4-AA batteries for the battery backup
Assembly
As I mentioned, the instructions were done very well. It was clear what was to be attached to what and how. I recommend you perform this on a carpet so you do not mar or scratch the finish on the cabinet. As you can see in my video, I assembled it on the cardboard packaging to protect the finish. Conversely, if you have floors that can easily scratch, put down a throw rug or a painter’s tarp to build it on.
Assembly went smoothly until it was time to install the top panel. It was at this point that I noticed that the back panel was bent, which probably occurred during shipping. I was able to bend it enough so the Rivnuts lined up with the screw holes in the panel.
Tip
As you are assembling the side panels, do not install the bottommost screws. You need to wait to install the bottom panel, which also requires panel hold-downs to be installed.
Oops
I continued assembly with the bottom panel and it was at this point that I discovered that either the manual was incorrect or the panels were incorrectly labeled. It makes sense to assume the manual was correct. I point this out in the video. I had already assembled the panels according to the instructions and when I discovered the problem I had to disassemble the bottom shelf and swap them. Hopefully, you can save time through my discovery. Installing the bottom panel requires you to install the panel hold-downs that secure the bottom panel in place.
Lock and Key
The key is tie-wrapped to the front door’s inner panel. You must remove this key and store it outside of the safe.
Opening the safe with the key requires you to first remove the key access cover, which is directly below the lock knob. It is rubber and can be removed with your fingernails.
Insert the key as you would any other lock and turn. It will unlock the door so you can open it with the lock knob.
Keypad
The keypad allows you to program a single code that is used in the future to unlock the safe. Please note that only one code can be created. And, the keypad is used to enter a code to unlock the safe. The factory setting’s default password code is 1234.
Recharge the Lock
To use the keypad you will first need to recharge the lock. To do that you will need the battery pack. In the hardware package, you also received a battery pack. Treat this with equal care and store it outside of the safe.
You will need 4 AA batteries for the pack. To install them, open the battery box and insert the batteries in the correct orientation. Close the box and plug the battery box into the plug found on the front bottom of the keypad face.
Unlock with Default Password
To unlock the safe using the keypad, enter 1 2 3 4 #. The directions do not mention the need to enter # but it is required. To program the password, follow the directions in the user guide.
Biometric Lock
You’ll notice above the keypad is a fingerprint sensor for biometric access. This will allow you to store 28 fingerprints. You can choose to use different angles for each finger. Or, you can have family members also have access.
I demonstrate programming the biometric lock in the video. To do so, open the safe door and press the red button once. This will allow you to scan in your fingerprint. You’ll hear a beep. Scan your finger two additional times as I demonstrate. Then lock the safe and attempt to open the safe with your fingerprint.
Factory Reset
To reset the lock password and remove all biometrics, you press and hold the red button in the safe for over 3 seconds as I demonstrate in the video. The default password will be reset to 1 2 3 4.
Products Shown in this Video

- UPGRADE FINGERPRINT IDENTIFICATION-CONVENIENT AND SAFE:Our technical team after a long period of market research and data feedback,found that users pay great attention to the security factor and unlocking method,and our team after a long period of simulation practice test,and ultimately to ensure that our gun safe scanning fingerprint recognition speed fast,accurate,safe!
Amazon.com Price last update on 2026-07-14 - Details
“As an Amazon Associate I earn from qualifying purchases.”
Video Credits:
Video Production: U Do It™️ Studios a Division of No Cheese Records® LLC All Rights Reserved.
Picked out for you
Enhance your Video Quality with this Battery Powered LED Light – By U Do It
Rode Wireless Go II – Best Audio – By U Do It

Improve your Lighting with Neewer – By U Do It

Tool Review – Log Grabber for your Firepit or Fireplace – By U Do It
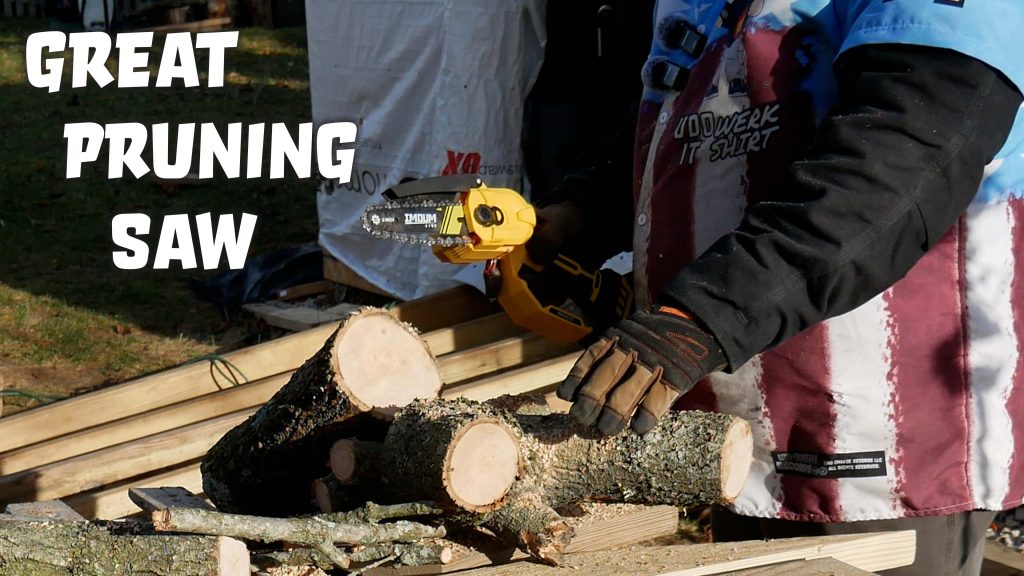
Tool Review – Mini Chainsaw for Pruning and Tree Trimming – By U Do It
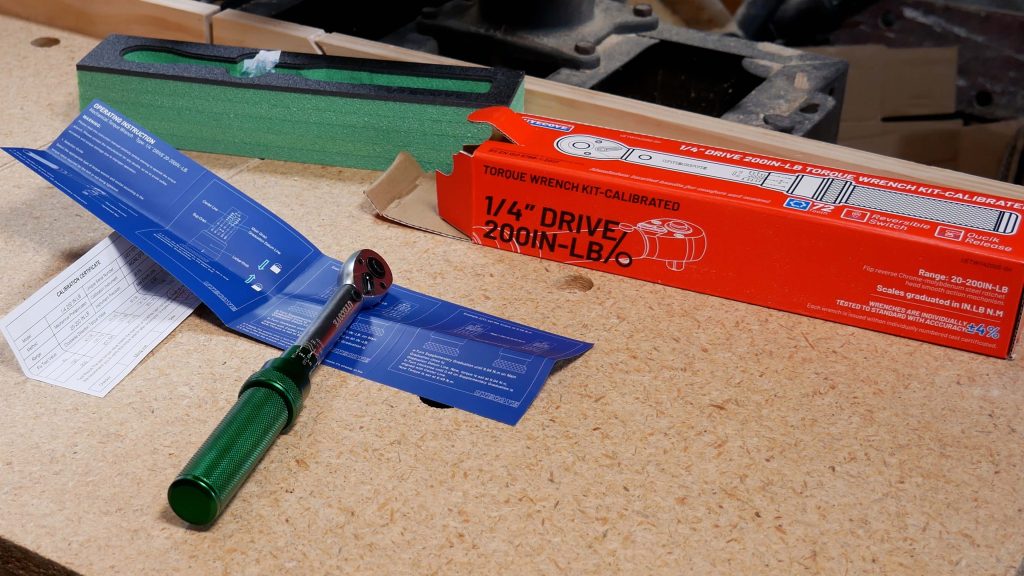
UYECOVE Torque Wrench Review – By U Do It
Do It Yourself Build a Shed – The DIY Experience – By U Do It
Equipment Review: Do It Yourself Build a Shed – Bilt Hard Plate Compactor – By U Do It

Do It Yourself Build a Shed – Where to Start – By U Do It
Do It Yourself Build a Shed – Planning and Estimating – By U Do It
Protect your Cabinets with Drawer and Shelf Liner – By U Do It

Our Kitchen Storage Is Lacking – DIY Pantry Cabinet – By U Do It
The First Cut – DIY Pantry Cabinet Part 2 – By U Do It

Do It Yourself or Hire a Contractor – By U Do It
Music of the Day

Follow U Do It on Social Media


What’s next? Check out About U Do It, History of U Do It, and Mrs U Do It to learn even more about U Do It.