The DeWALT DWS780 Miter Saw is great for the DIYer and the job site. In this video, I unbox the DWS780, set up the saw, make some initial cuts, and explain how the saw works and how to calibrate and adjust it.
Why did I buy the DeWALT DWS780 Miter Saw
I’m building a floating bed for our son Johnny aka Disteff and I needed a saw that would perform well and provide additional versatility beyond my current DeWALT 12″ miter saw, my table saw, my bandsaw, my jig saw, and my Craftsman Radial Arm Saw. I am a collector of woodworking and machinist tools and I have nearly every tool that a woodworker would want to have from the very beginning. Many of these tools I inherited from my father. What’s more special to me is that these were the woodworking tools that he taught me how to use when I was close to 5 years old. I proudly post photos of these tools on Instagram, like this one here on my Craftsman 10-inch Radial Arm Saw.
And thanks to my friend Marc, he gifted me his grandfather’s Delta table saw. The saw had a bad motor in it and I was able to purchase an aftermarket motor and replace it. Much like my DeWALT 12″ miter saw that I have been using for almost 20 years, it too was gifted to me by my cousin Brian Rinner. It stopped working and having tools that work is more important to him. So he gave it to me to see if I could fix it. I identified the problem, which was a broken commutator wire. And I was able to solder it on and it has been working great ever since. I speculate that it failed from overwork by his employees forcing the saw to make a cut rather than letting the saw make the cut.
Unboxing and Setup of the Saw
For those who are heavy lifters, this saw will be no problem for you to unbox and set up. For those who are the occasional DIYer and don’t visit the gym, you may have a bit of an issue lugging this saw around. It weighs 56 pounds, which in itself isn’t that heavy for me. However, it is bulky and has a large moment. This makes it slightly difficult to maneuver around the shop and set up on a table.
0:00 DeWALT DWS780 Unboxing
0:30 Saw Setup – Installing Extension Arms
Some reviews hinted at issues with the linear bearings. Because of this, I explicitly tested this feature and did not notice any grinding or difficulting pushing or pulling the saw. I will say that you must have this saw clamped down onto a work surface, preferably a dedicated work surface for safety purposes.
0:52 Testing the smoothness of the sliding linear bearings
1:01 Checking the saw for square
Safety Concerns when using the DeWALT 12-inch Sliding Miter Saw
You’ll notice throughout my video that I have the saw sitting on top of a piece of cardboard on my table saw. My table saw surface is protected with SC Johnson Paste wax and the cardboard slides on it very easily. This is not a safe setup. You really need a dedicated place for this saw to sit on, like the DeWALT DWS726 Miter Saw Stand. This is a very sturdy and strong stand and will provide you with a firm foundation for the saw. Some of my errors, which I mention errors and uncertainty below, are due to this unstable work surface.
DeWALT 12-inch Sliding Miter Saw Features
1:20 Initial cut using 45° bevel
2:00 Setting Bevel to 0 degrees and making a 90° cut
2:17 Checking cross cut for squareness
XPS LED Cut Line
I have read some reviews on the XPS LED Cut Line failing. And I only used the saw for 3 hours of which the LED was only on for a fraction of that time. I have not experienced an issue yet but I will report it in a new article if I encounter this problem.
2:26 Demonstrating XPS LED cutline
2:44 Locking / Unlocking saw
3:00 Calibrating miter angle and bevel angle to 0 degrees
How to Replace the Saw Blade
Replacing the saw blade is easy but does take a little wiggling to get it out of the blade guard. There is an arbor lock, which is very useful in loosening and tightening the blade screw. The blade screw is reverse threads and uses a 5mm Allen key.
3:45 Replacing DWS3126 Contractor 60 Tooth blade with Diablo D1280X
Cutting Trim Vertically
The saw was designed to cut trim vertically as well as laying flat on the saw table. You must use the Slide Lever Lock to utilize this feature properly.
7:47 Using Slide Lever Lock to Cut Trim Vertically
9:49 Cutting trim board laying flat on miter saw table
Comparing Cuts with and without the XPS LED
The traditional method of lining up a cut, at least for me, is by bringing the saw blade down to the workpiece and looking through the blade guard. While looking through the blade guard you carefully line up the board with the edge of the blade tooth. This is fairly repeatable if you are careful but there will be some errors.
Contrast this method to the XPS LED method where you can still look through the blade guard to line up but there is a clear shadow cast onto the workpiece. You can use this blade shadow to line up the cut. The line is so crisp that you can clearly see the teeth protruding beyond the steel blade.
10:56 Using sight to line up scribe line and blade through saw blade guard
11:44 How to Turn on the XPS LED
12:12 How to use a miter saw clamp
13:13 Power Switch safety feature
13:45 Using XPS LED as a reference to the scribed line
Errors and Uncertainty
Did you know that there is an entire study dedicated to measurement accuracy, errors, and uncertainty? I studied this at Drexel University but at the time I didn’t have an appreciation for this discipline. Years later, I can see how it becomes practical. Now for a DIYer and even the finisher or the framer, this may not seem like an important concept. But, I can assure you that understanding this concept will help you realize that there are things to consider when taking measurements.
What was the time of day you pulled a 100-foot tape to place your batter boards? Did you measure in the early AM for the first set and then measure the others in direct sunlight and hotness? A 100-foot tape can change by 1/10-inch for every 10-degree change in temperature. Is this something to worry about? Just think about it and the wide temperature swings in some parts of the country during the day.
14:01 Measuring and cutting to length test and a quick lesson on uncertainty
Transporting the Saw
To transport the saw you must set the bevel to 0 degrees and lock it in place. Move the saw to 60 degrees to the right and lock it in place. And then push the saw all the way back into the slider and lock the slider. Now your saw is ready for transportation.
15:56 How to Transport Saw
16:56 How to adjust miter angles with and without angle detents
20:33 Using Bevel Pawls for 22.5 and 33.9-degree bevel
21:58 Using 0° Bevel Override to bevel to the right
22:49 Using the grooving stop for dados and rabbits
28:12 Horizontal cut capacity (boards laying flat on a table)
28:49 Vertical cut capacity (trim boards standing upright)
How to Access the Belt to Replace it
I show how to access the belt but I do not demonstrate how to replace it since my saw is new. If I replace it, I will make a video and demonstrate it.
30:00 How to access the belt for replacement
31:48 Using 45° stops to reach 49°
32:46 Setting bevel to 45° to make the cut on my bed skirt
Where to Buy the DeWALT DWS280 Sliding Miter Saw
This saw and accessories are available below.
No products found.
- DeWALT Miter Saw Stand with Wheels DWS726
- DeWALT Miter Saw Crown Stops DW7084
- DeWALT Miter Saw Clamp #630065-00 2 pack
- DeWALT 12″ Miter Saw Cross-Cutting Blade DW3128P5
- Diablo 12″ 80 Tooth Finishing Saw Blade
“As an Amazon Associate I earn from qualifying purchases.”
My Impressions of the Saw
The DWS780 Sliding Miter Saw has the ability to improve your workflow thanks to the numerous features built into it. Let’s recap the features and you can be the judge. This assumes that you calibrated your saw and verified that all stops are correctly set.
- The 0-degree bevel stop for a 90-degree cut is a time saver. You just finished cutting a 45-degrees and now you have to switch back to 0 degrees. This is easy, just make sure your 0-degree stop lever is engaged, unlock the bevel, tilt the saw back to 0 where it stops, and lock the bevel. It’s a few seconds to switch and no need to get your combination square or speed square to verify.
- The 45-degree stop levers are perfect for exact 45-degree bevels.
- The miter detents are great for quickly getting the saw to that perfect miter angle. Just push in the miter lock, release the miter lock lever, slide the saw miter and release the miter lock and listen for it to click into the desired detent. Then lock the miter lock lever.
- The Slide Lock Lever makes it super easy to lock the saw in place for maximum vertical cut capacity for trim cuts.
- The bevel pawls for 22.5 degrees and 33.9 degrees make speedy work for crown molding cuts laying flat on the table.
Do It Yourself Build a Shed Series
To learn more about this series check out the DIY Build a Shed Series here.

Picked out for you
Our Kitchen Storage Is Lacking – DIY Pantry Cabinet – By U Do It

Do It Yourself or Hire a Contractor – By U Do It

Do It Yourself Build a Shed – Where to Start – By U Do It
The Art of Doing without Knowing – By U Do It

Garage door wont close unless I hold the button down – By U Do It

My Pressure Won’t Stay Running – How to Fix – By U Do It
My Pressure Washer Won’t Start – By U Do It

Briggs & Stratton Pressure Washer Starts But Suddenly Stops – By U Do It

Replacing an Edger Blade is Easy with the Right Tools Video – By U Do It

Save money by rebuilding your grill burners – By U Do It
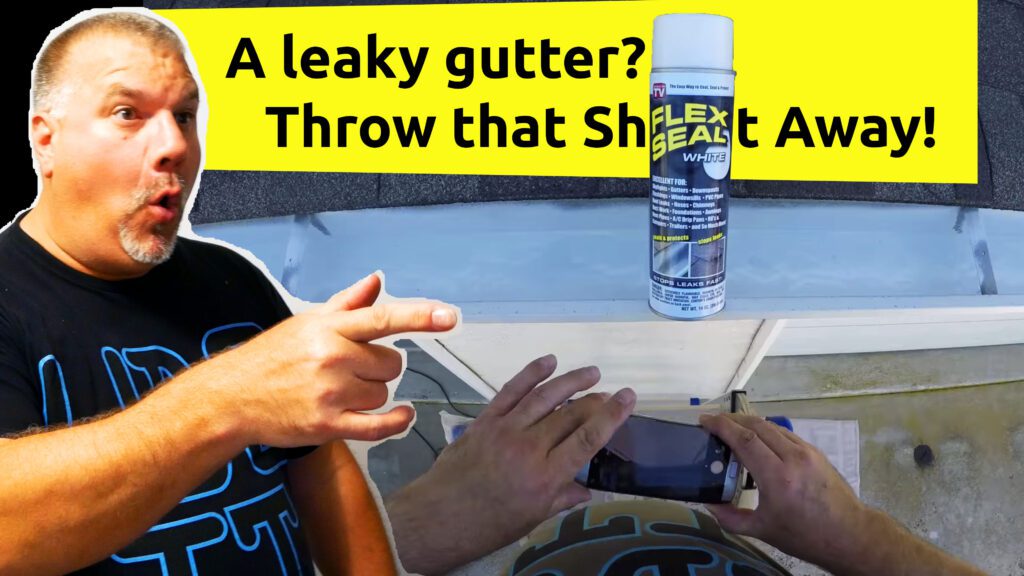
Repair a Leaky Gutter with Flex Seal – By U Do It
Design of the Day

Follow U Do It on Social Media


What’s next? Check out About U Do It, History of U Do It, and Mrs U Do It to learn even more about U Do It.