In this tool review video, we help you understand the GOYOJO GW192S SuperIR Thermal Imaging Camera settings, capabilities, and features. If you have an interest in thermal imaging applications, then this camera may be your solution.
The camera features a 192×192 resolution and a temperature range of -4 to 1022 degrees Fahrenheit. The handle has a 1/4-20 threaded insert for attaching to a tripod or mount, which I show in this video. A button is on the front of the handle, which can be used for image capture to the built-in memory on the camera. But, it can also be used to turn on the laser pointer. There is a menu option to disable the laser, as you would not want that on if you are scanning people or pets. You can transfer the images from the camera using the included USB-C to USB-A data transfer and charging cable.
Outstanding Features
The display is bright and very clear to read. A legend showing the temperature range is on the right side of the screen. It shows the color gradient from warmest to coldest with the minimum and maximum values displayed. The upper left shows three values, which are the temperature at the center and the maximum and minimum temperature. The center is obviously at the center of the screen and the laser pointer corresponds to that center point. But, the minimum and maximum temperature values vary and will move all over the place if the camera moves or if the infrared heat is dynamic. Depending upon your color selection, it is difficult to identify the minimum and maximum designators. Because there is not enough of a contrast between the designators and the gradient color scheme.
GOYOJO GW192S First Impressions
The display on the camera is very glossy. This makes it very difficult to view in certain lighting conditions. As a result, I was unable to get good footage of the camera’s display as a result of this. However, I forgot that my camera has a polarizing lens that I could have set properly to eliminate any reflected light. The user manual does not appear to go into detail about each of the settings. For that reason, you need to educate yourself on the use of a thermal camera if you want to get the most out of this thermal imaging camera.
The camera is easy to use. It powers up quickly and you can begin capturing images. You can quickly select between a few of the different color modes using the cursor keys. It is not readily apparent that the temperature may not be accurate. This could be due to certain important settings that you need to consider before using the camera discussed in the next section.
Thermal Imaging Camera – Important Settings
The camera’s menu has many options, some of which are important to optimize temperature readings. These important options include the Units, Emissivity, Distance, and Temperature Range.
- Units allow you to select F, C, or K temperature scales.
- Emissivity is a setting that should be set to match the object being read. There are several emissivity preset choices, including brick, soil, and human skin. But, if you can’t find the item you can enter a custom emissivity value.
- Distance is how far the object is from the thermal camera. As you may know light decreases exponentially the further away you are from the source. This setting helps to compensate for that.
- Temperature Range is the setting for the range. You can select Auto Switch, -4 to 302 degrees Fahrenheit, or 212 to 1022 degrees Fahrenheit. I found that Auto Switch will provide you with the appropriate temperature range but it takes some time to switch. Selecting the temperature range manually is probably the better choice. It will let you know when you exceed the range as shown in the video.
Use Case Scenarios
Finding hot spots is impossible without a temperature-measuring device of some kind. But, getting an image depicting relative temperatures using a color gradient is a game changer. Think about the possible applications. For example, you may want to identify the cold spot on a wall in the winter. This might help show you where you lack insulation. Here are some other possibilities:
- Identify wet insulation as it will appear to be a different temperature
- Find the hotspot in electronics
- Determine if your computer’s cooling is sufficient and quickly identify the critical thermal points
- Check your windows in the summer or winter looking for cold or hot spots
- Check your refrigerator or freezer
How to Purchase
A similar model is available here:

- Superior Imaging with Advanced Dual-Light Fusion: The GOYOJO's GW256 thermal imaging camera offers a 256x192 IR resolution for detailed thermal analysis. Its dual-light fusion feature overlays regular and thermal images for enhanced visibility, making it ideal for professional inspections and industrial troubleshooting.
- Efficient Data Storage and Transfer: Easily capture and store photos in jpg format and videos in mp4 format, and effortlessly transfer data to your computer via USB for further analysis with the included Thermal Imaging Image Analysis Software.
- Experience Real-Time Temperature Monitoring: With the GW256's advanced cold & hot spot tracking capabilities, you can quickly and easily identify potential problem areas in a range of applications, including electrical and mechanical systems. Take timely corrective action and ensure optimal performance with this powerful and reliable thermal imaging camera.
Amazon.com Price last update on 2026-07-14 - Details
Video Chapters
- 0:00 Unboxing of the GOYOJO GW192S SuperIR Thermal Imaging Camera
- 0:35 Initial power-up and first look at the camera features
- 3:11 Using the camera to inspect my electric heater
- 5:35 Changing the temperature range
- 6:25 Switching between color gradient modes
- 8:55 Recording a social media video with the camera
- 11:06 Detailed review of the camera settings
- 12:53 Setting the Emissivity parameter
- 14:55 Setting the Distance parameter
- 16:55 Setting the Color Palette (color gradient)
- 17:46 Display Setting allows control over what shows on the display
- 18:13 Level & Span Settings
- 19:10 Setting the Temperature Units and Date & Time
The manufacturer sent this unit to U Do It for review.
“As an Amazon Associate I earn from qualifying purchases.”
Video Credits:
Video Production: U Do It™️ Studios a Division of No Cheese Records® LLC All Rights Reserved.
Picked out for you

Tool Review – Log Grabber for your Firepit or Fireplace – By U Do It

Tool Review – Mini Chainsaw for Pruning and Tree Trimming – By U Do It
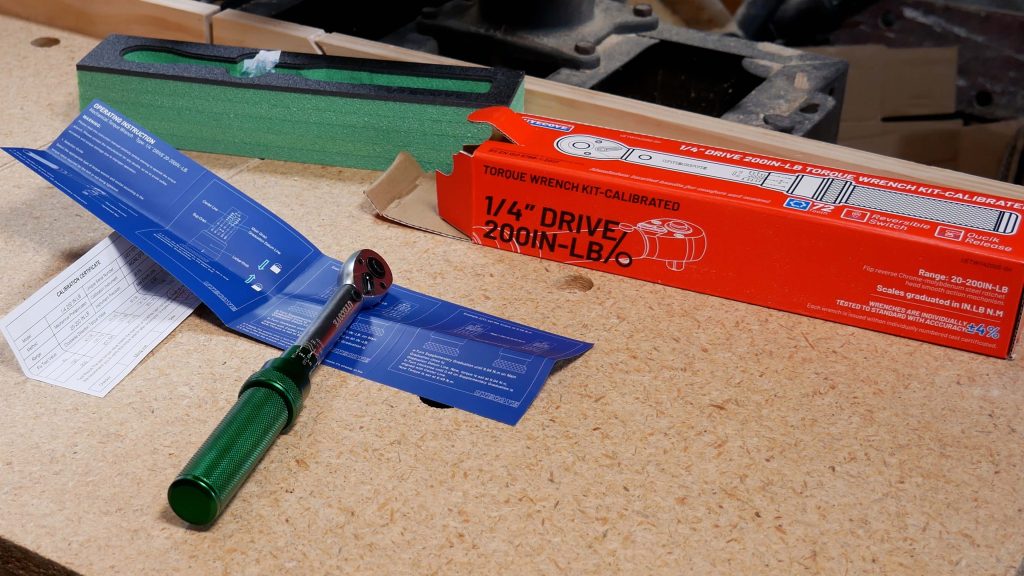
UYECOVE Torque Wrench Review – By U Do It
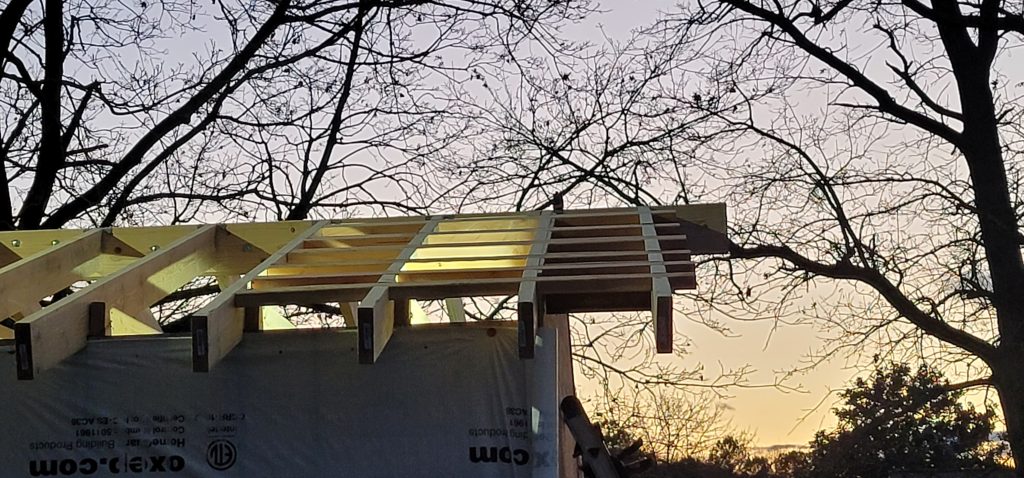
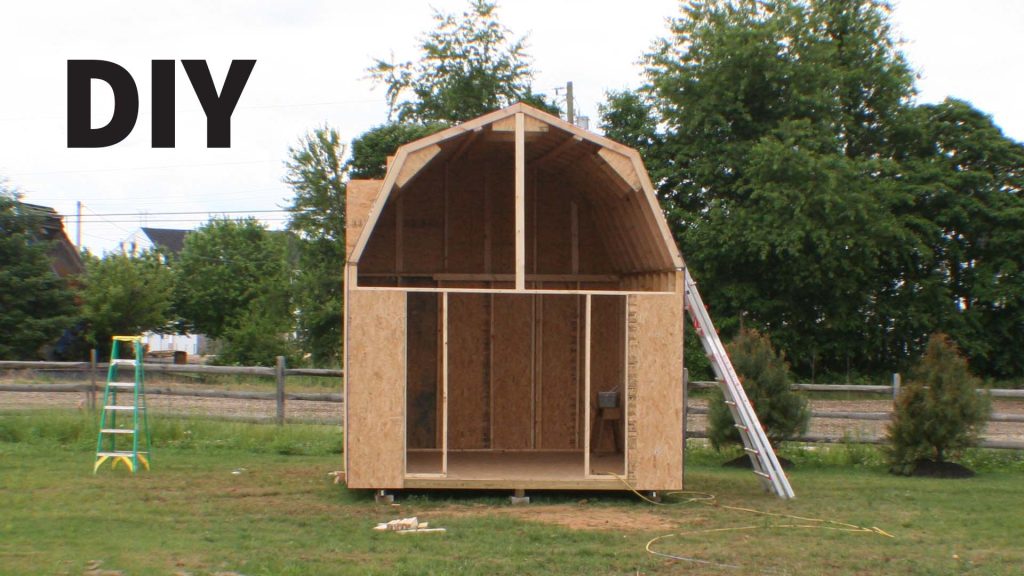
Do It Yourself Build a Shed – The DIY Experience – By U Do It

Equipment Review: Do It Yourself Build a Shed – Bilt Hard Plate Compactor – By U Do It

Do It Yourself Build a Shed – Where to Start – By U Do It
Do It Yourself Build a Shed – Planning and Estimating – By U Do It
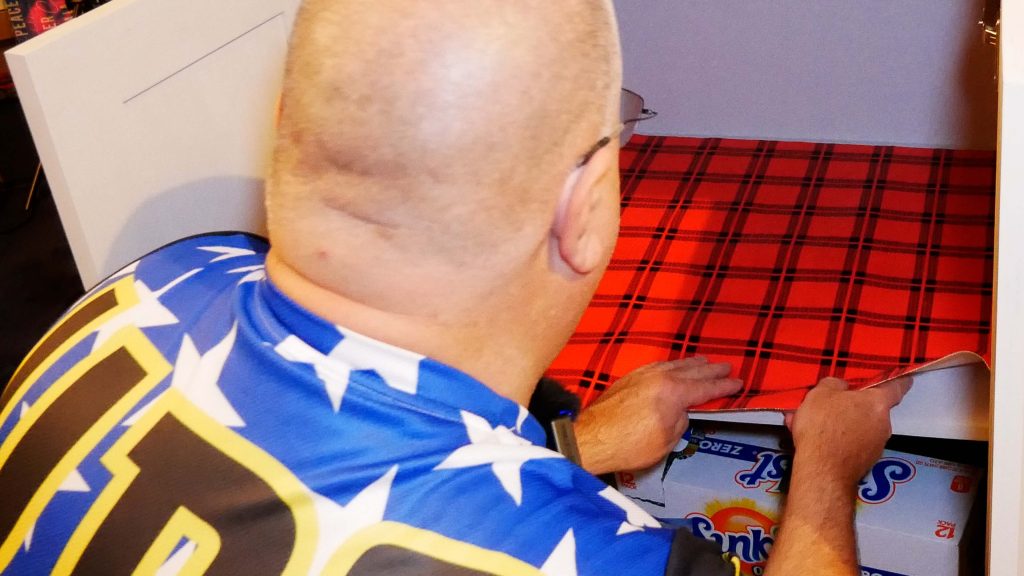
Protect your Cabinets with Drawer and Shelf Liner – By U Do It
Our Kitchen Storage Is Lacking – DIY Pantry Cabinet – By U Do It
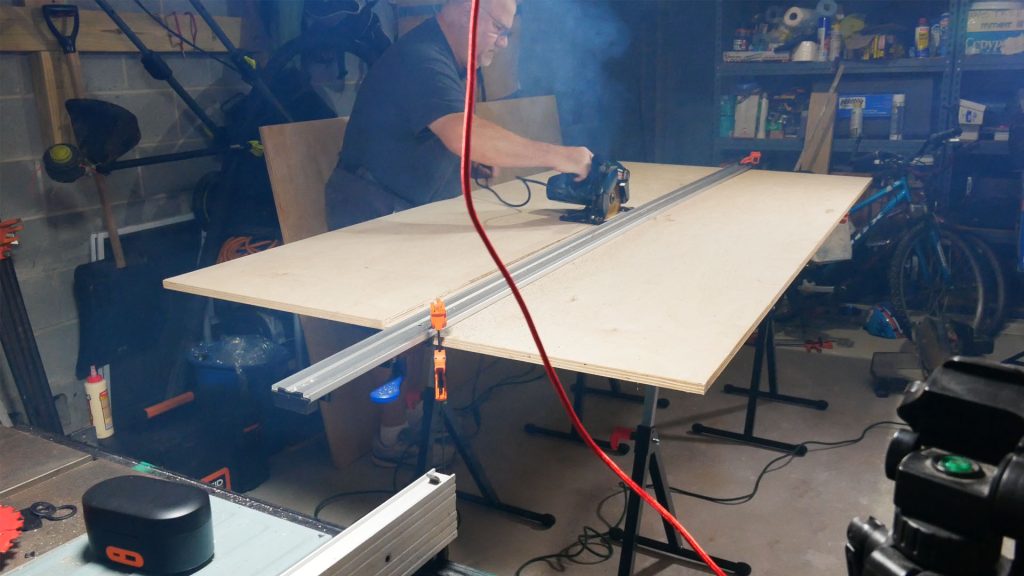
The First Cut – DIY Pantry Cabinet Part 2 – By U Do It
Do It Yourself or Hire a Contractor – By U Do It
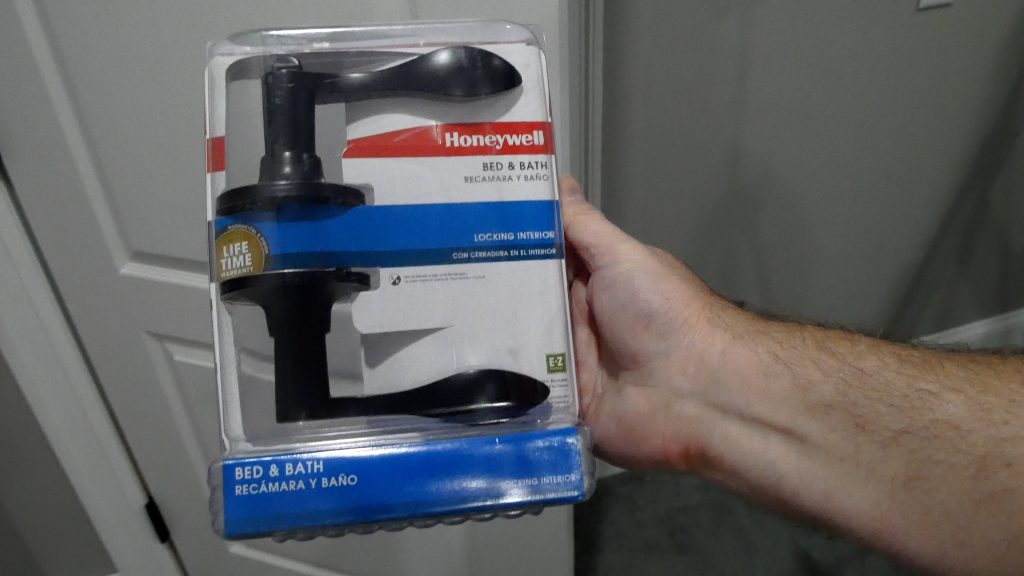
How to Install a Door Lever for a Bedroom – By U Do It

Save money by rebuilding your grill burners – By U Do It
Music of the Day

Follow U Do It on Social Media


What’s next? Check out About U Do It, History of U Do It, and Mrs U Do It to learn even more about U Do It.