How to Install a Garage Heater
It’s not fun working in a garage or workshop while it’s cold. The good news is that you can warm it up by installing this highly rated Fahrenheat FUH54 500 Watt electric heater. This heater as of the posting of the video has a 4.6 / 5.0 out of 53 ratings. I’m going to give it a 5 star but I do have a minor complaint. I think they should have used a switch that has some better hysteresis built into it that would prevent the fan from cycling to frequently. Above all, the heater works well and takes the chill out of the air. Moreover, it even fights the cold temperatures in an uninsulated garage. I’ll be finishing my garage soon and insulating it. I’ll provide an update once I insulate my garage.
Fahrenheat FU54 Installation
Below are the video chapters which can be used to navigate quickly throughout the video.
0:00 Intro
3:38 Connecting Electric
5:54 Mounting Support Bracket
6:08 Hanging Heater
6:58 Installation of Switch
9:37 Installation of 30Amp Breaker
11:22 Testing of Heater
Tools and Materials List

- Fan throws air 16 feet in calm conditions
- Automatically delays fan action until heating element is warmed up
- Fan continues until heating element cools off
Amazon.com Price last update on 2025-05-08 - Details
Electrical Supplies for DIY: https://amzn.to/3mYrI4h
Electrical Tools for DIY: https://amzn.to/4016OjF
Contractor Tools for DIY Home Improvement: https://amzn.to/3CHXveu
Breaker Installation
This heater is a 5000 Watt heater. To take advantage of the full 5000 Watts you will need to connect this heater to a 30Amp double pole double throw breaker. The Fahrenheat FU54 is shipped with the configuration for 5000 Watts. But, it is important to verify that this is the case as this could have been in other hands and returned. Follow the Fahrenheat FU54 Installation Manual guide for proper connections and jumper settings for 5000 Watt configuration.
To be in compliance with the NEC you will need to use 10AWG wire or better to connect the heater to the 30Amp breaker in your panel. And, if you do not have room in your main panel for another two slot breaker you will need to install a sub-panel. If you do not know what that is I got you covered in this How To Install a Sub-Panel video. Refer to the Fahrenheat FU54 Installation Manual for proper installation on the Marley Engineered Products website. Verify which version of the Fahrenheat 54 you have. As of the time of this article update on September 27, 2022 it is Fahrenheat 54C.
Mounting of Fahrenheat FU54 Garage Heater
Follow the NEC standard and building code rules for mounting of the heater. You will need to ensure that the heater is mounted a safe distance from any objects nearby. The Fahrenheat FU54 Installation Manual clearly lists the minimum distance between the bracket center-point and the wall. I used the lag bolts to secure the heater mounting bracket into the ceiling. It is recommended that you connect the electrical supply to the heater prior to mounting the heater. This will make installation slightly easier. You’ll just have to contend with the wire while mounting the heater.
Be sure to use a Romex connector or grommet for routing the supply as I did with my 10AWG wire (orange Romex). If you use armored cable be sure to use the proper bushes to prevent the armor from cutting the wire. You’ll connect the L1 and L2 and ground to the terminals within the Fahrenheat FU54 heater. And you’ll also connect the ground wire to the green ground screw.
Installation of Optional Switch
I wanted a switch for a quick disconnect, therefore I used a 30Amp DPDT switch and an outlet box. I routed the orange romex from the heater to the switch. One side I connected L1 and the other side I connected L2. I routed another wire from my sub-panel to the receptacle box. Wtihin the receptacle box I stripped the romex sheathing and stripped the wire. I also connected ground wires together through a grounding connector wirenut. Then I terminated the ground wire at the switch’s ground lug.
Termination at Load Center or Sub-Panel
If you haven’t already done so as mentioned above you’ll need to install the 30Amp Double Pole Double Throw breaker. This will be installed in your Load Center (main panel) or in your sub-panel. You’ll need to install a grommet or a Romex connector to accept the Romex wire. If you are using armored cable be sure to follow code and install the proper thru-hole mounting connector. You’ll strip the sheathing from the orange Romex wire and strip the wires back.
It is recommended that you power off your Load Center or your Sub-Panel while performing this work. If at any point you feel uncomfortable performing this as DIY consult a licensed electrician. If you are unable to power off the Load Center or power off supply to the Sub-Panel and you feel uncomfortable performing this then consult a licensed electrician.
Route the Romex wire through the connector in the load center or Sub-Panel. Within a Sub-Panel panel, connect the ground wire to your ground bar. Within a Load Center (main panel) connect the ground wire to your common neutral/ground bar. Properly torque the terminal screw to the proper torque specification. Next connect L1 to the 30Amp breaker terminal following the torque specification, which may be etched on the side of the breaker. And connect L2 to the 30Amp breaker terminal following the same torque specification. It is recommended that you use a combination tip screwdriver like a Klein Tools #32378 , which is listed in my list of Contractor Electrical Tools List.
Garage Heater Power-Up Test
Once everything is properly connected it is recommended that you verify all connections. Once everything is verified you can ensure that the Fahrenheat FU54 is turned off. If you installed the optional wall switch verify that is also turned off. Then apply power to the breaker. Turn on the wall switch. Then turn the knob on the garage heater to a setting where you will listen for the thermostat to click. At this point you should smell a oily substance. This is the protecting oil that the elements were coated with to reduce corrosion. Eventually, the fan within the heater will engage and you should begin feeling hot air.
Once you are satisfied with the test, turn the knob counter-clockwise to turn off the heater. The fan will continue to run until the unit is cool. Once the fan turns off turn you may turn off the optional switch.
The National Electrical Code is Free
The National Fire Protection Association is more concerned with your safety than charging for the National Electrical Code standard. To access the NEC for free, create an account here on the NFPA’s NEC page. If that link fails to load, visit the NFPA.org site. I suggest reading through the NEC. I also suggest consulting a licensed electrician and as well as your building code enforcement official.
Safety First
You are responsible for following safe practices when working. Safety is a mind set that needs to be applied to all areas and not just electricity. Yes, electricity is dangerous. You can get shocked or electrocuted from it. But you could also fall off of a ladder or trip on something on the floor and get seriously injured.
If you are interested in other U Do It™ articles you can see them here.
“As an Amazon Associate I earn from qualifying purchases.”
Picked out for you
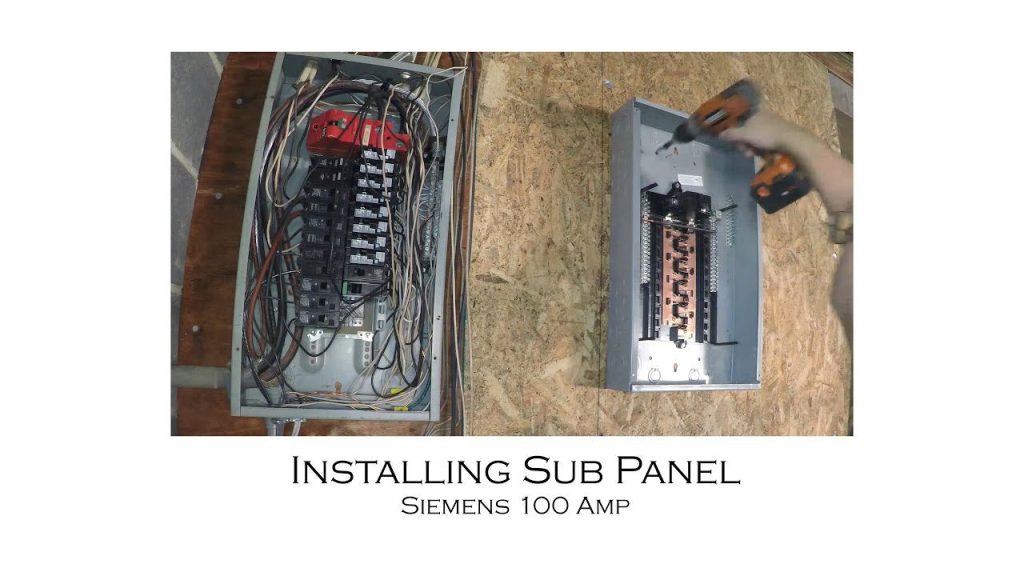 How to Install an Electric Sub-Panel to Main Panel – By U Do It
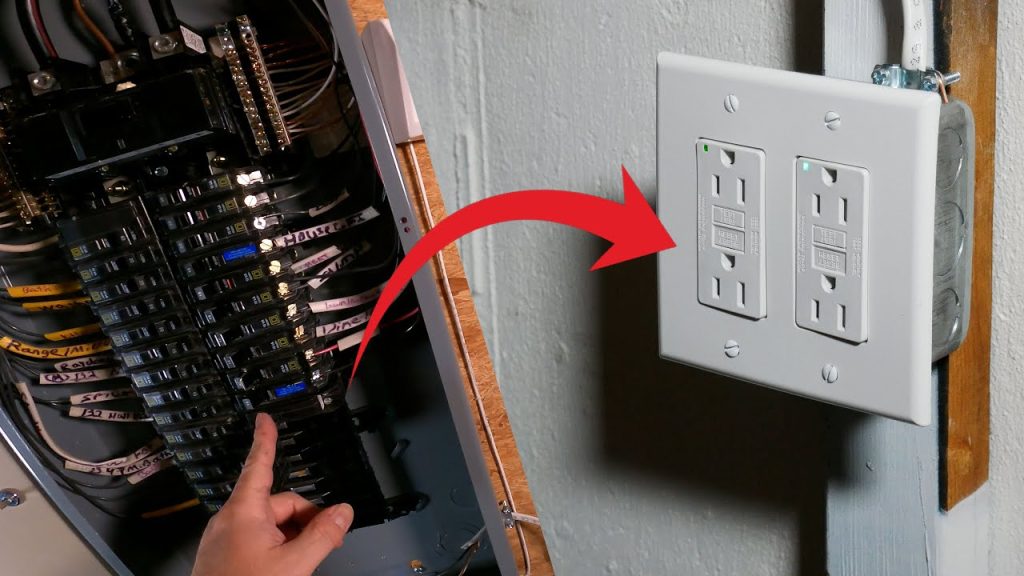
How to install a GFI outlet in basement from start to finish – ByU Do It
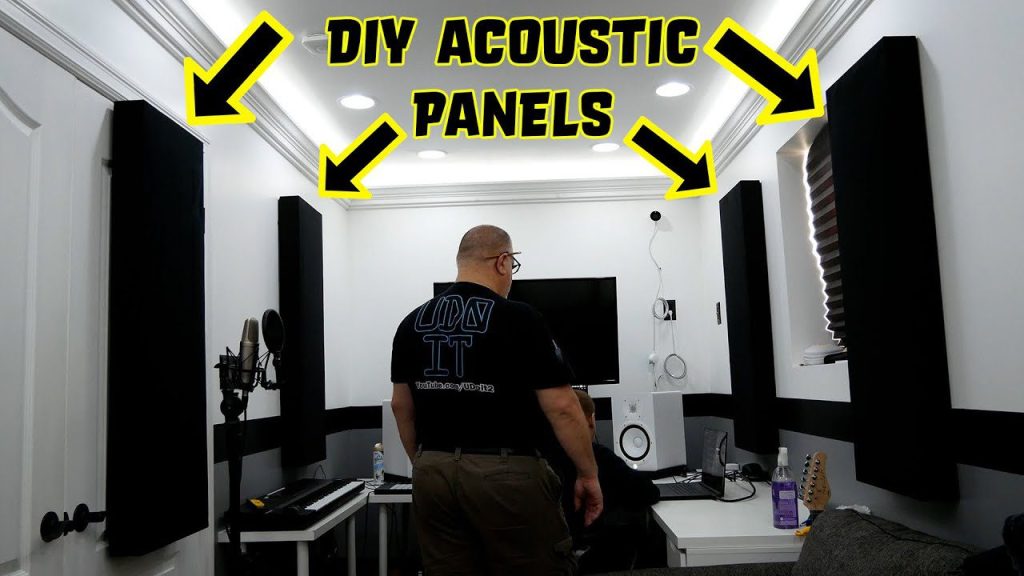
DIY Acoustic Panels for Better Sound Treatment – By U Do It
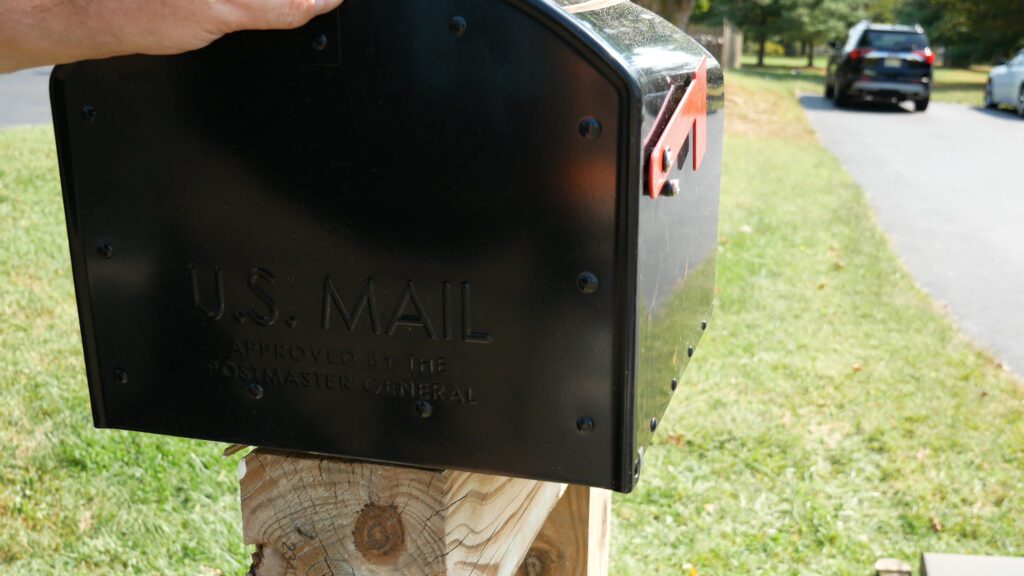
How to Install a Mailbox and a New Mailbox Post – By U Do It

Replacing an Edger Blade is Easy with the Right Tools Video – By U Do It

Making DIY tile coasters is super easy with cork – By U Do It

Save money by rebuilding your grill burners – By U Do It
How to paint two tone colors with a laser level – By U Do It
Repair a Leaky Gutter with Flex Seal – By U Do It
Replace your air filter as part of your regular maintenance – By U Do It

How to Remove Car Pinstripes using an Eraser Wheel – By U Do It
Design of the Day

Follow U Do It on Social Media


What’s next? Check out About U Do It, History of U Do It, and Mrs U Do It to learn even more about U Do It.