In this video I show you how to install a mailbox on a newly installed mailbox post. How high should you install it? There are regulations published by the USPS on how high to install a mailbox. It also states how far back to install a mailbox from the curb. This requires measuring the height from the ground to the mailbox so that it should fall within the 41 inches to 45 inches. The mailbox I install in this video is rather large so I choose to install it at 38 inches. The position of the mailbox should be setback 6 inches to 8 inches from the curb or sidewalk. This is a newly installed post. I created a video on how I installed this post and I will provide a link to the video once it is available.
To install the mailbox I must first install a crossmember. I do this using the same wood by joining them together using a cross-lap joint.
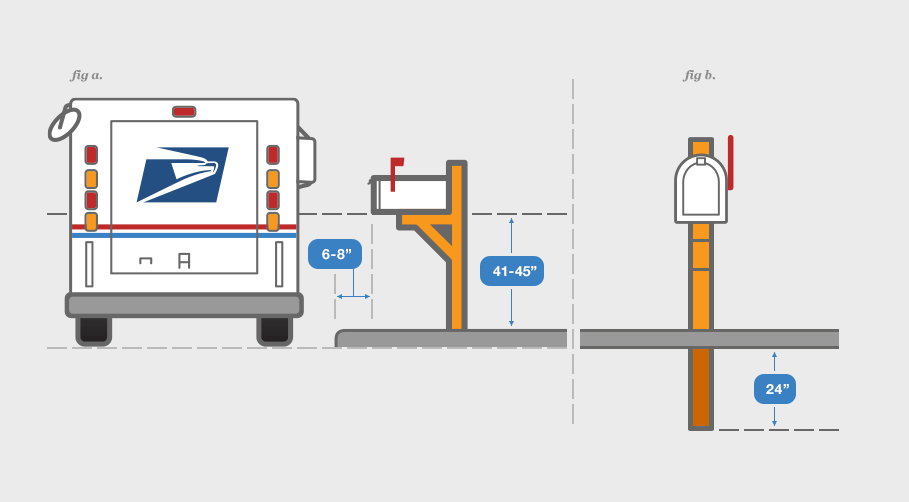
USPS Mailbox Installation Guidelines
Video Chapters
0:00 Intro
0:09 Follow the measurement guidelines set by the USPS
0:15 Measure the crosslaps
0:36 Cut out the crosslap joint on the post
1:51 Measure and cut the crosslap joint of the cross member
2:55 Install the crossmember onto the post
3:29 Cut a 2×8 for the the mailbox mount
4:04 Install the mount onto the crossmember
4:21 Secure the crossmember on the post with lag screws
5:27 Mount the mailbox onto the mount
The Tools Used to Install a Mailbox
List of tools and materials for mailbox replacement and installation: https://amzn.to/3xE24Ud
- Wood saw
- Combination square or speed square
- Tape measure
- Drill and drill bits
- Driver (preferably an impact driver)
- Right angle driver attachment and torx bit for construction screws
Materials
- Mailbox
- Construction Screws
- Deck Screws
- 6 x 6 post or 4 x 4 post
Mailbox Installation
I determine the topmost height of the cross member by determining where I want the bottom of the mailbox. Once I determine this I mark two horizontal lines outlining the top and bottom where the cross-lap joint will be made. In this case that is 5.5 inches since I am using 6 x 6 pressure treated lumber. I then cut into the wood 2 3/4 inches, which is 1/2 of 5.5 inches. On my cross member I decide where I want it to join on the post and I cut the same thing out on that. I join the cross member into the post, drill out holes for the construction screws and then install the construction screws which secures the cross member to the post.
With the cross member installed I install a 2 x 8 piece of wood on top of the cross member where the mailbox will be installed. I predrill the holes on that 2 x 8 so I know where the holes of the mailbox will be. That way, when I install that 2 x 8 on top of the cross member I know where not to put screws that would prevent me from installing the screws to secure the mailbox. Then I install the cross member and install the mailbox.
If you are interested in other U Do It™ articles you can see them here.
Picked out for you
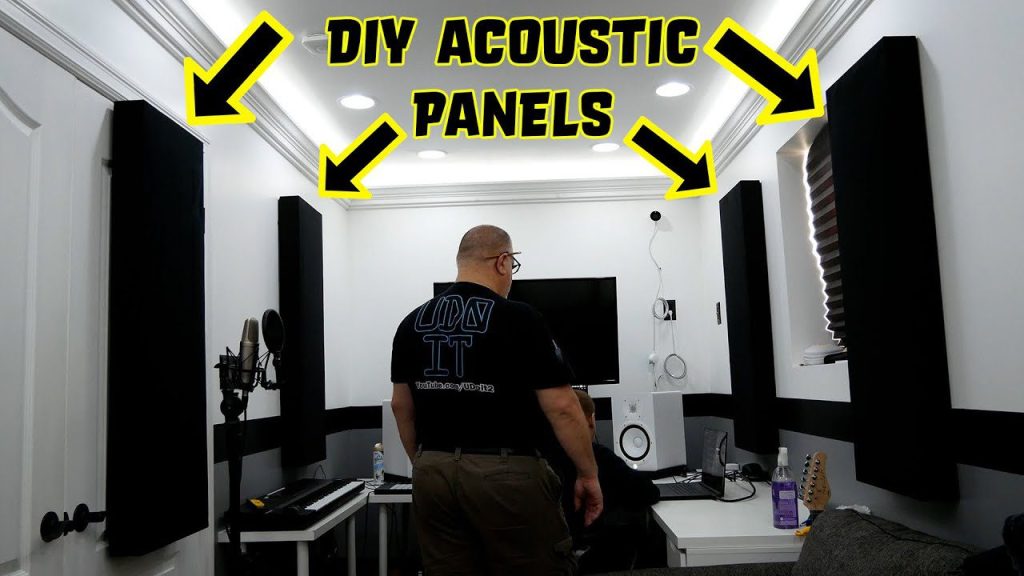
DIY Acoustic Panels for Better Sound Treatment – By U Do It

Replacing an Edger Blade is Easy with the Right Tools Video – By U Do It

Making DIY tile coasters is super easy with cork – By U Do It

Save money by rebuilding your grill burners – By U Do It
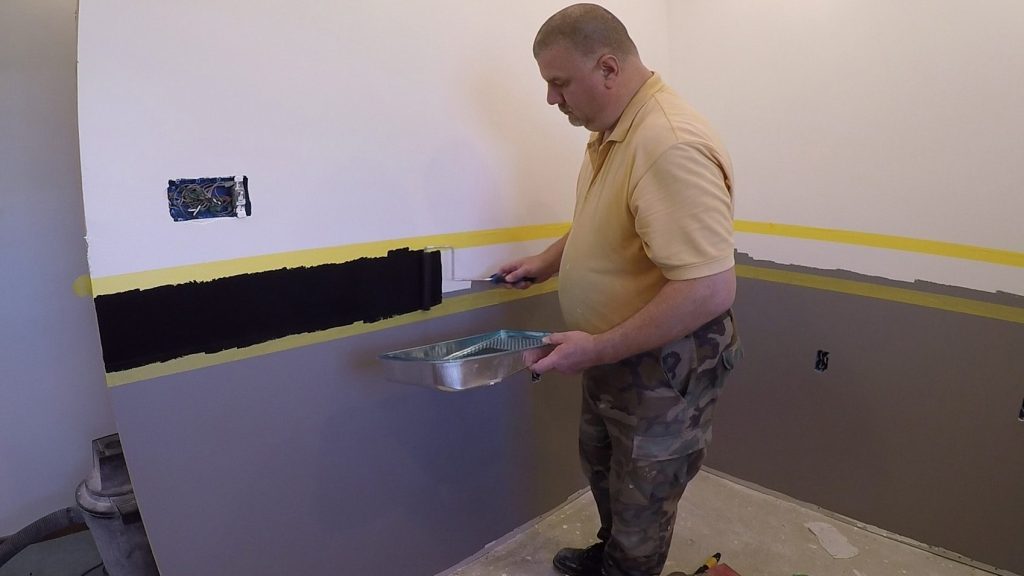
How to paint two tone colors with a laser level – By U Do It
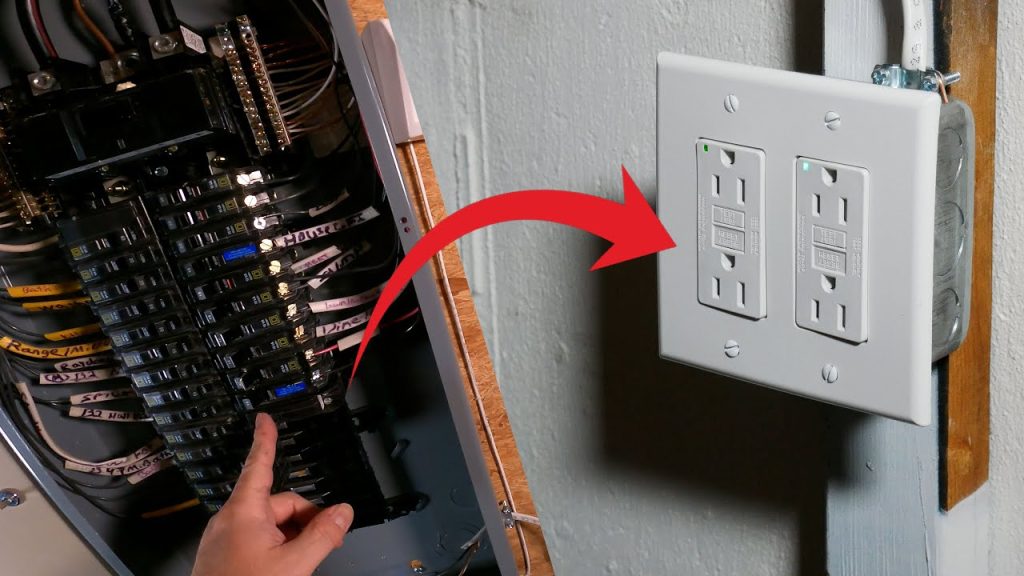
How to install a GFI outlet in basement from start to finish – By U Do It
Repair a Leaky Gutter with Flex Seal – By U Do It
Replace your air filter as part of your regular maintenance – By U Do It

How to Remove Car Pinstripes using an Eraser Wheel – By U Do It

Restore your Headlights in your Driveway – By U Do It
Design of the Day

Follow U Do It on Social Media


What’s next? Check out About U Do It, History of U Do It, and Mrs U Do It to learn even more about U Do It.