How to cut a crown molding return for the professional look
Your considering installing crown molding; however, you’re not sure how to cut a return for that professional look. In this video I demonstrate how to make a crown molding return on a compound miter saw without using the bevel. What is a return? A return is also known as a molding end stop. A return is a way of making molding look like the end stops at the wall (or returns into the wall).
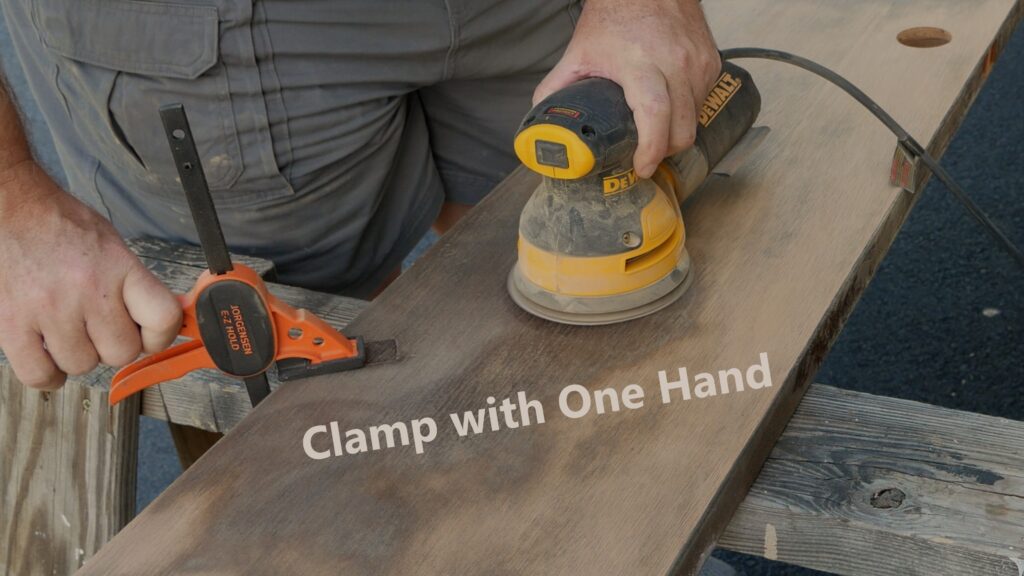
For this cut I install the D1280X Diablo 80T Fine Finish blade on my DeWalt 12″ Compound Miter Saw. I was able to use Jorgensen EZ-Hold clamps to create a point for the crown molding to rest against on the miter saw at the perfect spring angle. This allowed me to cut the crown molding only with the miter without the need to calculate and set the proper bevel angle.
Why is this crown molding lower than the ceiling? I built it down lower so I can install lights in the crown molding as I did in this other video shown below.
0:00 Crown Molding Return Intro
0:07 D1280X Diablo 80T Fine Finish Blade Installation
0:21 The angle that needs to be cut for the return
0:34 The first cut
0:55 Cutting the return piece
1:22 Rough fitting crown molding and return
1:32 Glue the return piece using Bob Smith CA glue
2:34 Rough fitting the crown molding assembly
2:46 Apply CA glue to inside corner
3:04 Hang the crown molding and return assembly with finish nailer
3:17 Install shims just for extra force until CA glue sets on inside corner
Crown Molding Return
The tools and materials used for cutting and and creating the crown molding return can be found on my U Do It™️ Crown Molding LEDs list here: https://amzn.to/3Jwykzs
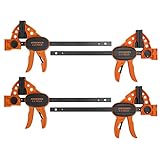
- Basic Parameter - Throat Depth : 2-3/8” from bar top of pad; Maximum opening capacity: 6”; Normal load limit: 150 lbs. Bar: 1/8”*1/2” plated, round-edge, high-carbon steel; Advancing handle: glass-filled nylon
- Light-duty E-Z hold design - the E-Z hold design allows clamp to be used in two ways - clamp or spreader. Not only can these versatile Clamps can be easily converted into a spreader Clamps, feature our exclusive patented feature that allow two clamps to be joined together to make a clamp with more than double the opening capacity of a single Clamp
- One-handed Clamp - as a standard, quick-acting Clamp, the patented and innovative sliding head maintains substantially higher clamping forces up to 300 lbs. The unique in-line advancing handle provides Comfort and ease of the use, permits greater travel per squeeze
Amazon.com Price last update on 2025-05-09 - Details
Tools Used
- DeWalt Compound Miter Saw (didn’t need the bevel so just a Miter Saw would have worked): https://amzn.to/3gxnXjc
- Jorgensen EZ-Hold Clamps (or Crown Molding jig like Kreg): https://amzn.to/3VWNUZx
- D1280X Diablo 80T Fine Finish Blade: https://amzn.to/3Dt7JAN
- Saw horses (or miter saw stand)
- Pencil
- Tape Measure
- Ridgid Pneumatic Finish Nailer (or battery powered)
- Air Compressor (not required if using battery powered finish nailer): https://amzn.to/3TrHakS
- Vacuum for Miter Saw
- 2 1/2″ Reducer for Miter Saw vacuum port
Materials and Supplies Used
The tools and materials used for cutting and and creating the crown molding return can be found on my U Do It™️ Crown Molding LEDs list here: https://amzn.to/3Jwykzs
- Bob Smith CA Glue (or other like STARBOND All-Purpose Medium)
- Bob Smith Accelerator (or other like STARBOND Accelerator)
- Drop-cloth
- 1 1/2″ Finish nails
- Shims (to act as spacers to apply force to inside corner of CA glued crown molding)
- Crown Molding
Assumptions
These instructions already assume that you have the main piece of crown molding cut to length that will return into the wall. The overall focus is:
- How to mark the length
- How to cut it in the safest manner possible
- How to assemble it
- Mounting crown molding
Marking / Measuring
I’m rarely successful with measuring and transferring the measurement the first time. I find that it is easier to hold the board up to the spot and marking it. Sometimes that is not always possible based on the surroundings. Whatever method you choose, think of which method reduces your error. As I said I choose to mark the board. To mark the board, I hold it up to the orientation and on the plane that the main length of molding crosses its path. At that point I make the mark there at the furthest edge of the crown molding.
Safety First
Cutting a small piece of crown molding on a miter saw can be very dangerous. You’ll notice in my video I cut the piece off from a larger piece. This way I mitigate much of that risk by holding a larger length.
Certainly, observe safety first behavior should be a priority. It is your responsibility to ensure that you are observing safe procedures while performing this activity. Additionally, if you do not feel comfortable performing this activity it is recommended that you consult with a licensed handyman or general contractor. Take all necessary precautions that you can consider, for example removing items out of the workspace that aren’t needed. For instance, you may be using tools that all have risks so it may be best to consult with a licensed handyman or licensed contractor. Certainly, it is best to wear a respirator as being exposed to dust particles can be hazardous. Enough cannot be said about your safety awareness while you are in your work area. Remove any obstacles that can be trip hazards. Consult safe operation of a ladder and be aware of your surroundings, such as doors that can open.
After watching my video several times during editing and writing this article I noticed that I am not observing a safe practice with the finishing-nailer. I hold my thumb or finger right next to the nailer. I have seen nails hit another nail head or hit a knot and completely curl up and shoot out of the wood. That would be a very painful and expensive trip to the emergency room.
Rough Check
Once you cut the crown molding return, hold it to the other main length and verify that the orientation was correct as I did in my video. Then test it on the wall and check that it will look correct. If everything checks out then you are ready to glue it.
Assembly of Return
Just as I did in the video, put a liberal amount of glue on the one side of crown molding. Spray the other side with the accelerator and quickly attach the return to the other piece. You’ll want to make sure it is attached correctly as you will not have much time to work with it. The accelerator really speeds up the curing time.
Rough Check of Assembly
Now that your crown molding is assembled check that it fits on the wall as expected. If it doesn’t check out, see what the next step is. Do you need to cut new pieces and start again? It’s not pleasant but I made several mistakes in my life. Measure once and cut twenty times!
Mount Crown Molding
Proceed with mounting it on the wall as I do in the video. Hold the crown molding at the properly level and using your finishing nailer, nail it to the wall.
If you are interested in other U Do It™ articles you can find them here.
“As an Amazon Associate I earn from qualifying purchases.”
Picked out for you

How to Install Crown Molding with Indirect Lighting – By U Do It
DIY Acoustic Panels for Better Sound Treatment – By U Do It
Jorgensen E-Z Hold clamp is quick and easy to use – By U Do It

Replacing an Edger Blade is Easy with the Right Tools Video – By U Do It
Making DIY tile coasters is super easy with cork – By U Do It

Save money by rebuilding your grill burners – By U Do It
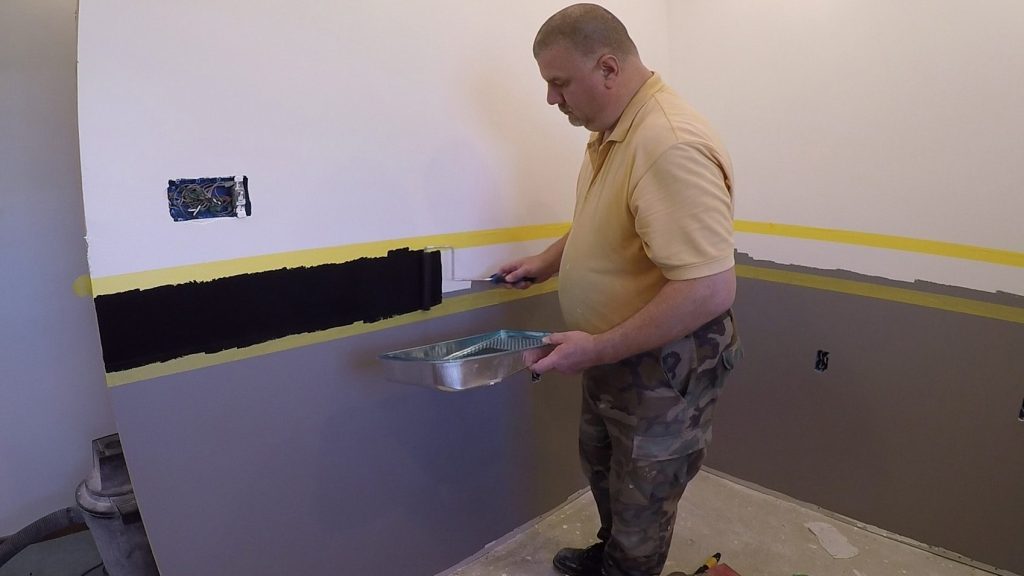
How to paint two tone colors with a laser level – By U Do It
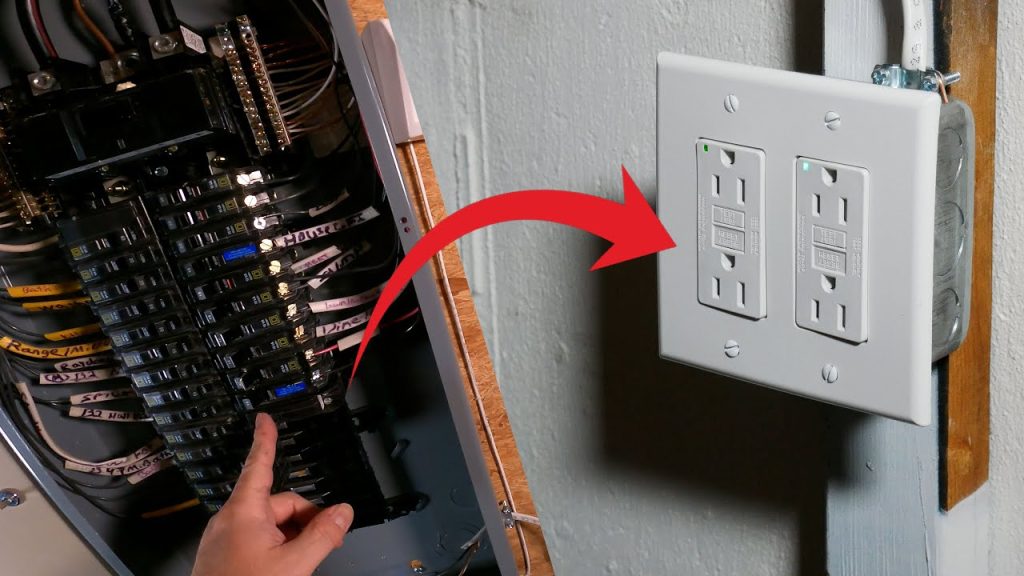
How to install a GFI outlet in basement from start to finish – By U Do It
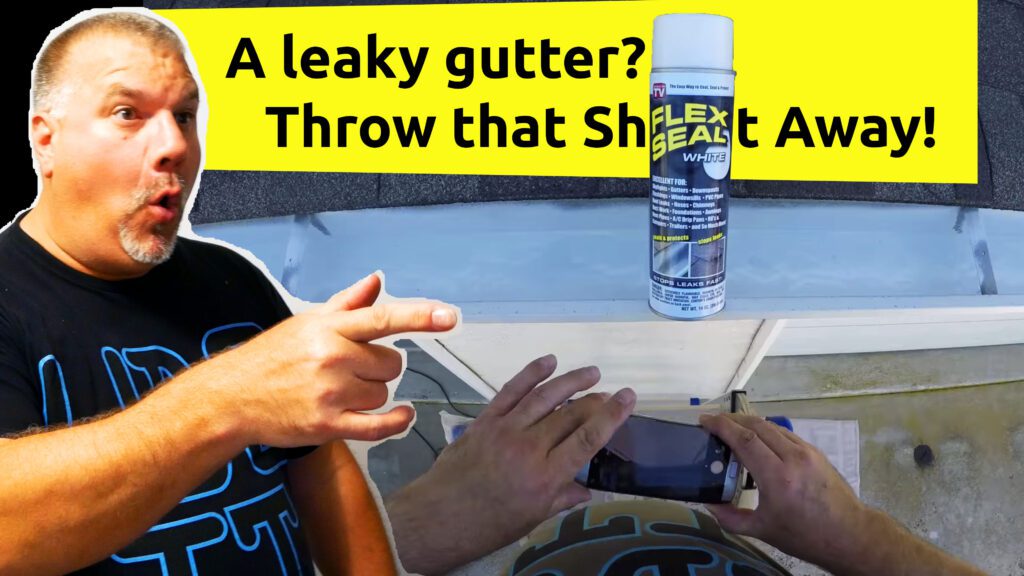
Repair a Leaky Gutter with Flex Seal – By U Do It
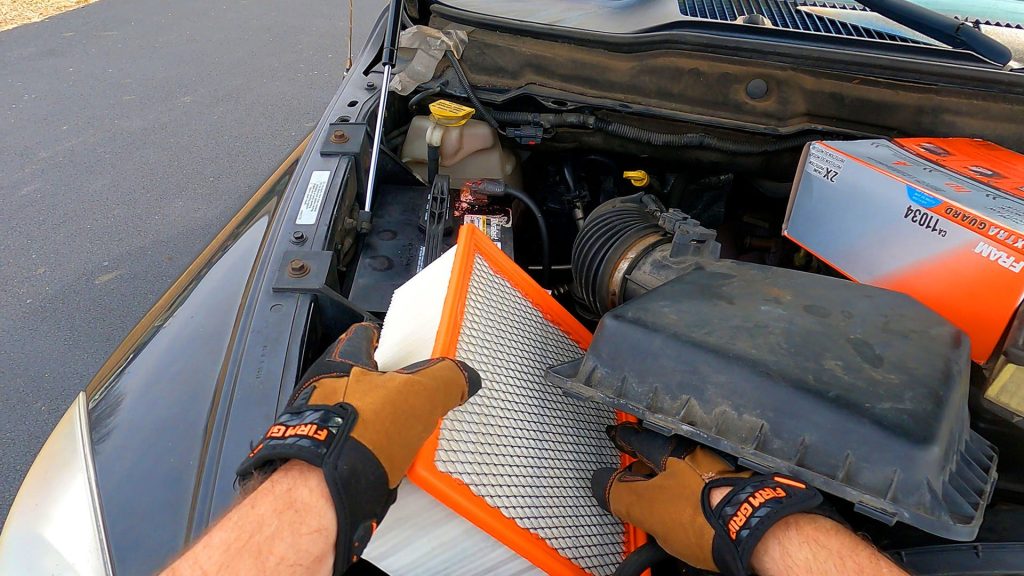
Replace your air filter as part of your regular maintenance – By U Do It

How to Remove Car Pinstripes using an Eraser Wheel – By U Do It

Restore your Headlights in your Driveway – By U Do It
Design of the Day

Follow U Do It on Social Media


What’s next? Check out About U Do It, History of U Do It, and Mrs U Do It to learn even more about U Do It.