Securing timbers with rebar is a way to prevent the timbers from shifting laterally due to horizontal loads. And, in this video, I demonstrate my preferred method to drive the rebar, which is using a TR Industrial Jackhammer.
Securing Timbers with Rebar Video Chapters
0:00 Intro to the Jackhammer
0:50 Cutting the rebar into 3ft sections
2:27 Irwin SpeedBor 1/2 inch drill bit
4:00 Drilling 1/2 inch holes into the timers
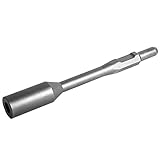
5:18 Unboxing of the TR Industrial Ground Rod Driver Bit
5:50 Rolling out my TR Industrial Jackhammer
7:38 Attaching the ground rod driver bit to the jackhammer
8:15 Attempting to use the jackhammer to drive the rebar into the ground
14:01 Trying to determine why the jackhammer will not hammer
16:06 I learned that the jackhammer has a feature that does not jackhammer into soft ground
17:44 Continuing installation of the rebar rods for the remaining spots on the timbers
23:00 Performing a test with a carpentry hammer vs. a jackhammer
25:00 Test to drive ground rod with the jackhammer
Why Do I Own a Jackhammer
When I was installing a drain in our front yard I needed to remove a portion of the sidewalk. Therefore, I purchased the TR Industrial Jackhammer when I had to remove a sidewalk to make room for a drain. I did not want to bust up concrete with a sledgehammer. Since I already owned the TR Industrial jackhammer it made sense for me to use it to drive the rebar into the ground. Purchasing the ground rod driver was an easy decision.
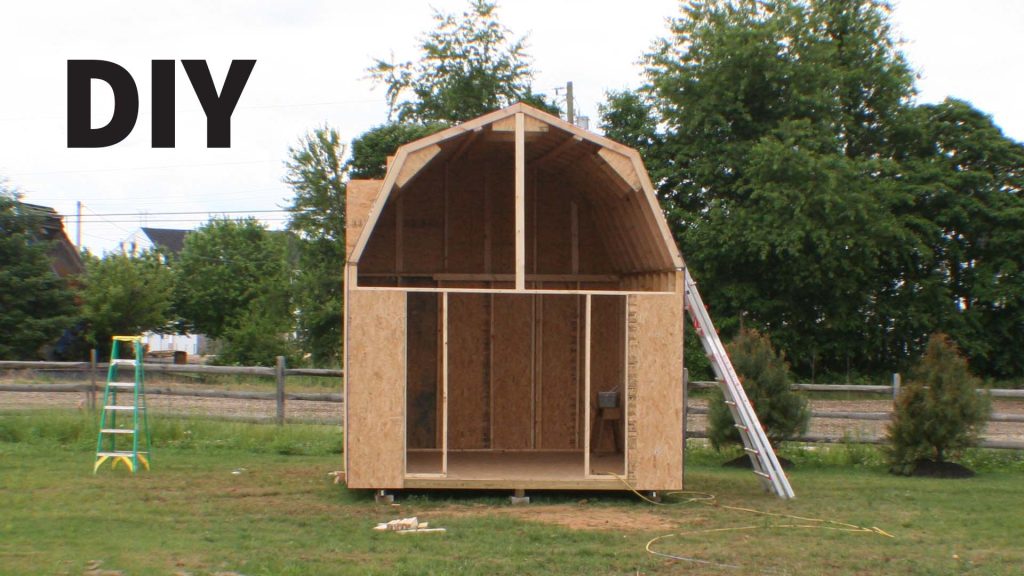
The deck of the shed floor is being built on top of (3) timbers that are resting on compacted crushed gravel. I do not want the timbers to shift laterally. One way to prevent this movement is to pin the timbers into the ground using rods. In my video, you can see I’m using #4 rebar and driving them through holes I drill in the timbers into the ground approximately 3 feet.
Cutting Rebar
I purchased 7 pieces of #4 10-foot rebar. Rebar is categorized by 1/8 of an inch increments. Therefore, the #4 rebar is 4 x 1/8 or 1/2 inch diameter. Also, I felt I could comfortably lift the jackhammer over 3 feet in the air. Therefore, I felt it was best to cut the 10-foot rebar into approximately (3) 40-inch sections.
I used my Black and Decker chop-saw to cut the rebar. The saw has a carborundum disc for cutting steel. Carborundum is a material that consists of silicon carbide (silicon and carbon) layered within a disc using resin to form a cutoff wheel. Carborundum is commonly used to cut steel, which is what rebar is made from. I was able to cut three at a time and the saw cut quickly.
Drilling Holes
Knowing that I needed to drill through up to three timbers, I purchased an Irwin SpeedBor 1/2-inch drill bit that was 15 inches long. This bit was able to drill through the timbers quickly. As I used the bit I had to pull the bit back at times to clear the chips away. Reinserting the bit after clearing the chips allowed me to drill approximately 1 inch depth at a time. Drilling without clearing the chips can increase the temperature of the bit and dull it more quickly. Therefore, I kept clearing the chips because I knew I needed this bit for other holes throughout this project, like the fabrication of the ridge beam.
Setting up the TR Industrial Jackhammer
The TR Industrial Jackhammer model number TR89305 weighs over 30 pounds. It is powered by a 120VAC three-pronged plug. I used a Ridgid 10AWG heavy-duty 100-foot extension cord that I purchased specifically to power it from a 20Amp outlet in my garage.
Using the TR Industrial Ground Rod Driver
The TR Industrial Ground Rod Driver model number TR89107 attaches easily to the jackhammer. Once installed, you can begin using it immediately. However, I discovered through trial and error that the TR Industrial Jackhammer has a feature that prevents it from hammering into soft soil. The feature seems to cause the bit to become stuck in position.
I found that hammering the ground rod driver into the jackhammer with a carpentry hammer worked. But, that was counterproductive because I would have to continually remove the jackhammer, tip it over, and hammer in the bit. As I was using the jackhammer I learned that I could pick up the jackhammer and slam it down a little to release the bit. Then it would engage the jackhammer and work as expected.
Testing a Carpentry Hammer versus a TR Industrial Jackhammer
My sledgehammer eluded me, as do many of my tools. Although was not a great test, it did provide a reference point for me to see the speed of hand power versus electric power. I hammered in the rebar for 40 seconds and it drove it into the ground 8 inches. Comparatively, I was able to drive the rebar into the ground in under 7 seconds, provided the jackhammer didn’t stop due to its loose soil feature.
Products Used in this Video
The products used in this video can be found in the list here:
- Compatible with these TR Industrial Demolition Hammers accepting TR-One shank: TR-100 Series (TR89100, TR89105) and TR-300 Series (TR89300, TR89305, TR89307)
- Use as driver for soft ground rods up to 3/4 in
- Enhance your demolition and chiseling job with this ground rod driver
Amazon.com Price last update on 2026-07-14 - Details
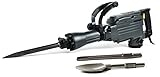
- BREAK ON THROUGH: Power you can trust to break through concrete, clay, concrete floors, and more
- ACCESSORIES INCLUDED: Jackhammer, hex/flat/spade chisels, safety goggles, working gloves
- :800 Blows-per-min of hammering speed . Comes standard with 6.5 foot power cord and a 360-degree swivel auxiliary handle, giving you optimal maneuverability and handling
Amazon.com Price last update on 2026-07-14 - Details
“As an Amazon Associate I earn from qualifying purchases.”
Video Credits:
Video Production: U Do It™️ Studios a Division of No Cheese Records® LLC All Rights Reserved.
Do It Yourself Build a Shed Series
To learn more about this series check out the DIY Build a Shed Series here.

Picked out for you

A Serious Consideration: Do It Yourself Build a Shed – The DIY Experience – By U Do It
Great Product! Do It Yourself Build a Shed – Bilt Hard Plate Compactor – By U Do It

Do It Yourself Build a Shed – Where to Start – By U Do It
Do It Yourself Build a Shed – Planning and Estimating – By U Do It

Protect your Cabinets with Drawer and Shelf Liner – By U Do It
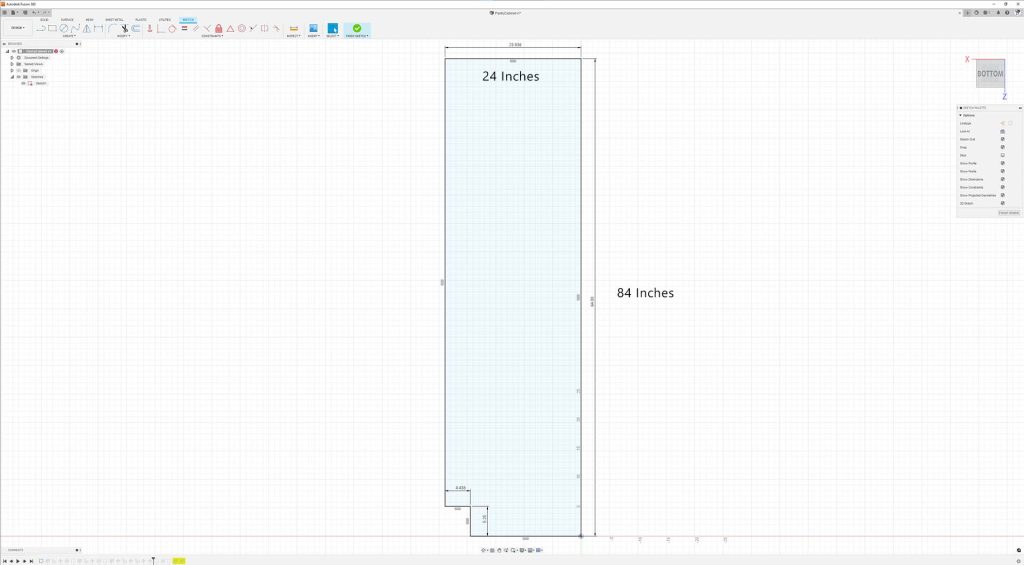
Our Kitchen Storage Is Lacking – DIY Pantry Cabinet – By U Do It
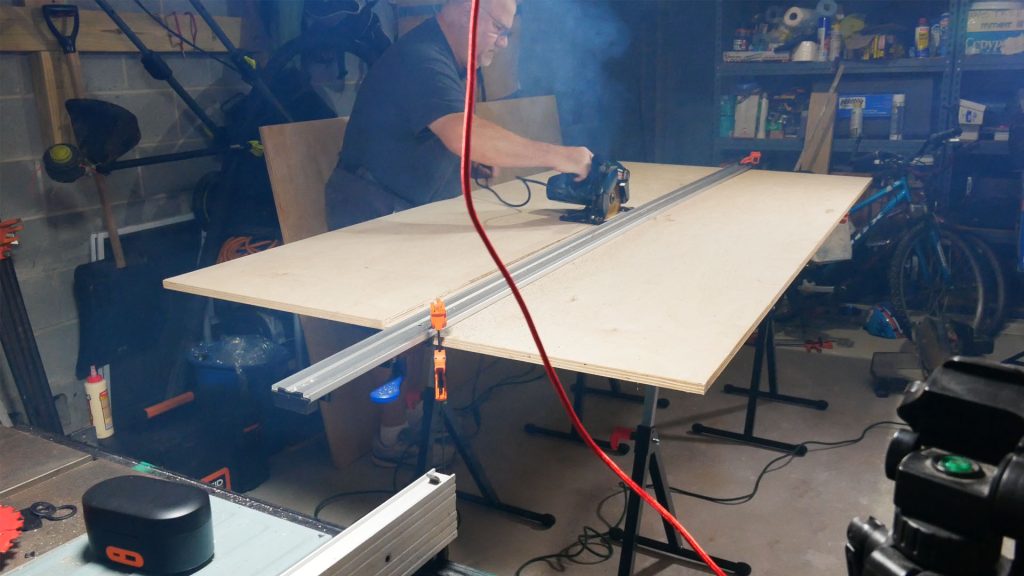
The First Cut – DIY Pantry Cabinet Part 2 – By U Do It

Do It Yourself or Hire a Contractor – By U Do It

Garage door wont close unless I hold the button down – By U Do It
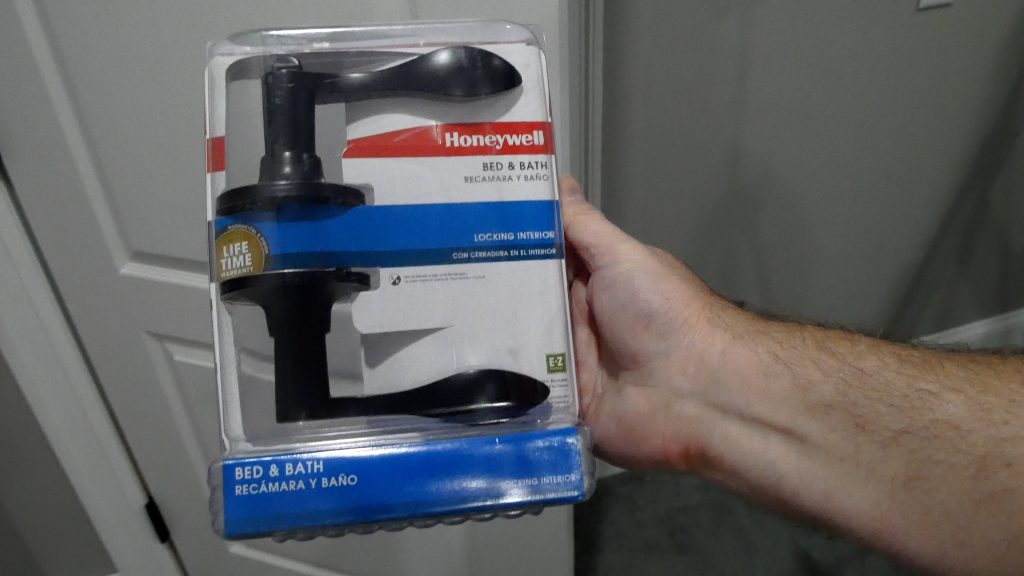
How to Install a Door Lever for a Bedroom – By U Do It

Save money by rebuilding your grill burners – By U Do It
Music of the Day

Follow U Do It on Social Media


What’s next? Check out About U Do It, History of U Do It, and Mrs U Do It to learn even more about U Do It.