U Do It How To Fix a Cracked Garage Door
I decided it was time to paint the garage doors and thought I could try JB Weld to fix the crack. I bought the 10-ounce pack model number 8281. it and it arrived the next day. JB weld was easy to mix and apply, although my applicator was not the best but that was probably for the best. You’ll see the results and the bad application may have helped it to blend in more. Not shown in the video is me mixing two additional batches of J-B Weld to fill in the crack.
When I installed my garage door opener I wasn’t paying attention when I was setting the close position. And, the garage door opener slammed the door into the concrete floor causing the door to bow and crack.
- J-B WELD ORIGINAL PRO SIZE: Professional 5 OZ Tubes of the Original Cold Weld two-part epoxy system that was designed as an alternative to torch welding. J-B Weld Original provides strong, lasting repairs to multiple surfaces and creates a bond stronger than steel. Perfect for DIY household, automotive, marine, craft repair and much more.
- CURE AND SET TIME: After mixing the tubes at a 1:1 ratio, it takes 4-6 hours to set and 15-24 hours to cure. Once cured J-B Weld Original can be tapped, filled, sanded, molded and drilled. J-B Weld Original set and cure color is dark grey.
- VERSATILE AND DEPENDABLE: J-B Weld Original is steel reinforced, has a tensile strength of 5020 PSI and can withstand temperatures up to 550 degrees Fahrenheit (287 degrees Celsius. When fully cured, J-B Weld Original is waterproof and resistant to petroleum, chemical and acid.
Amazon.com Price last update on 2026-02-16 - Details
How to Fix a Cracked Garage Door with J-B Weld
Please note that this is the first time I used J-B Weld. However, it is not the first time I’ve used an epoxy-based product for metal repairs.
Identify the area that you wish to repair with J-B Weld. Clean this area thoroughly of grease, dirt, and debris, and if possible sand it down to bare metal. Dust and clean the prepared area well.
The directions state to mix equal parts of the hardener and the steel very well. Once they are mixed you can apply it to the damaged area. You have a few minutes before it cures. Apply to the area as you see fit. Mix more if required.
Wait at least 24 hours before painting or moving the part.
Our Thoughts
I was amazed at how quickly the JB Weld cured and was solid. I mean solid and there is zero noticeable flex within the door. Again, I’m very happy with the results as I believe I significantly extended the life of our garage door for several more years.
Now I want to know what else I can try JB Weld on just for fun.
“As an Amazon Associate I earn from qualifying purchases.”
Video Credits:
Video Production: U Do It™️ Studios a Division of No Cheese Records® LLC All Rights Reserved.
Picked out for you
Garage door wont close unless I hold the button down – By U Do It
How big should your makerspace be? – By U Do It
Do It Yourself Build a Shed – The DIY Experience – By U Do It
Incredible Tool: Do It Yourself Build a Shed – Bilt Hard Plate Compactor – By U Do It
Do It Yourself Build a Shed – Where to Start – By U Do It
Do It Yourself Build a Shed – Planning and Estimating – By U Do It
Protect your Cabinets with Drawer and Shelf Liner – By U Do It
Our Kitchen Storage Is Lacking – DIY Pantry Cabinet – By U Do It
The First Cut – DIY Pantry Cabinet Part 2 – By U Do It
Do It Yourself or Hire a Contractor – By U Do It
How to Install a Door Lever for a Bedroom – By U Do It
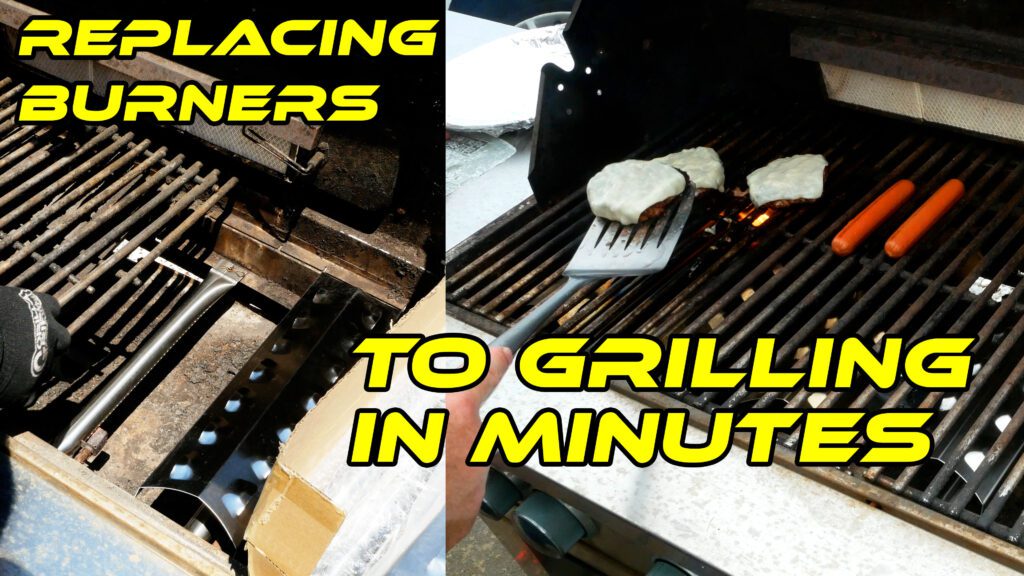
Save money by rebuilding your grill burners – By U Do It


