Learn how to hang your chairs from the ceiling in this storage organization hack. Do you own beach chairs, lawn chairs, or even captain chairs? If so, then you understand the storage challenges associated with these chairs.
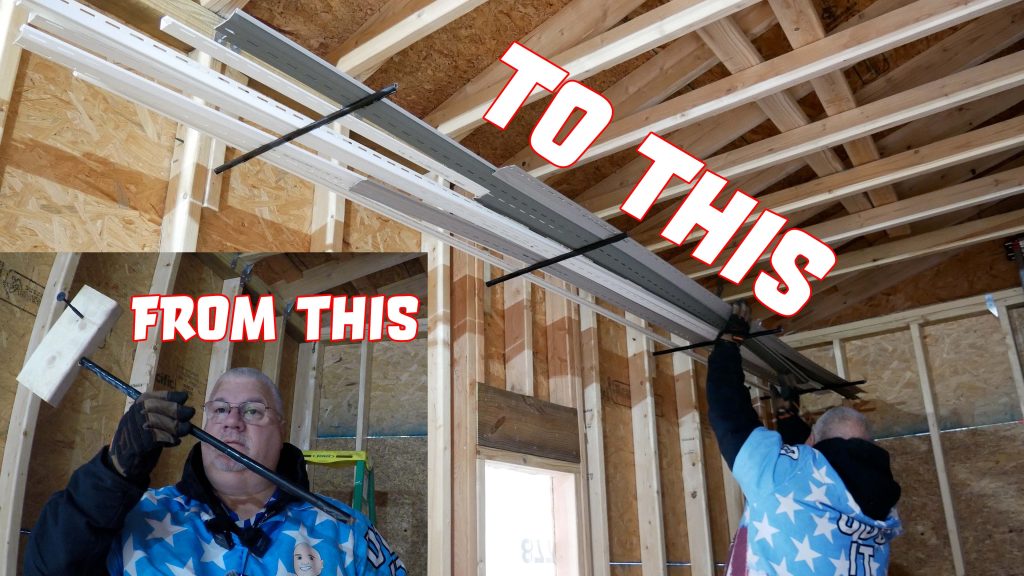
These chairs require storage in your home. If you have a garage or a storage area, they are often leaned against the wall sitting on the floor. But, did you know you can hang them? In this video, I demonstrate how to use utility hooks and scrap lumber to create a solution to hang your chairs from the ceiling.
The Jersey Shore
We live in Wildwood, which is part of the Jersey Shore. It is home to one of the best beaches in New Jersey. Spending time on the beach with beach chairs is a ritual practiced by many who visit the shore. When you’re done at the beach, you bring them back, rinse them, and lean them against the wall. Thus, consuming precious floor space for 99% of the time you own them.

Materials and Tools
With this hack, you’ll be able to hang your chairs. Here’s what you’ll need:
- Utility Hooks
- Scrap Lumber
- Drill / Driver
- Drill bits
- Driver bits
- Driver extension bit (Bosch 12 inch extension)
- Tape measure
- Pencil
- Combination Square
- Stud Finder
Safety
Please consider safety. You are responsible for your safety as well as the safety of others. This includes all aspects of the job area, using tools, and beyond. If you are uncomfortable with any part of this, please seek the assistance of a licensed contractor.
Steps
In the video, I show some of the steps. This may provide additional clarification and context for you.
Measure the Width and Depth of your Chairs
Measure the interior width between the legs of the chairs and subtract 2 inches. Once you complete this, measure the depth of your beach chairs in the folded position. Your chairs may vary in size. Choose the largest depth measurement for your spacing between each set of hooks. For the interior width measurement, choose the smallest measurement. This will be the distance between any given pair of hooks.
Please note that you will need enough room between each set of hooks so that the chair legs can fit between the hooks to be hung up.
Locate and Measure your Target Storage Area
Determine where you can suspend your lumber. I can’t help you determine this. And, there are safety aspects to consider as well. I can’t possibly name them all. It’s your responsibility to determine that or consult with a licensed contractor.
Look for a clear indication of where you can secure the lumber using screws. For our garage, it was easy since you can see the fasteners in the drywall. It may not be as easy for you and you may need a stud finder to assist. You will need to make some measurements to determine this spacing. This will be transferred to the lumber.
Consider the total number of chairs you have and the measurements from the previous step. Use those with some simple math to determine how many chairs you can hang from the ceiling. Look for obstacles that may prevent the chairs from hanging and adjust your calculation. In the area of my garage, I calculated that I could store four chairs in line.
Cut your Lumber, Mark, and Drill
Based on the measurements of the area above, cut your lumber so that it extends beyond your hooks by at least one inch. I used two offcuts and marked the layout for each hook using a tape measure, a combination square, and a pencil. I also drilled holes in the areas that coincided with the points where I secured the lumber to the ceiling joists.
Find the optimal size drill bit to drill into the lumber for the project source utility hooks. The bit should be the same size as the hook’s shank but smaller than the threads. The treads need to be able to bite and dig into the wood.
Depending upon the size fasteners that you have you may need a different size hole. The hole for the fasteners should be the same size as the screw’s shank and its threads but smaller than the head of the fastener. This way the screen can easily pass through the wood and hold it firmly against the ceiling.
Screw Utility Hooks into Lumber
Screw the utility hooks into the pre-drilled holes as I demonstrate in the video. This will take some effort. Fortunately, you can utilize the leverage of the hook. Orient them so they are all facing the desired location.
Secure the Lumber and Hooks to your Ceiling
I recommend starting your fasteners into the pre-drilled holes if the holes are smaller than the screws. Position the lumber in the desired position on your ceiling. Use your driver to screw the fasteners into the ceiling joists. In the instances where the drill can’t access the screws use your extension bit as I did in the video.
Hang your Chairs
Now you can reclaim your floor space by hanging your chairs from the ceiling. Sit back and enjoy your hard work.
“As an Amazon Associate I earn from qualifying purchases.”
Video Credits:
Video Production: U Do It™️ Studios a Division of No Cheese Records® LLC All Rights Reserved.
Picked out for you
Storage and Organization – Improve your flow by labeling – By U Do It
Storage and Organization – DIY Cantilevered Shelving Brackets – By U Do It
How big should your makerspace be? – By U Do It
Do It Yourself Build a Shed – The DIY Experience – By U Do It
Incredible Tool: Do It Yourself Build a Shed – Bilt Hard Plate Compactor – By U Do It
Do It Yourself Build a Shed – Where to Start – By U Do It
Do It Yourself Build a Shed – Planning and Estimating – By U Do It
Protect your Cabinets with Drawer and Shelf Liner – By U Do It
Our Kitchen Storage Is Lacking – DIY Pantry Cabinet – By U Do It
The First Cut – DIY Pantry Cabinet Part 2 – By U Do It
Do It Yourself or Hire a Contractor – By U Do It
Garage door wont close unless I hold the button down – By U Do It
How to Install a Door Lever for a Bedroom – By U Do It
Save money by rebuilding your grill burners – By U Do It

