Painting your fireplace is a great way to make your space more contemporary. Even if you aren’t sure if you can do it, this video will provide you with some steps that may help you. Then follow along. These easy steps will help you. My outdated oak fireplace needed to be changed since I bought my house back in 2014. I can visualize the colors and put things together without needing to see them in my space. My husband is the opposite. He needs to see it. Whether that be a picture or in person. So, I painted a sample board. I do recommend doing this. I left it next to the fireplace to check it out in the daylight and at night. It was a big help because I’m only doing it once.
Preparation
0:00 Make your Space more Contemporary by Painting your Fireplace
The amount of work you do as well as the final look will be based on how well you prepare. The steps outlined below are demonstrated in the video. If you have questions or tips and tricks please leave a comment on the video.
Taping – Cover the Fireplace and Tape around the Molding
0:55 Taping – Cover Fireplace and Tape around the Molding
Taping is a step I prefer to help keep the paint. My gas fireplace has faux doors and vents. So I started by taping plastic over this area. Sanding makes a mess and I didn’t want to get all that inside the unit. Next, I taped the marble surround. Then the wall area around the wood. When taping the wall where the mounding meets it you will have to rip the tape into smaller pieces. It’s tedious but needs to be done so cleanup is easy and you don’t need to touch up the wall.
Sanding
After taping now we need to sand all the shiny finish off of the wood. The polyurethane coating is thick and very shiny so if we don’t remove this the paint will not adhere properly to the wood. Using sanding sponges really helps with the contours. This 10 is nice because I went through quite a few. My fireplace has some fancy molding and these were perfect for that. They are flexible and can get in tight places. I have about 5 grooves that run vertically on each side. I took the sponge and wrapped it around my scraping tool and used that to sand in between. It worked perfectly. I did this in other tight areas and around the curved edges.
Cleaning
So now that we sanded really well we must remove the dust. I use TSP (trisodium phosphate). It comes in powder or liquid. Follow the directions on the packaging to mix it in a bucket with water. I used bar mop towels. I use these for all my projects and wash and reuse them. LINK. Make sure you rinse the towel in the bucket and keep wiping till the dust is removed.
Painting and Cleanup
The color I chose was a Sherwin Williams color Urbane Bronze, but they were closed. I had to run to Home Depot where I picked up this Bear Marquee paint and had them mix the color. This paint contains a stain-blocking formula. One coat will work well. My fireplace has a lot of mounding that gives it depth so lots of nooks and crannies to get in. I use some short strokes to get the paint in and follow it with long even strokes so it smoothed it out and I don’t get brush marks. The painting was smooth and pretty quick. The prep is always the longest part of the process, but after you will see why.
After I painted, while the paint was still wet I carefully removed the tape. Be sure to have a trash bag handy. Don’t forget to wash your paintbrush very well. I label my paint can with Masking Tape. I put the date and where I painted. Makes it easy for touchups in the future.
The Reveal
Look at the huge difference some paint can make. The marble around my fireplace really pops. I love the color choice I made. I can’t wait to change the gold. That is another video for the spring when the weather is warmer. I plan on removing the faux doors and spray-painting them outside.
Tools and Materials Used
The following tools and materials were used.
- Sanding Sponges
- TSP (Trisodium Phosphate)
- Bar mop towels
- Masking Tape
- Color: Sherwin Williams Urbane Bronze
Picked out for you
Protect your Cabinets with Drawer and Shelf Liner – By U Do It
Our Kitchen Storage Is Lacking – DIY Pantry Cabinet – By U Do It
The First Cut – DIY Pantry Cabinet Part 2 – By U Do It
Do It Yourself or Hire a Contractor – By U Do It

Do It Yourself Build a Shed – Where to Start – By U Do It
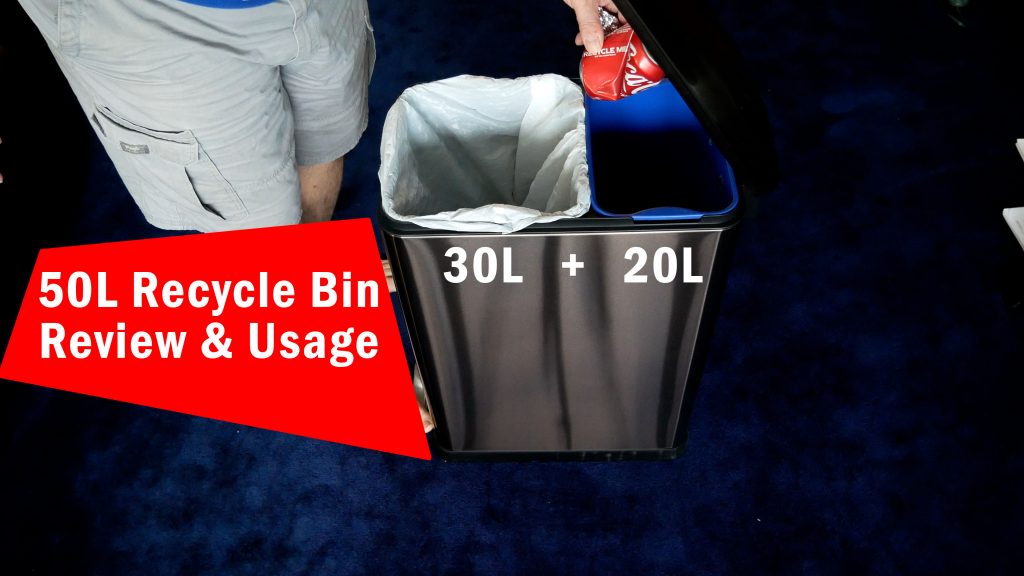
Best Trash Can for your Kitchen – By U Do It
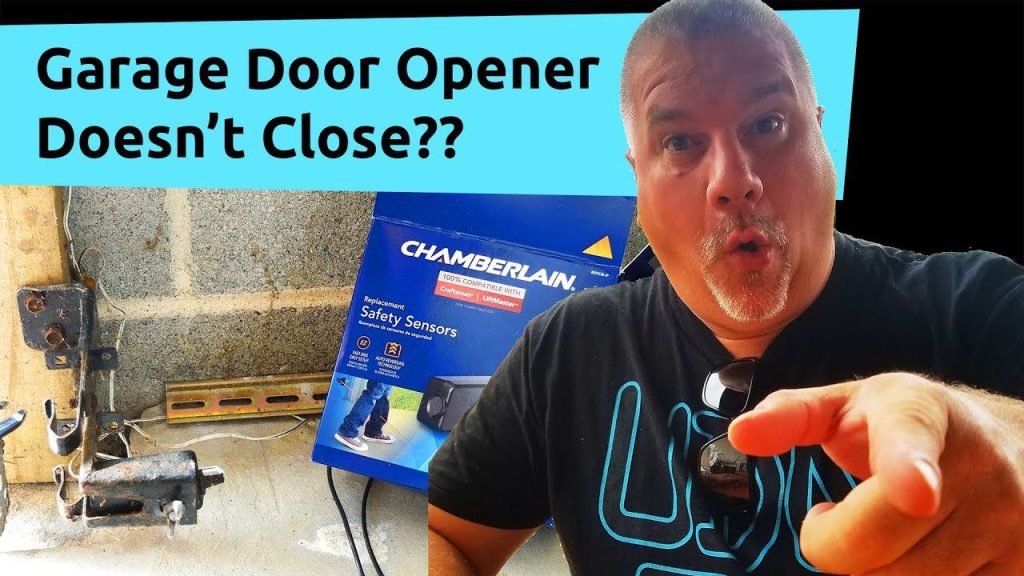
Garage door wont close unless I hold the button down – By U Do It
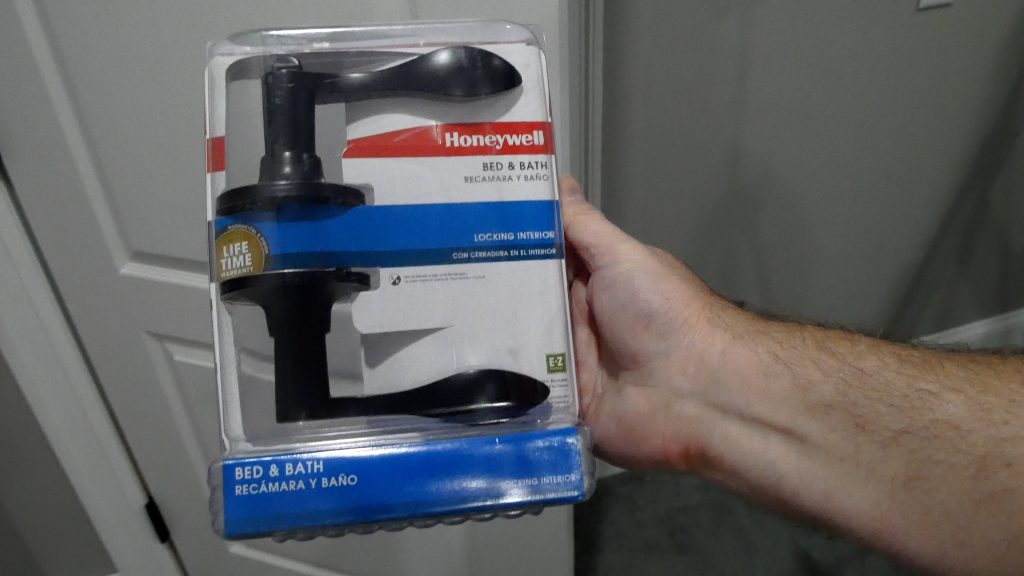
How to Install a Door Lever for a Bedroom – By U Do It

Save money by rebuilding your grill burners – By U Do It
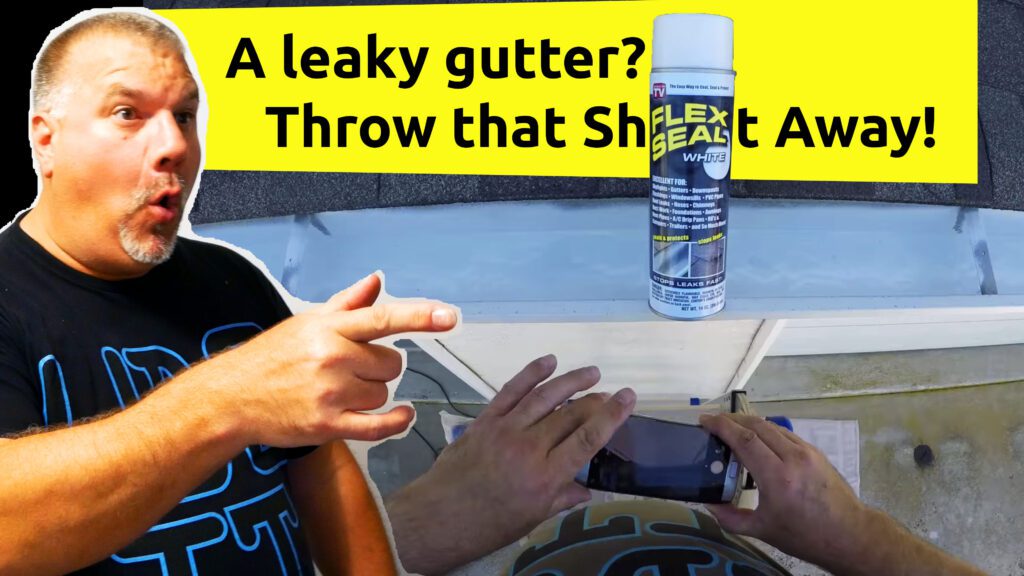
Repair a Leaky Gutter with Flex Seal – By U Do It
Design of the Day

Follow U Do It on Social Media


What’s next? Check out About U Do It, History of U Do It, and Mrs U Do It to learn even more about U Do It.