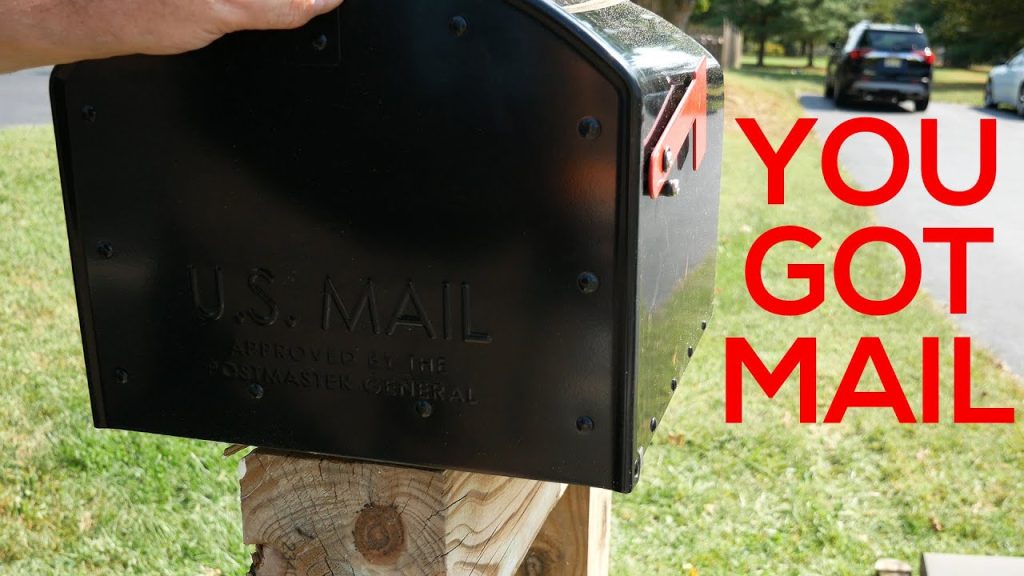
How to Improve the Look of your Mailbox Post
Your mailbox can serve as an accent piece to your property, improving its curb appeal. I overlooked that when I first installed it. Five years later, I decided to make it look nice. With a little creativity, you too can do this, and I hope my video inspires you.
Driving around your neighborhood you’ll see different styles of mailboxes and their mounts. Some are ornate while others are just plain like mine. You can decorate it to your style. In this video, I show you what I did with just a can of paint, some mailbox numbers, and a couple of battery-powered solar-rechargeable LED lights.
Mailbox Installation Guidelines
Did you know that there are guidelines posted by the United States Post Office that help you know the optimal height for mounting your mailbox?
After our son’s friend ran over our mailbox one late night in 2019 I immediately purchased a new mailbox. I usually have scrap pieces of wood and extra fasteners to do simple jobs, which was no different this time. I built my mailbox post using a scrap 6×6 post, heavy-duty fasteners, and a newly purchased mailbox.
You can see how I fabricated the replacement mailbox post here in this video below:
How to Install a Mailbox and a New Mailbox Post – By U Do It
Tools and Materials Used
The following tools and materials were used to paint the mailbox post:
- Painters tape
- Paintbrush
- Rust-Oleum Door & Trim Exterior paint
- House Numbers
- Combination Square
- Tape Measure
- Pencil
- Phillips #2 Screwdriver
Preparing Mailbox Post for Painting
Your situation may be different, but this may give you an idea of what to consider.
Trimming Grass
Getting a solid application of paint down to the ground is difficult with grass surrounding the post. Cutting the grass back is easy with scissors or lawn shears. Of course, you can always grab your weed trimmer and quickly trim the grass around the bottom of the post.
Organic Growth
Although my post was good, you may have fungi, algae, or mold growing on your post. You can remove this with a pressure washer or a sander. Wear the appropriate protective gear when doing this type of activity.
Use Painters Tape
If you can’t remove your mailbox from the post before painting, apply painter’s tape to the mailbox. Also, apply painter’s tape to the ground to prevent picking up dirt and blades of grass.. If your mailbox is encased in concrete, tape the concrete.
Using Rust-Oleum Door & Trim Paint
Use the paint you are familiar with. For me, I love Rust-Oleum Door & Trim Paint. It dries very quickly as you can see in the video. I can apply a 2nd coat as soon as I finish painting the entire post. I did find that when painting in cooler weather the drying time is extended. You may have to wait several hours to paint depending upon weather conditions.
The brush I used was a Pro Grade brush, which was part of a 5-pack of brushes.

- Ready to use, pre-mixed door and trim paint offers a fresh new look on interior or exterior metal, wood and fiberglass
- Water-based paint formula emits less odor and withstands fading for a long lasting finish
- Dries to the touch in 45 minutes, up to 3X faster than traditional oil-based paints
Amazon.com Price last update on 2026-04-09 - Details
Adding Address Numbers to Mailbox Post
I have a vision for how I want the numbers to look. So I searched for numbers in a font that I thought would like great and in the color black to contrast with the white paint color. The numbers need to be large but yet small enough to fit within the 6×6 post width, which is 5 1/2 inches. The numbers I ordered were a 5 and an 8 and came with stand offs to give the numbers a 3D look. The number 8 had the holes directly in the center. The number 5’s holes were not directly in the center.
Measuring for Address Numbers
The challenge for me in these situations is to mount the numbers directly in the center of the post. To do this, measure the width of the widest number and subtract it from the width of the post and divide by two. Using a combination square, set it to this number, which I think was 1 1/8. Hold the combination square at a few spots along the vertical where the numbers will be. Mark some light tick marks with a pencil along the end of the combination square. Rather than drawing a line down the entire post where the numbers will be I used painters tape aligned with these tick marks.
If you are placing numbers on more than one side, ideally the position of numbers would mirror to the other side. Make a mark where the top of the first number will be placed and duplicate that to the other side. Positioning numbers vertically, choose an appropriate vertical distance between the numbers.

- Made from durable, weather-proof plastic
- 5 inches tall is a very common size
- Can be used on mailbox posts
Amazon.com Price last update on 2026-04-09 - Details
Mounting Address Numbers on Post
With the tape on both the left and right side acting as a guide, I can visually position the numbers horizontally to fit directly within the center and starting at my starting point. Hold the first number in position and make a pencil mark through the mounting hole.
If you choose to use the standoffs as I did, hold that behind the number and insert the screw. Using a Phillips screwdriver, fasten the number to the mailbox post.

- IMPROVED DURABILITY and FIT: Black Oxide Tip provides improved durability and grip without compromising tip fitment
- QUICK ROTATION CONTROL: Speed and Precision Tactile Zones provide quick rotation control for efficient run down and precision tasks
- ADDED GRIP TEXTURE: Torque Zone provides added grip texture and geometry for heavy torque applications
Amazon.com Price last update on 2026-04-09 - Details
Accent with Solar Lighting
I had a 16 pack of solar fence LED lights. Sadly, these stop working after some time. Therefore, they are not U Do It Approved. They look great while they work, but then that is it. I’m sure there’s a better product available but don’t go looking for these and buy them.

Our Thoughts
After building our shed, adding more lights to the side of our house, painting our front door and trim, painting our garage door, and finishing this mailbox post we have made great progress in the last year with the way our home looks. The look of our mailbox is really sharp, especially with the black on white numbers. Now I’m wondering why I hadn’t done this sooner.
Just add a little paint and certainly some elbow grease and you can do this as well.
Remember, I don’t do it – U DO IT!

“As an Amazon Associate I earn from qualifying purchases.”
Video Credits:
Video Production: U Do It™️ Studios a Division of No Cheese Records® LLC All Rights Reserved.
Picked out for you
Garage door wont close unless I hold the button down – By U Do It

How big should your makerspace be? – By U Do It
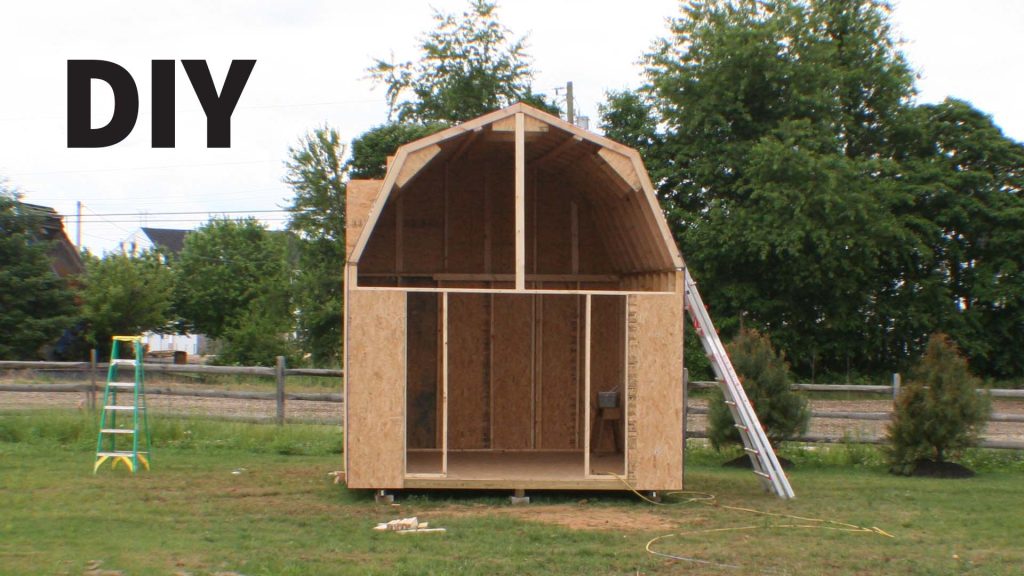
Do It Yourself Build a Shed – The DIY Experience – By U Do It
Incredible Tool: Do It Yourself Build a Shed – Bilt Hard Plate Compactor – By U Do It

Do It Yourself Build a Shed – Where to Start – By U Do It
Do It Yourself Build a Shed – Planning and Estimating – By U Do It
Protect your Cabinets with Drawer and Shelf Liner – By U Do It
Our Kitchen Storage Is Lacking – DIY Pantry Cabinet – By U Do It
The First Cut – DIY Pantry Cabinet Part 2 – By U Do It
Do It Yourself or Hire a Contractor – By U Do It
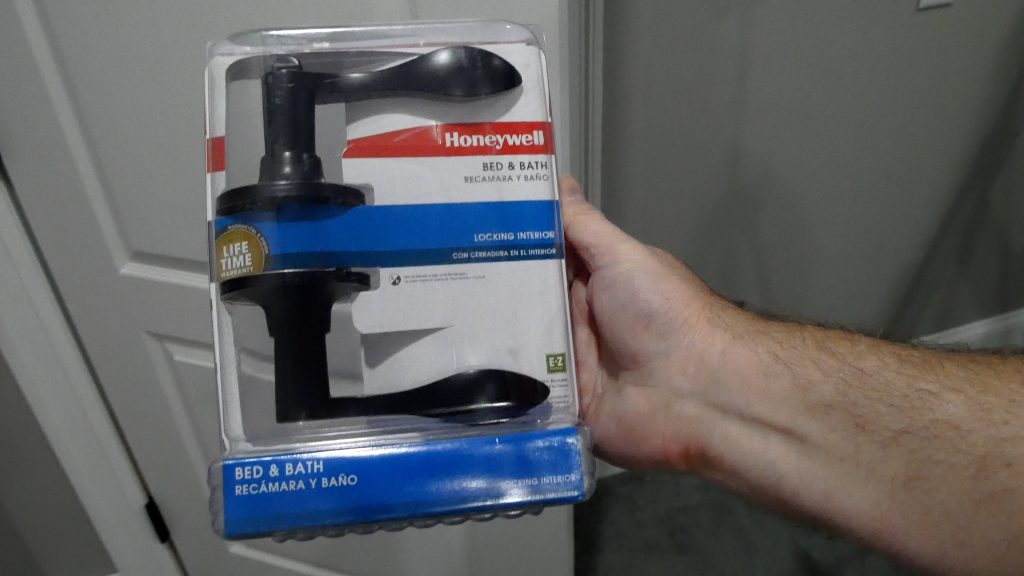
How to Install a Door Lever for a Bedroom – By U Do It

Save money by rebuilding your grill burners – By U Do It
Music of the Day

Follow U Do It on Social Media


