How to install a GFI outlet in basement
In this video, we demonstrate how to install a GFI outlet in a basement to a newly installed breaker. The requirement was to allow the family and friends to play video games without running an extension cord. An extension cord is a tripping and safety hazard. Avoid this! This originally started as a phone call from our friend Eric. He asked if it was ok to plug a surge protector into the basement sump pump outlet and use that to power the TV and I was like “NOOOOOOOOOO!!!”
NEVER plug anything into the dedicated sump pump outlet as you do not want anything that could overload the sump pump breaker and trip it thereby preventing the sump pump from operating. So here we are, installing GFI outlets onto a dedicated breaker.
Video Chapters: How to install a GFI outlet in basement
Below are the list of chapters for this video. You can start at the beginning or click on the chapter that is most relevant to your point of interest.
0:00 Intro
0:06 Installation of Romex Connector in load center
0:37 Feeding Romex wire into load center
0:55 Stripping Romex wire
1:19 Installation of 15 Amp breaker
1:29 Installation of 2×4 mounting board
2:50 Mounting of outlet box on 2×4
3:40 Wiring of breaker panel
4:21 wiring of outlets
6:07 wiring of Neutral pigtails
6:27 wiring of Line pigtails
7:00 wiring of Ground pigtails
8:18 preparing wiring for GFI outlets
8:32 wiring of GFI outlets
12:25 insulating GFI with electrical tape
13:44 testing GFI outlets with electrical tester
Siemens panel P2020B1100CU: https://amzn.to/43W90em
Electrical Supplies: https://amzn.to/3DuKvdC
Electrical Tools List: https://amzn.to/3srwU0a
Contractor Tools for DIY Home Improvement: https://amzn.to/3N8X5lN
Important Notes: GFI Outlet
Not shown in the video is the breaker. This was was a combination AFCI/GFI breaker. The breaker was not compatible with the load center. So he had to go take a trip back to Home Depot. And purchase a breaker. Guess what? It wasn’t the right breaker. What a fiasco this was! In the end we were able to use one of the breakers, which was a dual 15Amp breaker.
The breaker was installed and the wiring was already ran prior to my arrival. Remember to read the NEC (National Electrical Code) prior to installation to verify that all is being installed according to code. Wire that passes through joists must meet certain requirements, such as it must be secure every 4 feet and must be secure within 12 inches of the electrical box. A 2×4 was secured to the wall with Tapcon screws and poly-adhesive. Not shown in the video was the running of the romex wire down the face of the 2×4 and secured with wire staples.
The National Electrical Code is Free
The National Fire Protection Association is more concerned with your safety than charging for the National Electrical Code standard. To access the NEC for free, create an account here on the NFPA’s NEC page. If that link fails to load, visit the NFPA.org site. I suggest reading through the NEC. I also suggest consulting a licensed electrician and as well as your building code enforcement official.
Safety First
You are responsible for following safe practices when working. Safety is a mind set that needs to be applied to all areas and not just electricity. Yes, electricity is dangerous. You can get shocked or electrocuted from it. But you could also fall off of a ladder or trip on something on the floor and get seriously injured.
If you are interested in other U Do It™ articles you can see them here.
“As an Amazon Associate I earn from qualifying purchases.”
Picked out for you
How to Install an Electric Sub-Panel to Main Panel – By U Do It
DIY Acoustic Panels for Better Sound Treatment – By U Do It
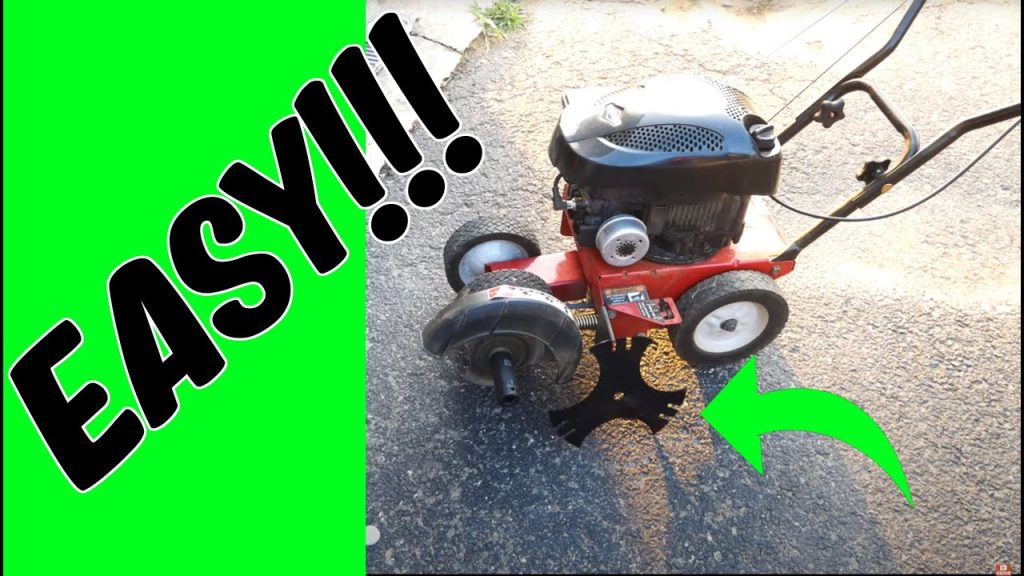
Replacing an Edger Blade is Easy with the Right Tools Video – By U Do It
Making DIY tile coasters is super easy with cork – By U Do It
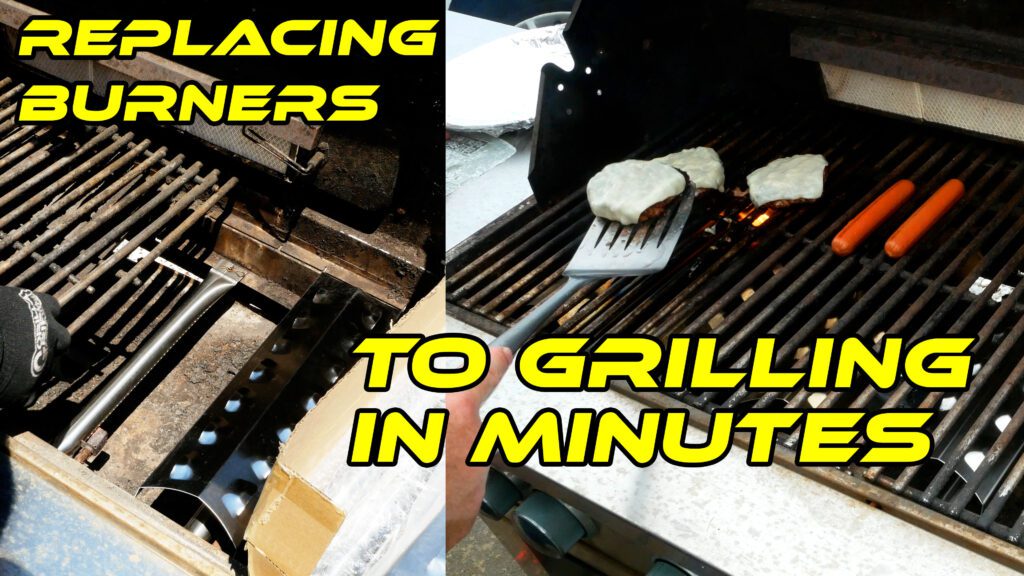
Save money by rebuilding your grill burners – By U Do It
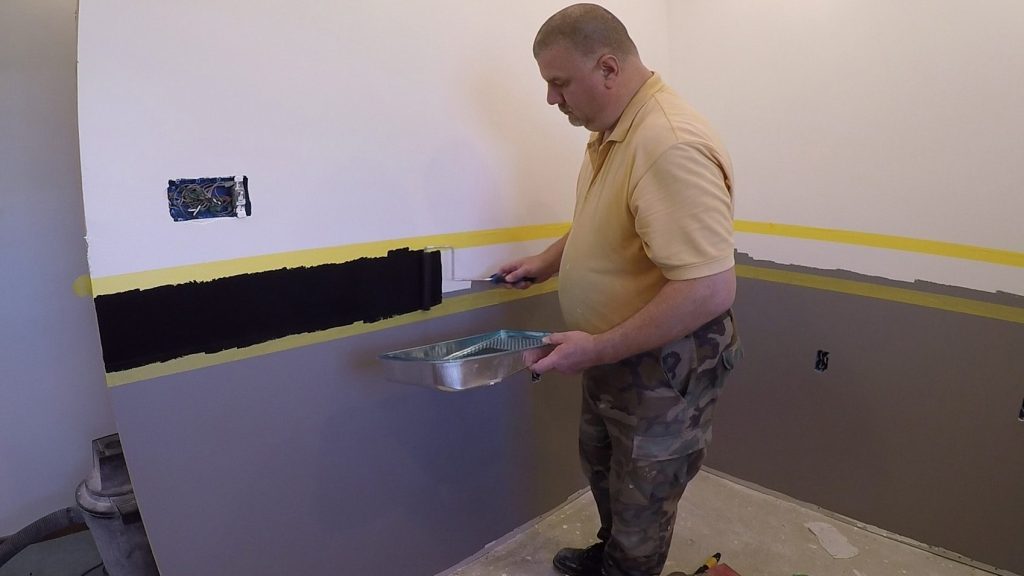
How to paint two tone colors with a laser level – By U Do It
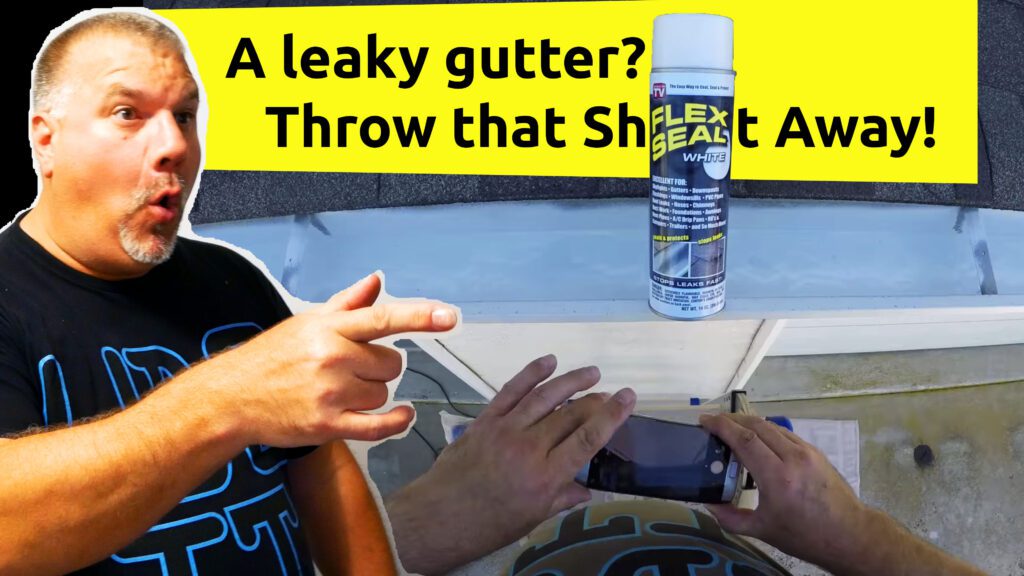
Repair a Leaky Gutter with Flex Seal – By U Do It
Replace your air filter as part of your regular maintenance – By U Do It
How to Remove Car Pinstripes using an Eraser Wheel – By U Do It
Restore your Headlights in your Driveway – By U Do It
Design of the Day
Follow U Do It on Social Media
What’s next? Check out About U Do It, History of U Do It, and Mrs U Do It to learn even more about U Do It.


