Gardening could never be easier with this raised bed planter and we’re building it right here on DIY with U Do It. Gardening is making a comeback as things are becoming more challenging to make ends meet with the state of the economy and the uncertainty surrounding the supply chain. This is intended as an inspiration for you to build something that you can enjoy for years to come. And it may also provide you with food.
This planter is tall enough to make it easy for you to plant your mini garden without having to bend over. It’s built strong enough to hold a lot of soil and plants. And with the choice of wood, it is heavy to resist blowing over in windy conditions.
Video Chapters
0:00 Introduction of Raised Bed Planter
0:29 Review of tools and materials used
5:00 Setup of DeWalt Miter Saw
5:33 Cutting 4×4 postto 30 inches long
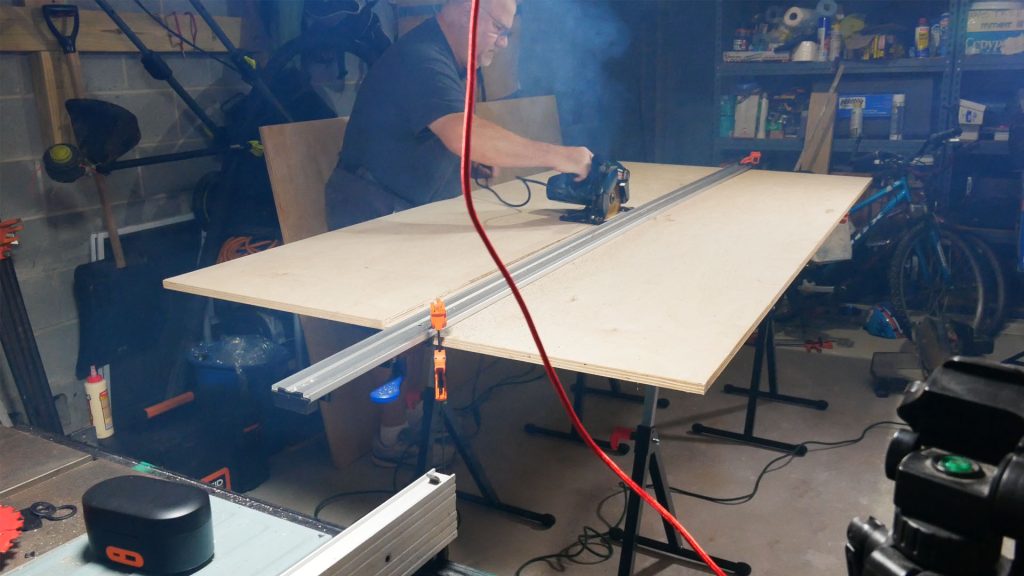
6:44 Cutting walls of planter from 2×6 lumber
8:48 Using a combination square
10:14 Drilling holes with countersink bit
12:03 Adding chamfer to walls
15:04 Assembly of legs and walls
17:59 Adding supports for soil
18:48 Flipping over planter
19:46 Rounding over sharp corners with router
22:00 Adding pocket hole screws to legs
22:50 Painting inside with Flex Seal
24:15 Preparing narrow crown stapler
24:45 Getting DeWalt Air Hose Reel
25:12 Installing wire mesh with stapler
27:35 Adding landscaping fabric
28:55 BTS shooting a promo reel for other platforms
Basics of Raised Bed Planter
The planter is built out of 2x6x8 lumber, 4x4x10 posts, and 2x4x8 lumber. In case you are not familiar with lumber in the USA (it could be similar to where you live) here are what the measurements mean. When I say 2×6 the actual measurement is close to 1.5 inches thick by 5.5 inches wide. 4×4 posts are really 3.5 inches square. And 2×4 lumber is about 1.5 inches thick by about 3.5 inches wide. The third number in 2x6x8 is in feet, so that means 8 feet long.
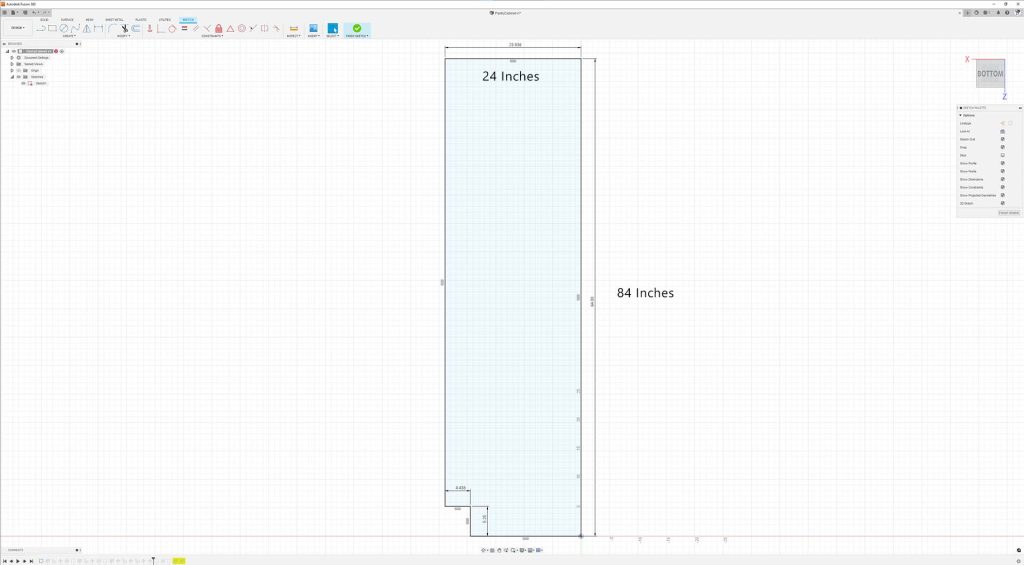
My plans were simply a sketch with some rough measurements taking into consideration the real measurements of the wood. My intention was to build this planter 6 feet long by 2 feet wide by 30 inches tall. There are two levels of 2×6 boards that wrap around and are screwed into the 4×4 posts. And there are four 2x6s attached to the bottom along with two 2x4s.
Building It
See the materials list and tool list below. Use what you have on hand, find scrap pieces of wood, or use pallet wood. The point of this is to build this on the cheap and begin gardening. As you can see in the video I assembled this upside down and then flipped it over.
Materials and Cut List
If you are gardening for a food source you may want to line the planter with cedar wood or pine wood. If you are planting for looks, such as flowers then lining the interior of the planter may not be necessary.
- (5) 2×6 by 8 feet long
- From one board cut a 2-foot-long piece with 45-degree miters and a 6-foot-long piece with 45-degree miters. Repeat this on three additional boards. At the ends of these boards drill countersunk holes offset by the miter so that you can secure the boards to the posts. The posts are 3.5 inches wide and the 45-degree miter offsets it by about 1 1/2 inches away from the end of the board.
- Optional on these boards is to route one side with a 45-degree chamfer router bit.
- From the remaining board cut (4) 2-foot-long pieces and drill two holes at each end offset by 3/4 of an inch.
- From one board cut a 2-foot-long piece with 45-degree miters and a 6-foot-long piece with 45-degree miters. Repeat this on three additional boards. At the ends of these boards drill countersunk holes offset by the miter so that you can secure the boards to the posts. The posts are 3.5 inches wide and the 45-degree miter offsets it by about 1 1/2 inches away from the end of the board.
- (1) 4×4 by 10 feet long
- A 4×4 by 10 feet long is typically longer than 10 feet. In my case, the post was 10 feet 1/2 inches long. I was able to cut four 30-inch long pieces from it. Whatever your length is, make sure each post is an identical length.
- (1) 2×4 by 8 feet long
- Cut (2) at 24 inches long and drill two holes at each end offset by 3/4 of an inch..
- (1) 2-feet by 6-feet wire mesh
- Wait to cut this until you get the interior built so you can see what you need to do..
- (1) roll of landscape fabric
- Wait to cut this until you get the wire mesh installed so you can see how much fabric to install. I recommend doubling it up.
- Bostich 18GA 1-inch narrow crown staples
- Flex Seal spray paint
- 3-inch deck screws
Recommended Tools for Constructing Raised Bed Planter
Use the tools that you have. I am not showing off and saying you have to do what I do. It’s the intent to build and make something that I want to inspire you to do. Having said that here’s the list of tools I used:

- Dimensions - 35cm x 45cm x 25cm
- Powerful 1100 watt 15 amp, 3,800 rpm motor designed for heavy duty applications delivers extended power and durability
- Integrated cutline blade positioning system provides adjustment free cut line indication for better accuracy and visibility.
Amazon.com Price last update on 2026-04-02 - Details
- DeWalt 12 Inch Miter Saw
- Craftsman 25-foot Tape Measure
- Bosch PR20EVS Trim Router (optional)
- SKIL 9130 30-piece Carbide Router Bit Set (optional)
- Power Drill and Impact Driver
- Construction Gloves
- Combination Square
- Drill Driver Bits
- Countersinking Bit
- Pencil
- Jorgensen E-Z Hold Clamps
- Scissors
- Tin Snips
- Narrow Crown Stapler
- Hammer
Assembly of Raised Bed Planter
I began with a post resting vertically on the floor. I bring a shortboard and a longboard together so the miters meet together and clamp one to the post. Attach the board using your impact driver and drill bit set to drive a 3-inch screw through the board into the 4×4 post. Clamp the other board and repeat this process as I did in the video all the way around. Add the other posts and boards. If you chamfered one edge of every board make sure you put the chamfered edges together. Repeat this for the second layer of boards.
Add the bottom boards as I demonstrate in my video. Secure each one with two 3-inch screws on each end.
Route the Edges
This is optional but it gives it a nice touch. Using your round-over router bit route both the inside and outside top edge of the planter. Also, route the corners where the miters meet to give them a soft edge. Run the router down the legs as I did as well to give it a nice look.
Prep the Interior
You can use deck tape but I chose to use Flex Seal spray to protect the surface of the planter. I sprayed the top layers of the boards and the first level of the inner wall within the planter. It dried quickly and I was able to install the wire mess with my stapler. Then line the interior with landscape fabric.
Other Titles of this Video
This video or variations of this video can be found on the following platforms:
- Grow your own Garden in this Easy to Build Raised Bed on Turtle Tube
“As an Amazon Associate I earn from qualifying purchases.”
Picked out for you
Repair a Leaky Gutter with Flex Seal – By U Do It
Do It Yourself Build a Shed – Planning and Estimating – By U Do It
Protect your Cabinets with Drawer and Shelf Liner – By U Do It
Our Kitchen Storage Is Lacking – DIY Pantry Cabinet – By U Do It
The First Cut – DIY Pantry Cabinet Part 2 – By U Do It

Do It Yourself or Hire a Contractor – By U Do It

Do It Yourself Build a Shed – Where to Start – By U Do It

Garage door wont close unless I hold the button down – By U Do It
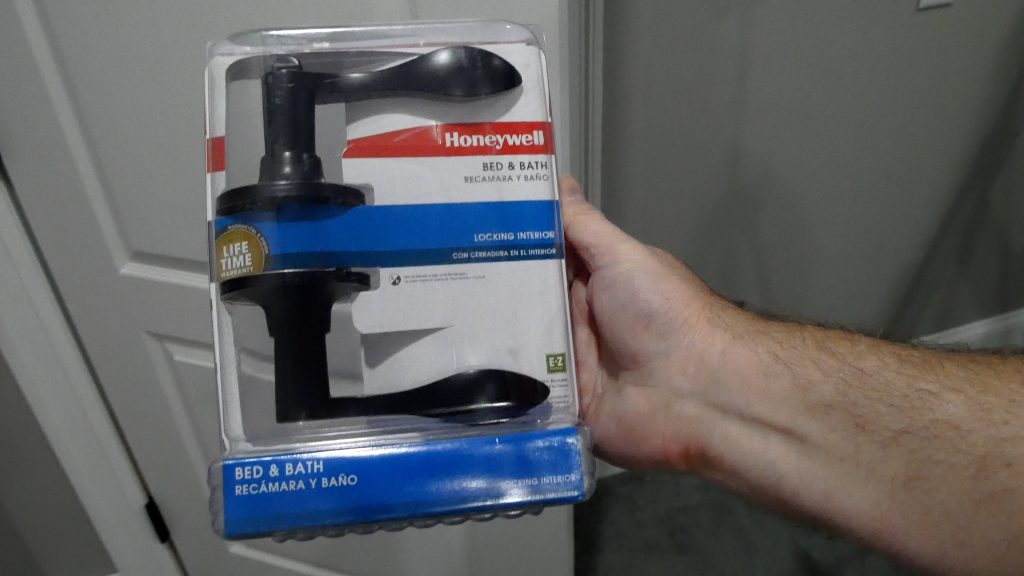
How to Install a Door Lever for a Bedroom – By U Do It

Save money by rebuilding your grill burners – By U Do It
Music of the Day

Follow U Do It on Social Media


What’s next? Check out About U Do It, History of U Do It, and Mrs U Do It to learn even more about U Do It.