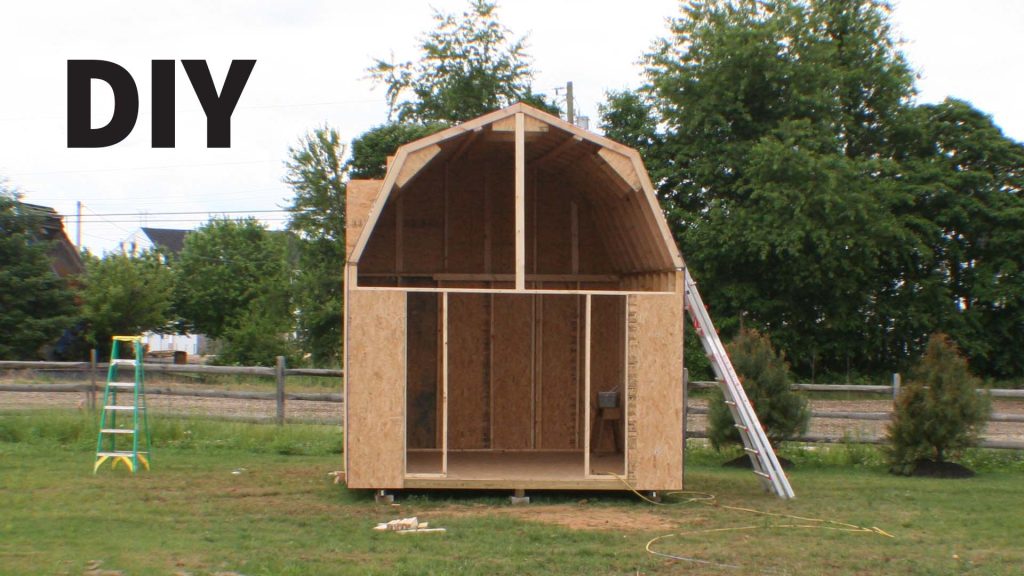
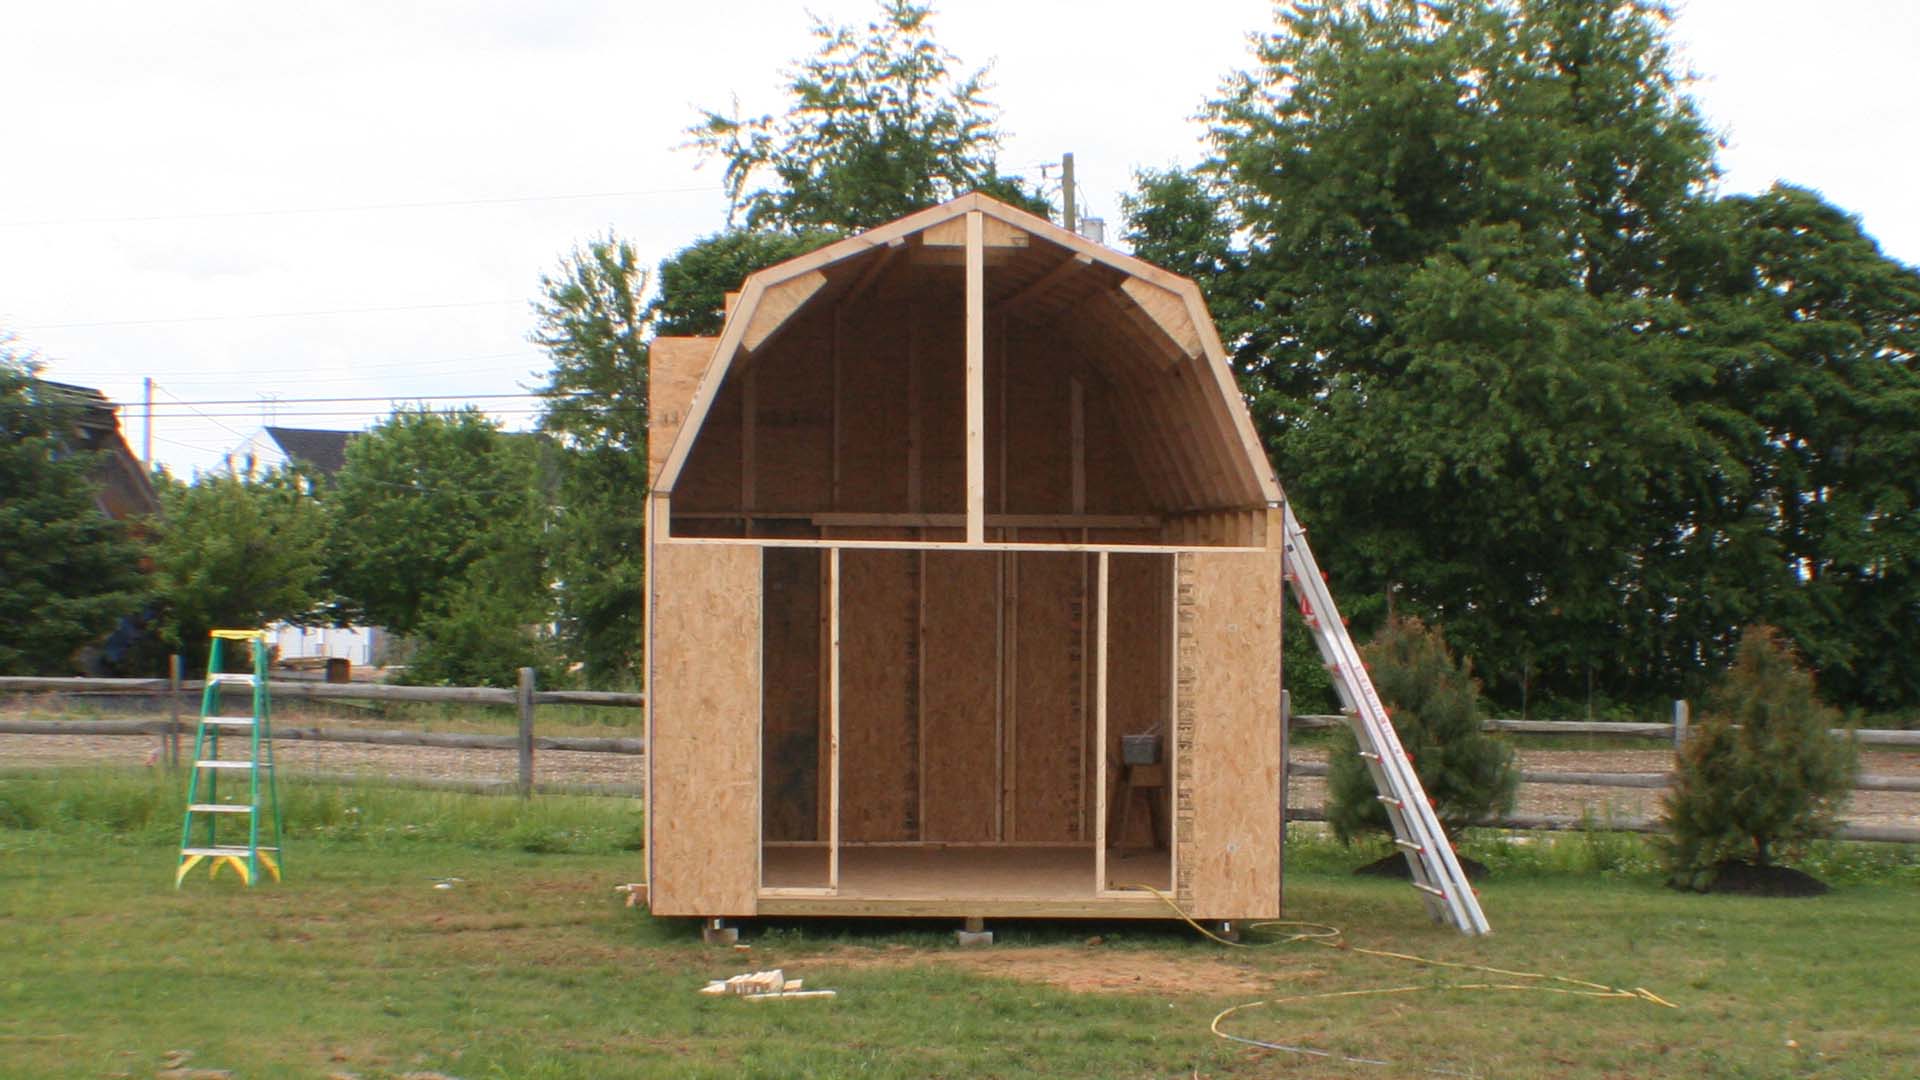
Site Plan to Reality is a continuation of Do It Yourself Build a Shed – Where to Start where we chose to build a 12′ x 16′ shed with 10′ high walls and a 6′ high gambrel roof with an 8′ deep loft.
Grand Plans Altered
I learned that the rules have changed in our township since I built my last massive shed. The new rules state that the shed can be no taller than 10 feet. So we’ll have an updated shed planning and estimating article. My new plans specify a shed built with 8′ high walls and a 4:12 pitch roof that has a peak of 10′ tall.
Site Plan to Reality
I decided to locate the shed in our backyard 28.8 feet from our house and 9 feet from our backyard. The plans were approved as it fits within the 6-foot setback required for our zoning. The location I wanted to put it was blocked by roots from a rather large tree. So I shifted it over six feet.
Once I decided on a location I used rebar as marking pins to help with the layout. I’m providing this information because this could happen to you as well. If you are able to move the location of your shed to avoid an obstacle, then do it. Otherwise, you may have additional work. In my case, the roots were rather large and would have the potential of weakening the tree. We already experienced damaging winds that forced many trees over in a massive storm that hit our area in 2015. Our town was shut down for weeks and many areas for months.
Bringing Plans to Life
I’m laying out rebar pins that are parallel to our house so the layout of our shed will be square with it. I placed two pins along the back of the house that are spaced 207 inches apart. I want to create reference pins that are exactly 207 inches apart but 320 inches away from the back of the house. The location of the shed will be 345 inches away from the house but I wanted some room to work between the gravel pad and the rebar pins.
Tools Used
The tools used in this video can be found below. Some tools are out of production so an alternative is provided.
- DeWalt 20V MAX Cordless Drill / Driver Kit DCD771C2
- Calculated Industries 4325 Construction Calculator
- DeWalt 100-foot Tape Measure
- Neon Yellow Mason Line
- DeWalt 7 1/4″ MAX XR Circular Saw DCS574B
- Bessy Clamp Woodworking Clamp
- Bosch Daredevil Spade Bit Set
- Carpentry and Building Construction Textbook
- Not shown in video but is what was required for the construction class I took back in the day when I had to purchase the construction calculator.
Calculating the Diagonal
Using my Craftsman Construction Calculator I was able to determine the diagonal for the rectangle which is 207 inches by 320 inches. The calculator allows you to enter Rise, Run, and then press the Diag function to calculate the diagonal. It calculated 381 1/8 inches.
I have a 35-foot Stanely tape measure and a 100′ Kobalt tape measure. I was able to tape the end of the 35′ tape measure to the one piece of rebar. Then I noticed the Kobalt has a loop at the end for you to place it over 1/2 inch rebar. I wasn’t aware this tape measure had this feature so that made things easier for me once I discovered it.
I used one tape measure to provide the distance of 320 inches and the other to provide the diagonal of 381 1/8 of an inch. At that point where those two measurements coincided I hammered in a piece of rebar. I repeated the same for the other pin. Once done I measured the distance between these newly placed rebar pins and it measured 207 inches. This was a success for me!
Safety First
Having these rebar pins sticking out of the ground is not safe. So I took a piece of 4×4 wood and cut off two sections that were about 8 inches long. Then I unboxed my new DeWalt drill/driver and used my 9/16″ Bosch paddle bit to drill into the end. The problem with this bit is it pulls all the way through and my first pass got stock. All of the chips created a wedge and wouldn’t allow the bit to be removed. Lesson learned and for the remainder of the additional rebar caps I created, I took incremental passes.
This Video Can be Found under Other Titles
This video or variations of this video can be found under the following titles:
Do It Yourself Build a Shed Series
To learn more about this series check out the DIY Build a Shed Series here.

Picked out for you
Do It Yourself Build a Shed – Planning and Estimating – By U Do It
Do It Yourself Build a Shed – Where To Start – By U Do It
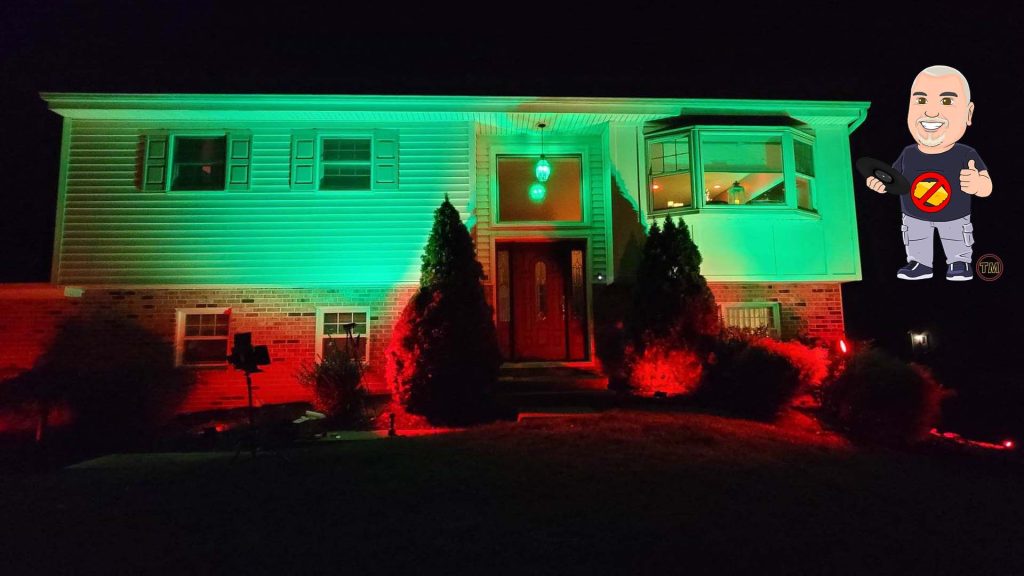
Making our Home Shine with Custom-Built Light Stands – By U Do It

Save money by rebuilding your grill burners – By U Do It
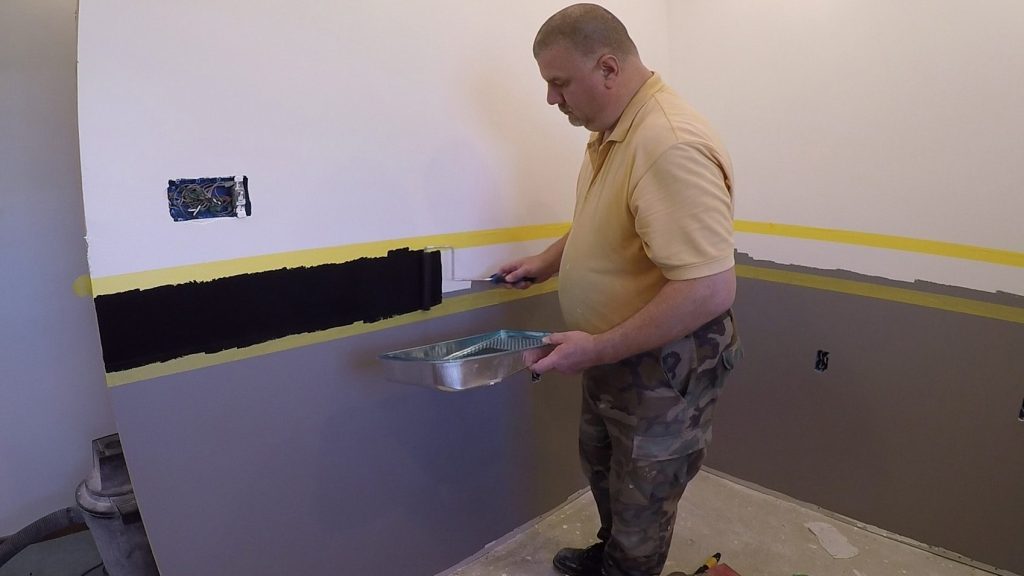
How to paint two tone colors with a laser level – By U Do It
How to install a GFI outlet in basement from start to finish – By U Do It
Repair a Leaky Gutter with Flex Seal – By U Do It
Music of the Day

Follow U Do It on Social Media


What’s next? Check out About U Do It, History of U Do It, and Mrs U Do It to learn even more about U Do It.