I’m using the DeWalt DCP580 planer to fix an issue. I built a ridge beam and it’s uneven and I need a way to make it even. I have a hand planer but I always wanted a power planer. So, I’m using this DeWalt DCP580 power planer that I purchased to make the job easier.
DeWalt DCP580 Planer Features
This planer features a 3 1/4 of an inch wide cut with a 1/256th of an inch incremental cutting depth adjustment up to a maximum of 2mm depth per cut. The tool that I purchased does not include a battery. Therefore, to power the planer, I am using the DeWalt DEWALT 20V MAX Starter Kit Battery and Charger kit, which is model number DCBP034C. This kit includes two DeWalt 1.5Amp-hour batteries, which are listed as model number DCB201.
To inflict the least amount of damage, I set the depth to the smallest amount, which I believe is 1/256th of an inch. In addition, I used the rabbit fence to help with keeping the cut straight. Although I attached the fence, it seems that I didn’t rely on it as I should have.
Ridge Beam Details
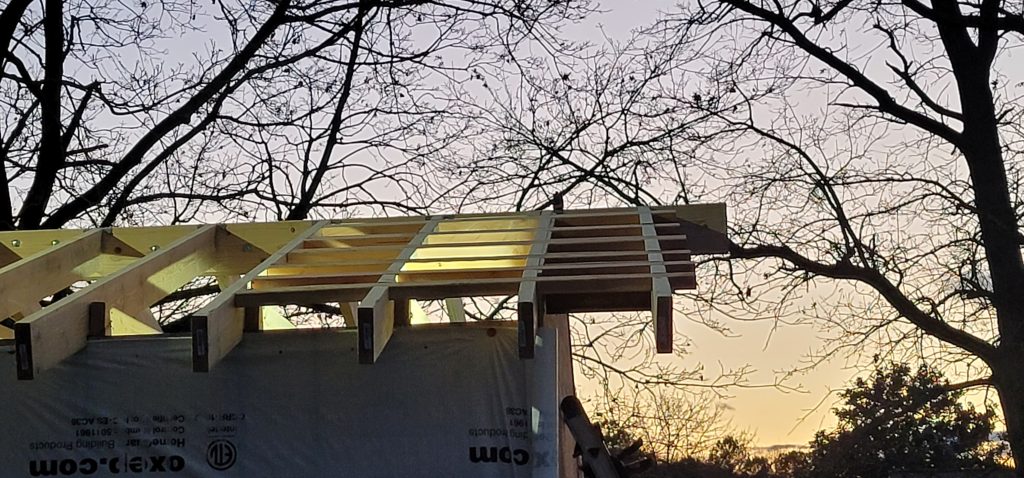
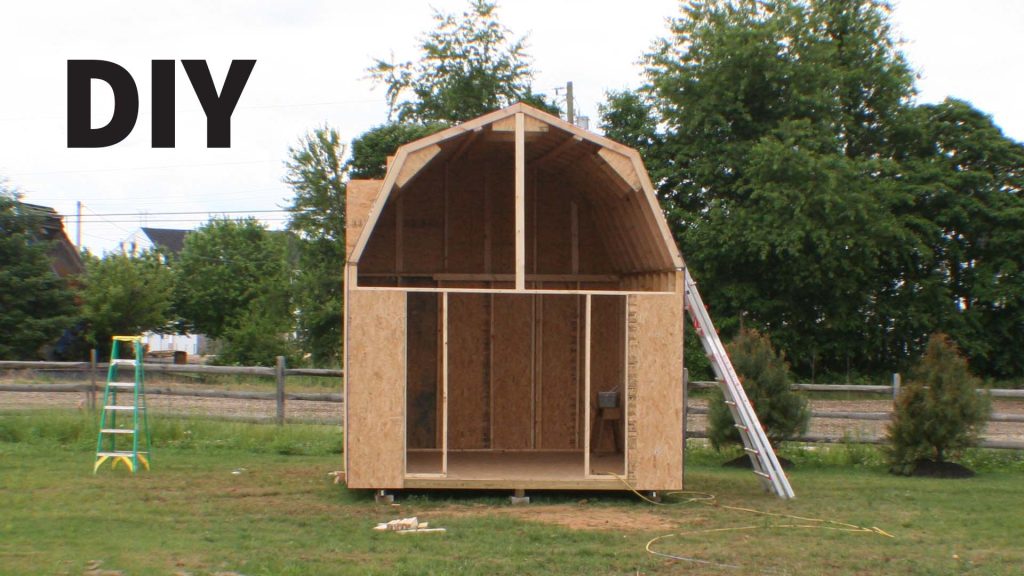
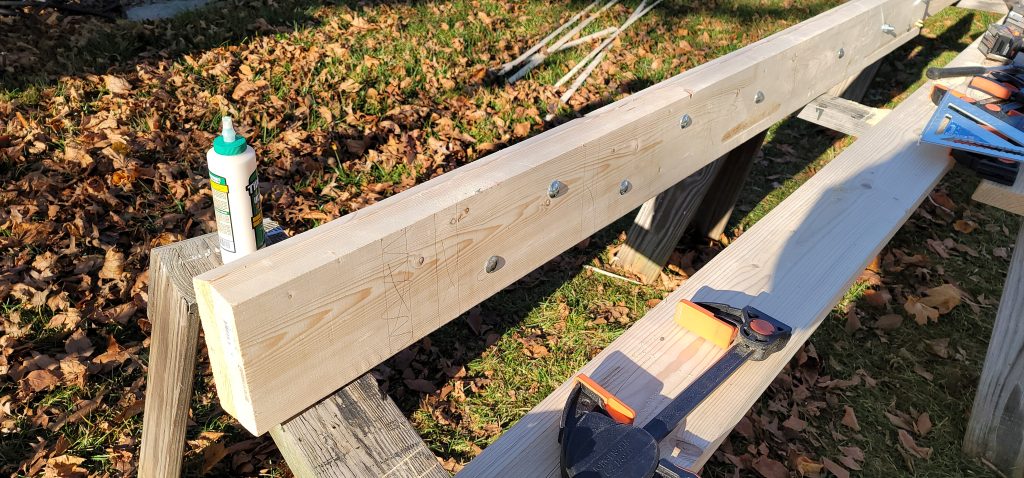
The ridge beam is fabricated from two 2x8x12s and two 2x8x8s to form a 20-foot span for my 12×16 shed. Finally, once the beam is installed, the excess will be removed. This will result in a final span of 218.5 inches from end to end. I cut the top side of the ridge beam to 15 degrees, which is what my shed plans specified. It is slightly steeper than a 3:12 pitch roof. In case you didn’t know, the pitch of a roof is specified by the ratio of inches of rise over inches of run. So a 3:12 pitch can be thought of as a 3-inch rise over a 12-inch run. Additionally, the 3:12 pitch corresponds to a little more than 14 degrees. While the plans I specified require a 15-degree angle for the roof rafters.
The Problem
When the beam was fabricated I ensured that the beveled side was perfectly aligned. This resulted in the bottom side being out of alignment by approximately 1/8th of an inch. There are two points that the ridge beam rests on, which are the front and back supports. Other than these two resting points the rest of the bottom of the beam is irrelevant. Therefore, I do not need to plane these other spots on the ridge beam.
The Solution
I needed a way to flatten the bottom side at these two points of the ridge beam. And that is what this video is about – using the DeWalt DCP580 power planer to flatten these two critical points.
As I already mentioned, I set the planer depth to 1/256th of an inch and began planing the first spot. It was clear that the planer was removing chips based on what the planer was ejecting. After so many passes I checked the squareness of my planing with my Empire Combination Square. To my dismay, I was not doing a good job keeping the planer parallel to the edge of the ridge beam. Every pass I made I attempted to bring the angle in closer as I approached flatness across the two boards. Eventually, I reached a point I was satisfied with and moved to the other end of the ridge beam.
DeWalt DCP580 Review
In summary, the DeWalt DCP580 is very portable and convenient. I do not doubt that it is accurate. And, I appreciate that it can be set to such a shallow cut depth of 1/256th of an inch per pass. This tool now has a place in my toolbox for future projects. Because I did not have this for previous projects I had to find other ways to do similar things.
- Brushless Motor provides power and runtime
- 30,000 cuts per minute achieve a fast removal rate
- 5/64 in. (2 mm.) maximum depth of cut
Amazon.com Price last update on 2026-02-16 - Details
My only complaint is operator error and my inability to create a good reference point to plane flat. This ridge beam is too large to place on my workbench in my garage. If I were to think more about it I’m sure I could have developed a jig to help with planing.
Products Used in this Video
The products used in this video can be found in the list here:
DeWalt DCP508 Planer Review Video Chapters
0:00 DeWalt DCP580 Power Planer Unboxing
3:15 Attaching the DeWalt DCB201 battery
3:41 Inspecting the area of the ridge beam that needs to be planed
4:20 Attaching the rabbit fence
5:00 Making the first cut with the planer
6:21 Inspecting the results of several passes
6:57 Working on the other end
8:41 The final passes and my thoughts on the DeWalt Planer
“As an Amazon Associate I earn from qualifying purchases.”
Video Credits:
Video Production: U Do It™️ Studios a Division of No Cheese Records® LLC All Rights Reserved.
Do It Yourself Build a Shed Series
To learn more about this series check out the DIY Build a Shed Series here.
Picked out for you
Do It Yourself Build a Shed – The DIY Experience – By U Do It
Do It Yourself Build a Shed – Bilt Hard Plate Compactor – By U Do It
Do It Yourself Build a Shed – Where to Start – By U Do It
Do It Yourself Build a Shed – Planning and Estimating – By U Do It
Protect your Cabinets with Drawer and Shelf Liner – By U Do It
Our Kitchen Storage Is Lacking – DIY Pantry Cabinet – By U Do It
The First Cut – DIY Pantry Cabinet Part 2 – By U Do It

Do It Yourself or Hire a Contractor – By U Do It
Garage door wont close unless I hold the button down – By U Do It
How to Install a Door Lever for a Bedroom – By U Do It
Save money by rebuilding your grill burners – By U Do It
Music of the Day
Follow U Do It on Social Media
What’s next? Check out About U Do It, History of U Do It, and Mrs U Do It to learn even more about U Do It.


