We’re making our home shine with custom-built light stands that I fabricated with locally sourced steel and my tools. We love the Novostella 20 Watt Smart LED Lights so much that we bought the Novostella 25 Watt Smart LED Lights. But, our placement at ground level wasn’t sufficient. So, I wanted to raise the newly purchased lights to a higher level to paint the house with light. To satisfy this desire I wanted to craft light stands. This video demonstrates the building of these light stands, their installation, and the configuration of the Novostella lights within the SmartLife app.
I would like to give special shoutouts to the following local companies:
- Our Friends at Matteo Iron & Metal in Thorofare, NJ where I was able to purchase the scrapped sheet metal for use as a base for the light stands.
- Joseph Fazzio, Inc. in Glassboro, NJ for their incredible supply of metal where I was able to purchase the steel tubing.
Fabricating Custom-Built Light Stands
I don’t know what I’m doing but I got something put together. You can see in the video where the light stands are put together and functioning as intended. Are the joints and welds pretty? No. This is only my second time welding but I intend to get more experience and develop some welding techniques. This section breaks down the build.
Cutting and Preparing Base
As mentioned, I purchased a steel sheet from our friends at Matteo Iron & Metal. It was outdoors for what appears to be years but that didn’t matter. I used my DEWALT DWE4011 angle grinder with a cutoff wheel and cut a section of the steel off. I cut that section in half so I would have two light stands. Using the BlackHawk 40-grit flap discs on my angle grinder I quickly removed most of the surface steel.
Now I know why people use The Restorer drum sander for preparing surfaces. The Restorer is my next purchase!
0:04 Cutting light stand base with DEWALT angle grinder
1:30 Using BlackHawk 40 Grit flap discs to grind off the rust
Fabricating the Custom-Built Light Stands
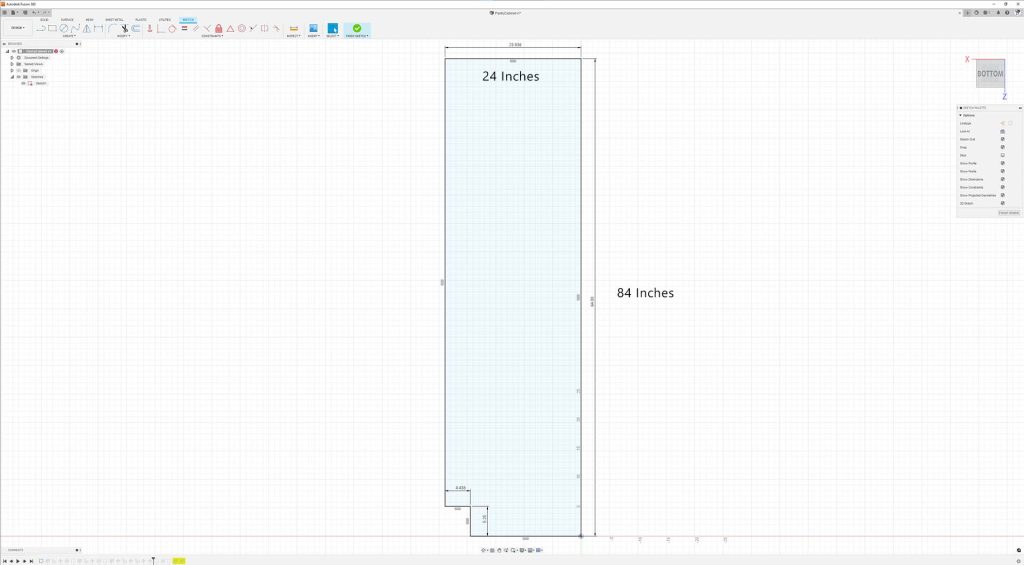
The tubing will form a triangular pyramid that can be used to mount the lights using 1/4-20 nuts and bolts. I’m using the cutoff wheel on my angle grinder to cut the tubing to length. Then I used my angle grinder with the flap disc to remove the mill scale.
I’m eager to use my welder again. But, the last time I tried using my welder on our home mains it tripped several of my AFCI/GFI combination breakers and caused chaos with our appliances and smart home devices. So, I got my generator out as a way to power my Lincoln Electric 210MP without destroying my home electronics. Once powered up I plugged in the welder, got my Lincoln Electric 7018 welding sticks, my Optrel welding mask, and my Lincoln Electric welding gloves.
I have welding magnets that I purchased and used to maintain the position of the tubing so I could weld them in place. With the tubing in place, I tried to get a spark going but it was challenging. Again, I don’t know what I’m doing. As I attempted to weld I noticed that the 7018 sticks were burning a hole in the tubing. Eventually, I switched over to 1/16-inch welding rods that performed much better. I swear next time I will use my flux core wire. I have a tank of Argon-CO2 for MIG welding but I am not quite ready for that stage yet.
2:09 Cutting down steel tubing to length
2:24 Grinding off mill scale from tubing
3:00 Welding tubing to the base
Priming the Custom-Built Light Stands
I’m ready to prime the light stands. I could have done a better job of cleaning up the surface so I ran my flap disc over the surfaces a little to clean it up. Once cleaned up, I want to drill the holes for mounting the lights prior to painting so I found the proper size bolts and the corresponding drill bit. Drilling out the first hole was simple. But, the drill bit set that I used dulled immediately and the second hole took me three minutes to drill out. The video doesn’t show this but it was a painful three minutes. Although not shown in the video, I used my Craftsman drill bit set to drill out two additional holes. Those bits chewed right through the tubing like butter.
I got my RUST-OLEUM Comfort Grip attached to my can of RUST-OLEUM Automotive Primer and began painting the surfaces. The Comfort Grip was amazing and made the job of painting so much more enjoyable compared to using my index finger on the spray nozzle. Priming was simple and the coating went on very easily.
The next night I painted the stands with RUST-OLEUM K7758 Hunter Green Protective Enamel. I’m very happy with how this finish turned out. It was a little chilly out so curing took some time. I let them sit in the garage for over a week, which was perfect because the paint was solid and looked amazing. Now, I just wish I did a better job of welding so I could be more proud of my work.
3:47 Prepping surface for priming
4:24 Using RUST-OLEUM comfort grip
4:50 Drilling hole in stand for mounting Novostella 25 Watt Smart LED Lights
6:30 Priming light stands with RUST-OLEUM Automotive Primer
8:20 Painting stands with RUST-OLEUM K7758 Hunter Green Enamel
Mounting Novostella 25 Watt Smart LED Lights and Connecting Power
I used 1/4-20 nuts, washers, and bolts to mount the lights to the light stands. Only using one bolt gives me the flexibility to rotate the light in combination with the rotation of the light around its own bracket to point where I need it to point. Once I mounted the LED floodlights I connected the Iron Forge 1 to 4 extension cord splitter. This allowed me to easily connect multiple lights without needing other types of splitters. I was then able to protect each plug with the Cord Protect weatherproof connector.
Configuring the Novostella 25 Watt Smart LED Floodlights within the SmartLife app was much easier this time. When the light is plugged in you’ll notice that it immediately begins to flash. This is an indication that it is not yet paired with the SmartLife app. With it powered up and flashing the SmartLife app automatically recognized the light and provided an option to add the light to the device list. This was incredibly easy to do.
After the LED lights were added, I was able to set the color and configure the routine within the SmartLife app. I set the LEDs to turn on shortly before dusk and turn off shortly after dawn so that our home is always lit up nicely. I’m very happy with the setup.
9:02 Mounting Novastella 25 Watt Smart LED Lights to stands
9:24 Connecting lights with Iron Forge 1 to 4 extension cord splitter
10:06 Connecting Novastella lights to Smart Life app
10:44 SmartLife app automatically detected smart floodlight
10:52 Using Cord Protect weatherproof connector
12:03 Using Iron Forge 1 to 4 extension cord splitter for other lights
13:16 Using Cord Protect
14:24 Configuring Novostella in SmartLife app
14:45 Setting the startup color of the light in the SmartLife app
15:16 Sit back and enjoy your setup
My Thoughts on the SmartLife App
The Novostella lights require the SmartLife app. There’s no apparent alternative. The SmartLife app could use some additional improvements. Here’s my list of improvement requests:
- Allow for easy removal of a trigger, e.g. remove the sunset or sunrise option.
- Allow for the removal of devices from the list of devices within a trigger sequence. Note: It is not clear how to do this so if there is a way, please let me know.
Future Plans
Although the light stands are painted a green that blends in well with the bushes, they are not an attractive addition to our front landscaping. I expect to hide them better within the bushes but this will require cutting the base of the stands slightly and welding on extensions to the tower. These extensions are where the lights will mount. I may make the extensions so they clamp onto the tower, which will give me additional flexibility to decide where they attach and what direction to have them face.
Products Used
The following products used in this build are listed below.
Metal Cutting and Surface Grinding Products used
DEWALT DWE4011 Angle Grinder: https://amzn.to/3VsYzL9
BlackHawk 40 Grit Grinding and Sanding Flap Discs: https://amzn.to/3ujyXUU
Jorgensen Ratchet Bar Clamps: https://amzn.to/3H4FYAt
Welding Products used
Welding Magnets: https://amzn.to/3H4hdV7
Lincoln Electric 210MP Welder: https://amzn.to/3FlyEzh
Lincoln Electric Welding Gloves: https://amzn.to/3OWdUBo
Optrel VegaView 2.5 Welding Helmet 1006.600: https://amzn.to/3uj2zBP
Welding Rods: https://amzn.to/3UoIHbe
Painting Products used
RUST-OLEUM Protective Enamel K7758 Hunter Green: https://amzn.to/3gODFXP
RUST-OLEUM Comfort Grip 241526: https://amzn.to/3EZFp8m
Lights and Extension Cords: Iron Forge 1 to 4 Extension Cord Splitter: https://amzn.to/3itVRGv
RUST-OLEUM Automotive Primer: https://amzn.to/3VKGI1X
Cord Protect Outdoor Extension Cord Safety Cover: https://amzn.to/3VILVr8
Novostella 25 Watt Smart LED Flood Lights: https://amzn.to/3EZJ2Lw
Video Credits: Video Production: U Do It™️ Studios a Division of No Cheese Records™️ LLC All Rights Reserved.
Picked out for you
Our Kitchen Storage Is Lacking – DIY Pantry Cabinet – By U Do It
Do It Yourself or Hire a Contractor – By U Do It

Do It Yourself Build a Shed – Where to Start – By U Do It
The Art of Doing without Knowing – By U Do It
Garage door wont close unless I hold the button down – By U Do It
My Pressure Won’t Stay Running – How to Fix – By U Do It
My Pressure Washer Won’t Start – By U Do It
Briggs & Stratton Pressure Washer Starts But Suddenly Stops – By U Do It

Replacing an Edger Blade is Easy with the Right Tools Video – By U Do It

Save money by rebuilding your grill burners – By U Do It
Repair a Leaky Gutter with Flex Seal – By U Do It
Design of the Day

Follow U Do It on Social Media


What’s next? Check out About U Do It, History of U Do It, and Mrs U Do It to learn even more about U Do It.