How to Install Crown Molding with Indirect Lighting
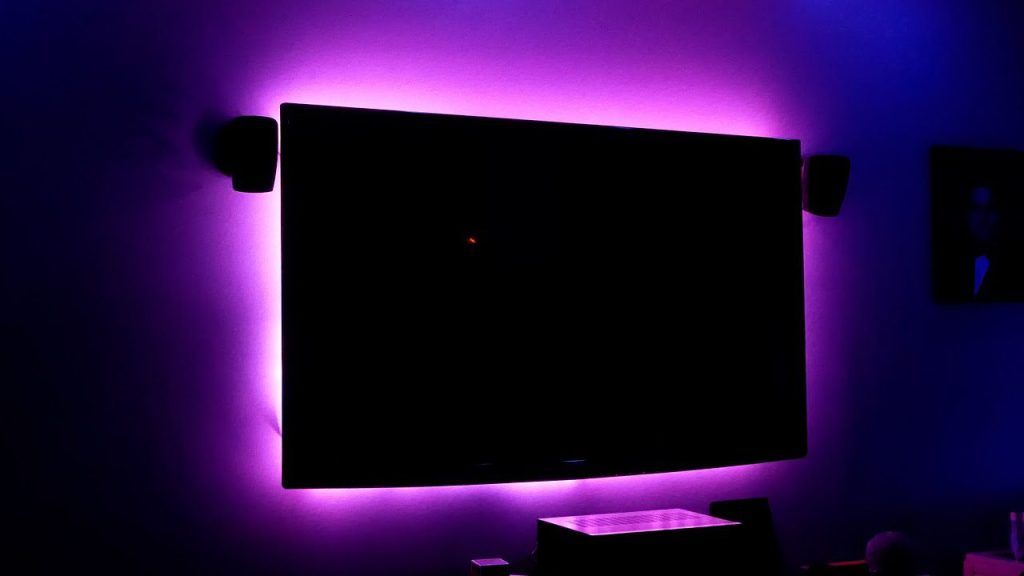
Installing crown molding with indirect lighting gives you control of the vibe in any room. Control the scene with your voice, remote, or app while triggers on other conditions automatically control the lights. In this video I cover how to install crown molding with a gap where you can install light strips to provide indirect lighting. However, I do not cover the installation of the outlet at the ceiling in this video. Therefore, I recommend you consult with a licensed electrician if you need an outlet.
Video Chapters
- 0:00 You will need to get power to the area of the crown molding.
- 0:51 Prepare each board for building out the crown molding.
- 1:33 Determine the location of every stud using a stud finder.
- 1:48 Miter each board according to the corner that it will fit on (outside corner or inside corner).
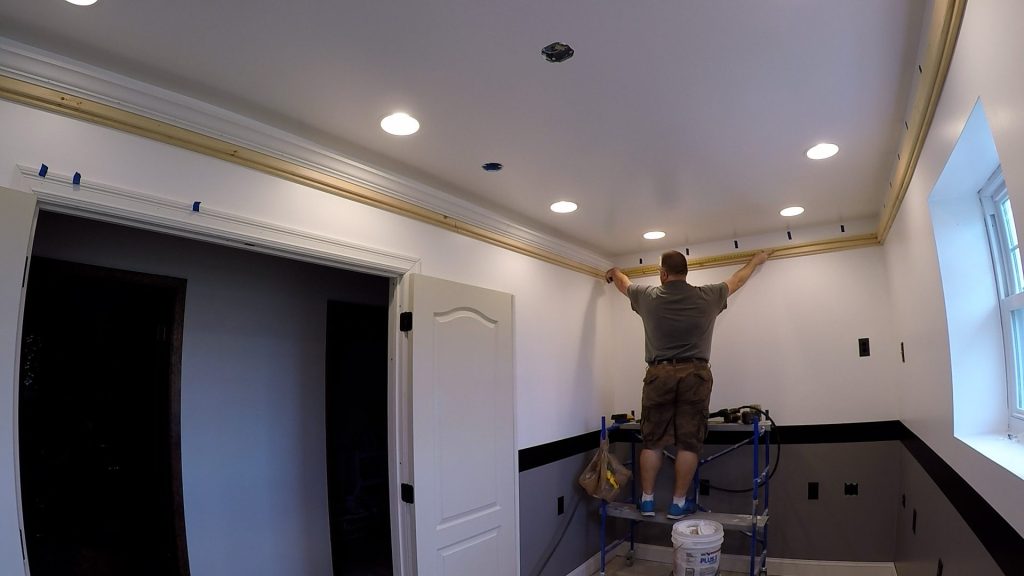
- 2:10 Nail the first level boards in 5 1/2″ from the top (or the height that you choose). Use the precut blocks of wood to choose universal height around the perimeter. Each piece that you nail in you must make sure that the nail enters a stud and you must make sure you are not nailing into any wiring or piping.
- 4:01 Nail the second level boards in up 5/8″ from the bottom of the first level board to give it a depth of the buildout.
- 5:30 Lastly, install the crown molding around the perimeter.
- 8:51 Paint and caulk the crown molding.
- 9:20 Configure the Philips Hue Bridge and LED kits
- 12:20 Install the Philips Hue power adapters and LED lights
- 13:15 Test your lights and look at your awesome work
- 13:59 If the corners of the crown molding do not line up as they were in my video you can easily solve this by gluing it with cyanoacrylate glue and use some boards as I did to create pressure from the ceiling on both the left and right pieces. Let it sit overnight and it will cure.
Tools and Materials Used
This section outlines the list of tools and materials you’ll need.
No products found.
Tools Used
Tools and Materials used in this installation can be found here: https://amzn.to/3Jwykzs
Additional Tools used in this installation can be found here: https://amzn.to/3CHXveu
Painting Tools & Supplies used in this installation: https://amzn.to/3NLT34T
Lighting can be found here: https://amzn.to/3CKnFgJ
- Miter Saw w/ Finish Blade
- Pneumatic Finish Nailer
- Angle Finder
- Router
- 1/4″ Radius Rounding Over Router Bit
- Saw horses (3 or more based on the length of your boards)
- Tape Measure
- Caulk gun
- Studfinder
- Paint Cup
- Paint Brush
- Caulking Tool Kit
- Air Compressor
- Air Hose
- Drop Cloth
- Ladder
- Rolling Scaffolding
- Quick Release Clamps
Materials & Supplies Used
- 3 3/8″ Crown Molding
- 1 x 3 x 8′ or longer pine boards based on your room size
- White Painters Caulk
- Paint (for molding)
- Paint Cup Liners (less cleanup)
- Paper Towels
- Finish nails (compatible with nailer)
- CA glue
- CA glue accelerator
- Four Blocks of wood (to be cut for references)
- Pencil
LED Lighting
- (2) 80″ Philips Hue Light Strips w/ Controller and Power Supply
- (11) 40″ Philips Hue Light Strip Extensions
- Smartphone for using Philips Hue app
Installation Instructions
Although preparation will take some time, the actual installation will go faster. Verify you can route an outlet to the ceiling then you’ll know that you can easily install this. Once more, you may need to consult a licensed electrician. Before buying material, take measurements and plan your miter cuts for your molding. Calculate your list of materials and their lengths. While frugality is beneficial, purchase a little extra as you can return it at a later point.
Original source of the photo is provided by U Do It, on YouTube channel U Do It.
Layered Molding
Before you make your first cut, make a measurement with your tape measure. When you do, also take note of the miter angles you need to make.
LED Lighting
Before you being, plan out your work. For example, this should include your cut list and a sketch of your room with your measurements.
1) Installation of the Philips LED shape lights requires a power source like I install in the video (shown below). Once you plug in the power supply from the Philips Hue Shape Lights Kit then connect the first shape light to it. You can connect up to six Philips 800292 Lightstrip Extensions to it. Certainly, you would want to verify that your outlet works prior to installing the crown molding. Adding too many extensions to a controller will overload it, therefore it will cause a noticeable hum or buzzing from the power supply. I didn’t notice this when I only had 5. Since the room is a 60 foot perimeter I needed two kits (two power supplies and two controllers) and 11 extensions. I then continued to plug in each Philips Hue Shape Lights 2nd Generation 800292 Lightstrip Extension into the continuous line.
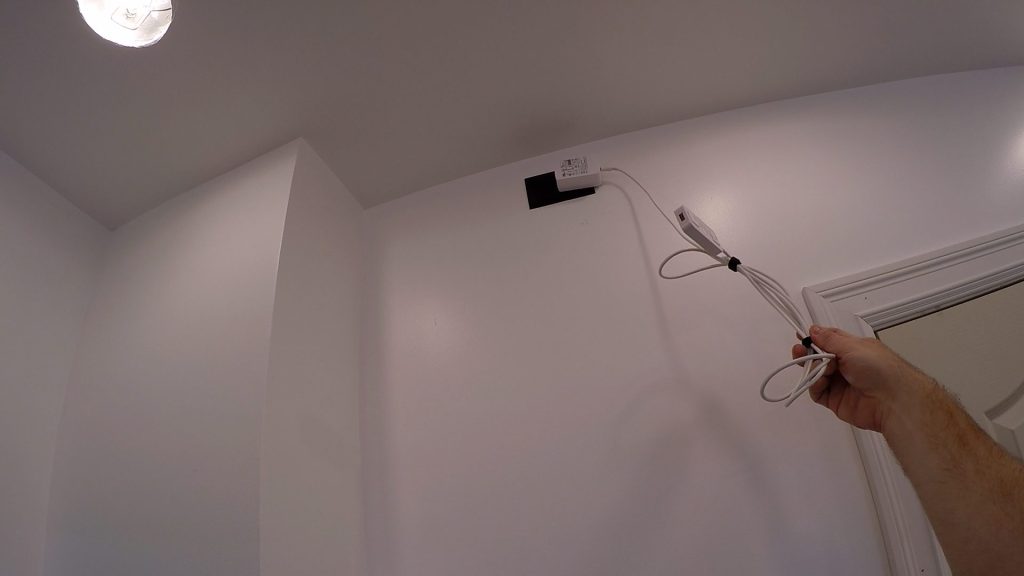
Original source of the photo is provided by U Do It, on YouTube channel U Do It.
2) Install the Philips Hue Bridge Kit (comes with 3 light bulbs) and download the Philips Hue app onto your phone. Follow the steps to establish connection to the bridge. The bridge will be able to communicate with the lights. The bridge will control all Philips Hue compatible devices. These include the Philips Hue Color A19 LED Bulbs that I installed.
Safety First
Please observe safety first behavior when doing this work. It is your responsibility to ensure that you are observing safe procedures while performing this activity. Additionally, if you do not feel comfortable performing this activity it is recommended that you consult with a licensed handyman or general contractor. Take all necessary precautions that you can consider, for example removing items out of the workspace that aren’t needed. For instance, you may be using tools that all have risks so it may be best to consult with a licensed handyman or licensed contractor. Certainly, it is best to wear a respirator as being exposed to dust particles can be hazardous. Enough cannot be said about your safety awareness while you are in your work area. Remove any obstacles that can be trip hazards. Consider safe operation of a ladder and be aware of your surroundings, such as doors that can open.
If you are interested in other U Do It articles like this one you can see them here.
This article on LED light strips may interest you: Improve the Vibe of your Home with Philips Hue LEDs
“As an Amazon Associate I earn from qualifying purchases.”
Picked out for you
Improve the vibe of your home with Philips Hue LEDs – By U Do It
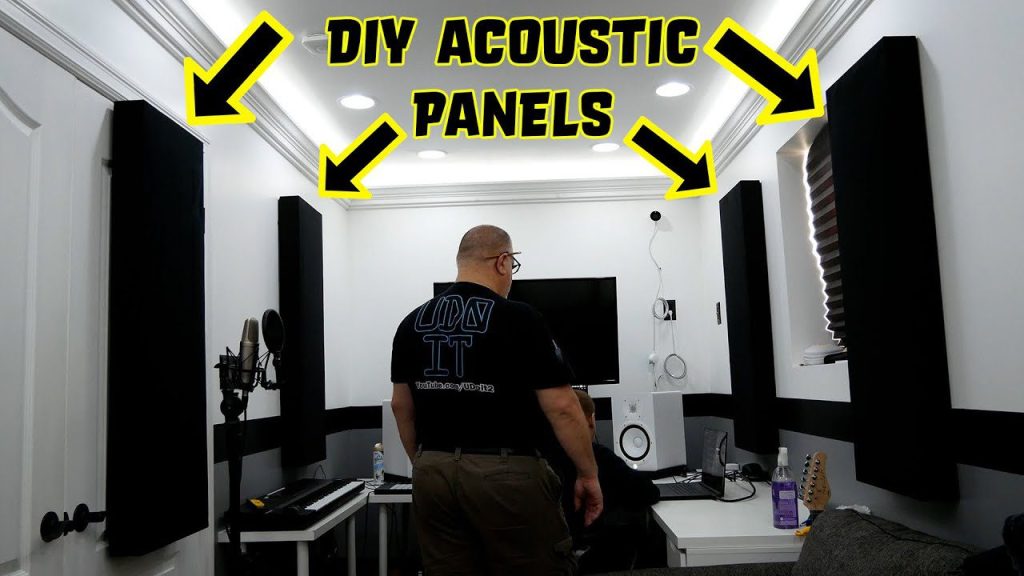
DIY Acoustic Panels for Better Sound Treatment – By U Do It

Jorgensen E-Z Hold clamp is quick and easy to use – By U Do It
Music of the Day

Follow U Do It on Social Media


What’s next? Check out About U Do It, History of U Do It, and Mrs U Do It to learn even more about U Do It.