In this video, we’ll demonstrate how to build DIY Cantilevered Shelving Brackets using scrap wood and rebar.
The Problem: Cluttered Floor Space
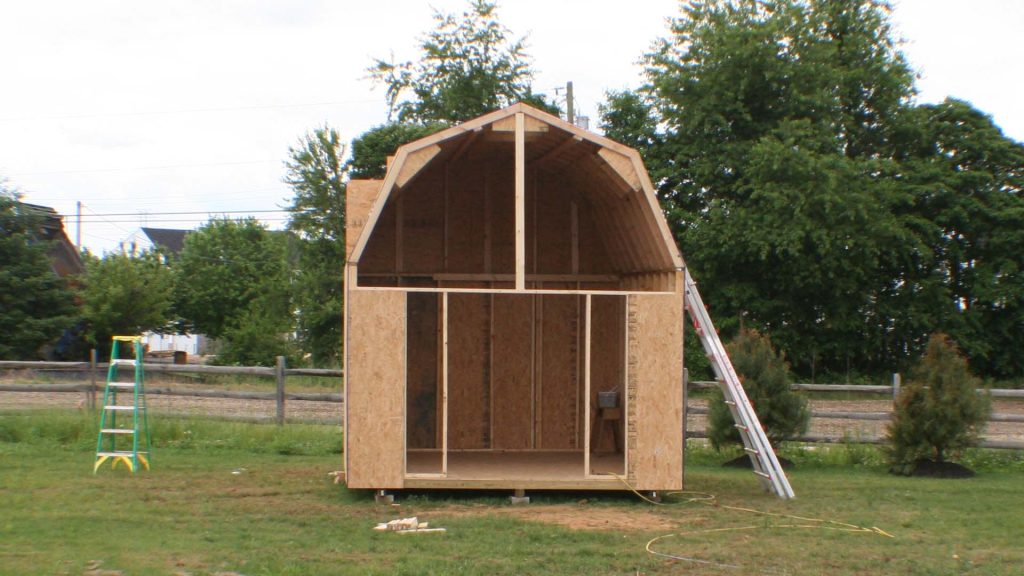
I’m building a shed and it might be some time until it is complete. I’m storing the materials, such as J-Channel and vinyl soffits on the floor in the shed. But, I need this floor space to store things that are currently taking up room in my garage. And, this material is in danger of becoming damaged as it sits on the floor.
The Solution: Free up Floor Space
I have scrap pieces of 2×4 lumber and leftover pieces of rebar that I used for staking out the perimeter of the shed. The only thing I need to do is fabricate the shelf brackets and hang them. Then, of course, move the building material from the floor to the brackets.
Tools and Materials Needed
Here is my list of recommended tools for building the shelving brackets. My scrap pieces of wood were already the desired size so I didn’t need a saw. Likewise, the rebar was already cut into 2ft sections so I didn’t need to cut them.
- Miter saw or circular saw (for wood)
- Hacksaw or chop saw (for rebar)
- Drill Press or Drill
- Drill Bits (1/2 inch bit)
- Impact Driver
- Tape Measure
- Pencil
- Hammer
- 2×4 Lumber
- #4 Rebar (1/2 inch in diameter)
- SPAX 4-inch PowerLags
- Gorilla Tape
A curated list of products of potential storage units as well as the tools and materials that can be used to build the brackets are available here:
Improving Shed and Garage Organization Video Chapters
- 0:00 My plan to build a Cantilevered Shelf Bracket
- 1:58 Drilling a half-inch hole into the wood
- 4:40 Hammering rebar into wood
- 7:40 Installation of the shelf brackets
- 9:56 Loading the shelf with the building materials
- 11:31 SPAX PowerLag Wood Screws
- 11:57 Summary video for social media
- 13:00 Credits
Fabricating the Catilevered Shelving Brackets
As shown in the video, you’ll need to cut the 2×4 lumber to the desired length. In my case, these were 8-inch scrap pieces that I used. Next, you’ll need to cut the the rebar to the desired length. My scrap pieces of rebar are 24 inches in length.
I made a mark 3 inches up on the wood and drilled a 1/2 inch hole about 3/4 of the way into the wood. A 2×4 is approximately 3 1/2 inches in width so I drilled the hole a little less than 3 inches deep. Then, I hammered in the 24-inch piece of rebar using my hammer. Lastly, I covered the rebar with Gorilla Tape to protect my material from the corroding rebar.
Improving Shed or Garage Organization
Now that the brackets are fabricated we can hang them on the wall. Because my walls are not finished, I’m able to mount these brackets against the studs flush against the sheathing. Your case may be different and you may need to fabricate a different mounting solution.
I’m using SPAX 4-inch PowerLag screws to secure the wood to the wall studs. To get the proper spacing from the top of the wall I’m using another scrap piece of wood as a stop block. It is easy to hold this block up and then bring the shelving bracket up to it and secure it to the wall.
Functionality
These brackets are not meant for heavy objects. The purpose of this is temporary just to keep these lightweight items safe and free up crucial space on the shed floor. If you were to build these, please take into consideration what you plan on storing. Depending upon its weight, you may need to choose a different solution. I did not analyze or test these to see what their holding capacity is. But, I suspect it is not much weight. This was a free solution as I already had the spare material on hand. Even if you do not build this, use the idea as inspiration on how to repurpose scrap material and transform it into something useful.
#garageorganization #storagesolutions #storagespace
Do It Yourself Build a Shed Series
To learn more about this series check out the DIY Build a Shed Series here.
“As an Amazon Associate I earn from qualifying purchases.”
Picked out for you
Great Purchase: Do It Yourself Build a Shed – WEN Roofing Nailer – By U Do It
Extend the Life of Pressure Treated Wood: Do It Yourself Build a Shed – Woodlife Copper Coat Wood Preservative – By U Do It
Do It Yourself Build a Shed – The DIY Experience – By U Do It
Do It Yourself Build a Shed – Bilt Hard Plate Compactor – By U Do It
How to Start Do It Yourself Build a Shed – Where to Start – By U Do It
Do It Yourself Build a Shed – Planning and Estimating – By U Do It
Our Kitchen Storage Is Lacking – DIY Pantry Cabinet – By U Do It
The First Cut – DIY Pantry Cabinet Part 2 – By U Do It

Do It Yourself or Hire a Contractor – By U Do It
Garage door wont close unless I hold the button down – By U Do It
How to Install a Door Lever for a Bedroom – By U Do It
Save money by rebuilding your grill burners – By U Do It
Music of the Day
Follow U Do It on Social Media
What’s next? Check out About U Do It, History of U Do It, and Mrs U Do It to learn even more about U Do It.

